 Dashboard
 Site & Funnels
 Products
 Orders
 Contacts
 Analytics
 Marketing
 Sales
Sales Settings
 Apps
Apps Payments
 MessageHub
This article will go over Dunning Workflows. When setting recurring payments for your courses or services, it is important to identify when a recurring payment stops charging. This feature inside Workflows allows you to recognize failed payments so you can contact customers and share the needed information.
Table of Contents
Requirements
- An active ClickFunnels 2.0 account
- An existing subscription product
- A workflow
Adding the Trigger
When creating a new workflow, click on Add Trigger.

- Select the Event Type: Subscription - Recurring Payment Declined.
- Select the desired Subscription Plan.
Select a Variant for your subscription plan if available.
 Adding this trigger means that this Workflow will be triggered as soon as one recurring payment fails.
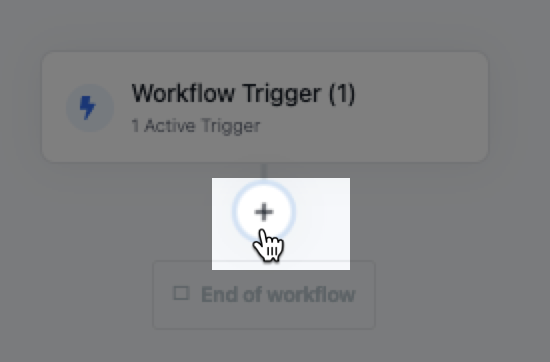
- Once the trigger is created, you can start building your workflow’s steps by clicking the + symbol.
Build your Workflow
Select the Internal Action Tag Contact.

Add a Tag of your choice. For this example, I used the tag Dunning1.

As the next step of the workflow, add a Delay action.
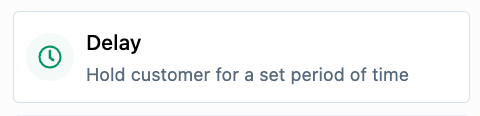
Adding a delay action will give your customer time to update their payment information or cancel their subscription. For this example, I set a 1-hour delay.
 Important Note: For the next step, you might want to email your customers to let them know there’s a problem with their payment.
Please visit this link for more information about sending emails using a workflow.
The next step to add is the Exit Dunning action.
 The Dunning period will end as soon as the contact takes action, either renewing their payment or canceling the subscription.
Add a second Tag step for the customers who complete the Dunning period. For this example, I used the tag Dunning2.

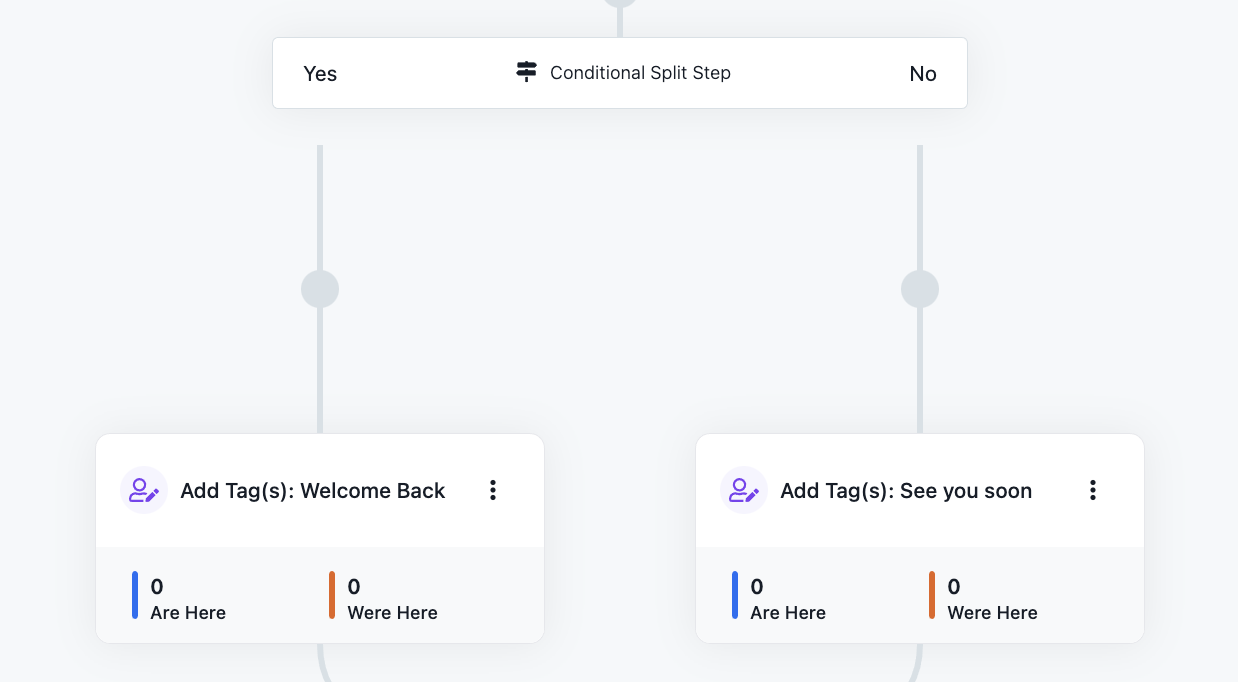
Add a Conditional Split Path step.

Set the conditions for the “Yes” path. Using the filter Has Active Subscription, you will send only the customers with active subscriptions to the “Yes” path. Example:
 Important Note: The “Has Active Subscription” filter will be applied if the customer renews their payment and continues with their subscription.
If the customer doesn’t have an active subscription, it will automatically go to the “No” path.
Set the following steps for each one of the paths. I added Tags actions for this example, but you could use a different one, for example, send emails.
Dunning Workflow Example
This is an example of a Dunning Workflow. Keep in mind that you decide how many emails to send, the name of the tags, etc. This is just an example of this walkthrough.
Was this article helpful?
That’s Great!
Thank you for your feedback
Sorry! We couldn't be helpful
Thank you for your feedback
Feedback sent
We appreciate your effort and will try to fix the article