With the integration of Zendrop, ClickFunnels enhances your ability to manage dropshipping effortlessly. This powerful integration lets you connect with reliable suppliers, automate order fulfillment, and streamline product management. In this article, you will discover how to connect your Zendrop account with ClickFunnels effortlessly, incorporate products into your ClickFunnels workspace, and effectively handle orders.
Requirements
An active ClickFunnels account
An account in Zendrop
The Payments AI or Stripe app connected to the workspace
What is Zendrop
Zendrop is a leading dropshipping platform that connects online retailers with reliable suppliers, offering a wide selection of products. By automating key aspects like product sourcing, order fulfillment, and shipping, Zendrop lets you focus on marketing and growing your business. With access to a vast catalog from vetted manufacturers in the US and globally, Zendrop streamlines product management and sales for online retailers.
For example, if you run an online sporting goods store in ClickFunnels, you can browse a catalog of sporting goods from reliable suppliers. When a customer orders a basketball or running shoes, Zendrop handles sourcing, packaging, and shipping directly to the customer. This frees you to focus on marketing and growing your brand.
Benefits of Zendrop Integration with ClickFunnels:
By integrating Zendrop with ClickFunnels, you can leverage the strengths of both platforms to create a powerful dropshipping business. Here are some key benefits:
Streamlined Product Import: Easily add products from Zendrop to your ClickFunnels Products with a single click.
Automated Order Fulfillment: Zendrop takes care of the entire fulfillment process, allowing you to focus on growing your business.
Enhanced Sales Funnels: Utilize ClickFunnels’ advanced funnel-building tools to optimize your sales process and increase conversions.
Scalability: Easily expand your product offerings without inventory limitations. Launch new products quickly without production or storage delays.
Integrating Your Zendrop Account with ClickFunnels
In your ClickFunnels workspace, navigate to Products in the side navigation menu.
Select All Products.
Click the Add from Zendrop button. If you are connecting to Zendrop for the first time, a Zendrop landing page will open in a new tab, asking you to create a free account or log in using your existing credentials.
Click Authorize to link your ClickFunnels workspace with Zendrop.

Select the ClickFunnels Workspace you want to connect with Zendrop.
Click the Authorize button to grant Zendrop full read and write access to the ClickFunnels workspace.
Finally, you’ll be redirected to your Zendrop account dashboard. Your ClickFunnels icon and workspace name will appear there, confirming that the connection is successful.
To view the Zendrop integration in ClickFunnels, go to Workspace Settings » Integrations » External Integrations.
Note:
Zendrop allows you to connect up to 10 stores to a single account. However, each ClickFunnels workspace can only be associated with one Zendrop store.
How to Add Zendrop Products in ClickFunnels
Follow these steps to add Zendrop products to your ClickFunnels workspace:
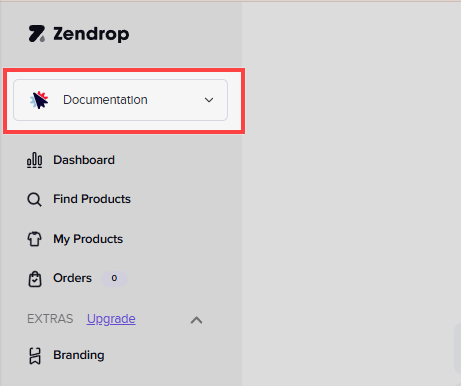
Find Products: In your Zendrop account, navigate to the Find Products menu on the left. Here, you can filter products based on various criteria such as shipping location, product categories, suppliers, and price range. Use these filters to pick the right products to sell in your ClickFunnels store or funnels.
Select Products: Choose the products you want to add and click Add to My Products.
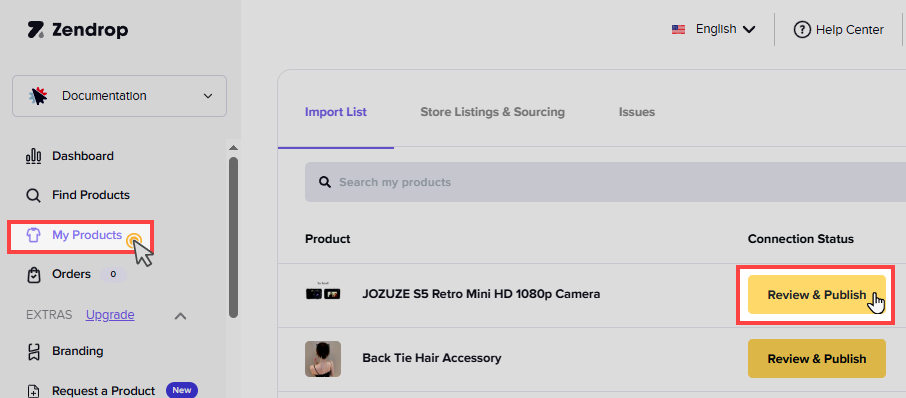
Review Products: Go to the My Products menu from the left navigation and click on Review & Publish for the products you want to add to the ClickFunnels workspace.
Customize Product: In the open widget, customize the product settings, including the name, description, variants, and images.
Product Information: Update the product name, tags, type, and collection to match your store’s categories.
Description: Edit the product description to align with your store’s style and provide detailed information to your customers.
Variants: Choose the product variants to be added as options in ClickFunnels. Adjust the sales price for each variant, which will be reflected in ClickFunnels.
Images: Select and arrange the product images you want to import into ClickFunnels to ensure a visually appealing product display.
Publish to ClickFunnels: Click the Publish to my store button to add the product to ClickFunnels.
View New Products: In your ClickFunnels workspace, go to Products » All Products to view the newly added product.
Note:
The import process from Zendrop to ClickFunnels may take a few moments to complete. Allow some time for the import to finish, and you can refresh the ClickFunnels product page to view the details accurately.
For more information on how Zendrop works and to explore additional features, visit the Zendrop Help Center.
Adding Print-On-Demand (POD) Products to Product List
The Zendrop Print-On-Demand (POD) feature allows you to customize products with unique designs and sell them under your brand. Follow these steps to add Zendrop POD products to your ClickFunnels workspace:
Log in to Your Zendrop Account.
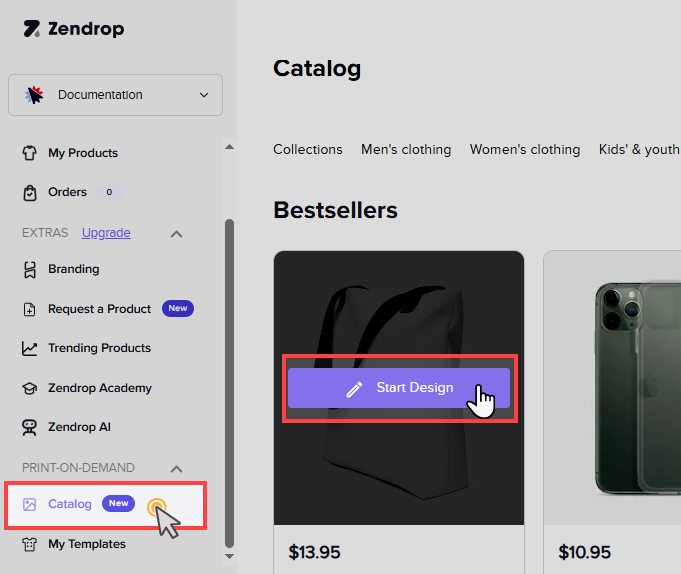
From the main menu on the left-hand side, click on the Catalog option.
Explore various POD product categories and select the products you want to customize.
Choose a product from the POD catalog and click Start Design to start designing. Use the built-in design builder tool to customize it with your unique designs.
Once your design is completed, it will be on the My Templates page. Click on the My Templates menu to view the products.
Select the product you want to add to the products list and click the + Import List. The product will be added to the My Products menu in your Zendrop account.

Once added, you may click Review and Publish to incorporate the product into your ClickFunnels account. Please refer to the section How to Add Zendrop Products in ClickFunnels for detailed instructions on importing products into ClickFunnels from the My Products menu.
For further information regarding the Zendrop Print-On-Demand (POD) feature, please visit the Zendrop Help Center.
Managing Orders of Zendrop Products
Once a customer places an order for a Zendrop product in your ClickFunnels store or funnels, the process unfolds as follows:
ClickFunnels Processes the Order: ClickFunnels collects the payment from your customer and transmits the order information to Zendrop.
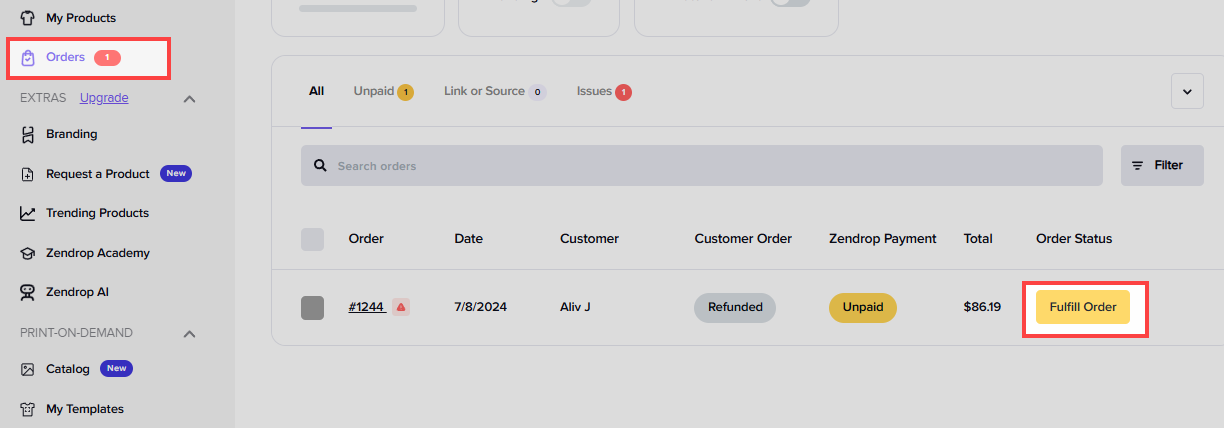
Order Fulfillment in Zendrop: The new order is reflected in your Zendrop account under the Orders tab. This is where you’ll manage the fulfillment process.
Fulfilling the Order: To fulfill the order, you must pay Zendrop the product cost and any associated shipping fees to the supplier. Zendrop will then handle packaging, shipping, and tracking your customer's order.
For detailed instructions on fulfilling orders within Zendrop, please refer to the Zendrop official guide: How Do I Fulfill an Order.Important:
Canceling in Zendrop: Canceling fulfillment for an order within Zendrop does not automatically cancel the order in ClickFunnels. The order will still show as pending fulfillment on your ClickFunnels order.
Managing ClickFunnels Orders: If you need to cancel the order altogether, you’ll need to do so manually within ClickFunnels. For instructions on managing orders in ClickFunnels, refer to the article How to Create and Manage Orders.
How to Remove Zendrop Integration
If you need to remove the Zendrop integration from ClickFunnels, follow these steps:
Navigate to Workspace Settings and select the Integrations menu.
Go to the External Integrations tab.
Find the Zendrop integration and click the Trash icon.
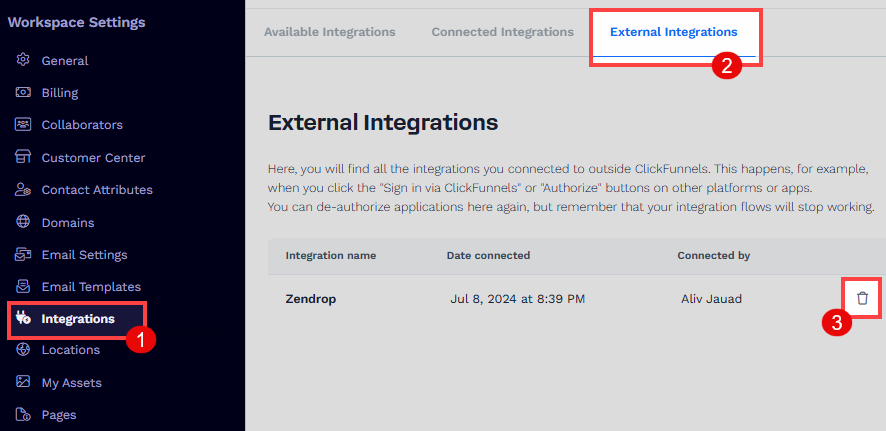
Click Proceed to confirm the deletion.
Zendrop Integration FAQs
Can I connect the Zendrop free account with ClickFunnels?
Yes. You can connect both free and paid Zendrop accounts with ClickFunnels.
Can I use an existing Zendrop account for multiple ClickFunnels workspaces?
Yes. You can use a single Zendrop account to connect up to 10 stores. However, each ClickFunnels workspace can only be linked to one Zendrop store at a time. If your current ClickFunnels workspace is already connected to a Zendrop store, you cannot link it to another store. To connect an additional Zendrop store, you must create a new ClickFunnels workspace and connect it separately within the same Zendrop account.
Do I need to buy inventory before I start selling?
No, you don’t need to hold any inventory. When a customer purchases, you’re only charged for the product and shipping costs.
Can I cancel an order in Zendrop, and will it affect the order in ClickFunnels?
Canceling fulfillment in Zendrop does not cancel the order in ClickFunnels. You need to manually manage and cancel the order in ClickFunnels if required. For more information, refer to ClickFunnels’ order management guide.
How do customers receive their products when I use Zendrop?
Once you make a sale, Zendrop handles 100% of the product fulfillment. They process and ship the order directly to your customer. To learn more, please refer to the How Do I Fulfill Orders on ClickFunnels Using Zendrop article.
Can I test products before selling them in my store?
Sample orders are exclusively available for users on the Zendrop Plus plan. This feature allows you to place sample orders for yourself to check product quality or to create video content before you start selling.
What happens if I remove the Zendrop integration?
Removing the integration disconnects Zendrop from your ClickFunnels store, removing all associated data and locations. Before disconnecting, you should archive or relocate Zendrop products in your store. For detailed steps to safely remove the integration, please refer to the Zendrop help center article Disconnecting ClickFunnels.
How do I handle returns or exchanges for Zendrop products?
For specific information on returns and exchanges, you’ll need to check Zendrop’s policies or contact customer support. Please refer to the Zendrop help center.