In ClickFunnels, you can create an email broadcast using the Broadcasts feature. A broadcast is a one-time email sent to a selected audience to encourage actions such as signing up for a newsletter, learning about new product launches, or receiving invitations to upcoming webinars. You can design your emails to match your brand and link directly to your offers to share them with your audience.
This article will explain how to create and send a broadcast in ClickFunnels.
Requirements
An active ClickFunnels account
Marketing Contact Address set up in Email settings
Understanding Broadcasts in ClickFunnels
Broadcasts allow you to send one-time emails to your audience. They are ideal for promotions, newsletters, product launches, and important updates. Unlike automated email sequences, broadcasts are sent immediately or scheduled for a specific time, making them great for time-sensitive messaging.
To get the most out of broadcasts, here are a few important things to know:
Marketing Contact Address: A valid Marketing Contact Address must be included in all emails to comply with regulations. You can set this up in Workspace Settings > Email Settings > General Settings. Without this, you won’t be able to send broadcasts. To learn more about adding a Marketing Contact Address, refer to the Getting Started with Emails article.
Sending Limits: Trial accounts have a daily limit of 100 marketing emails. Each paid plan also has its own monthly email limit and other feature caps. For a complete breakdown, refer to the ClickFunnels Pricing article.
Email Domains: Email addresses using @clickfunnelsmail.com are for testing only and limited to 100 emails. For marketing emails, use a custom email address.
Create a Broadcast
Navigate to the Email app on the left side menu.
Click the Create Broadcast button on the top right of the page.
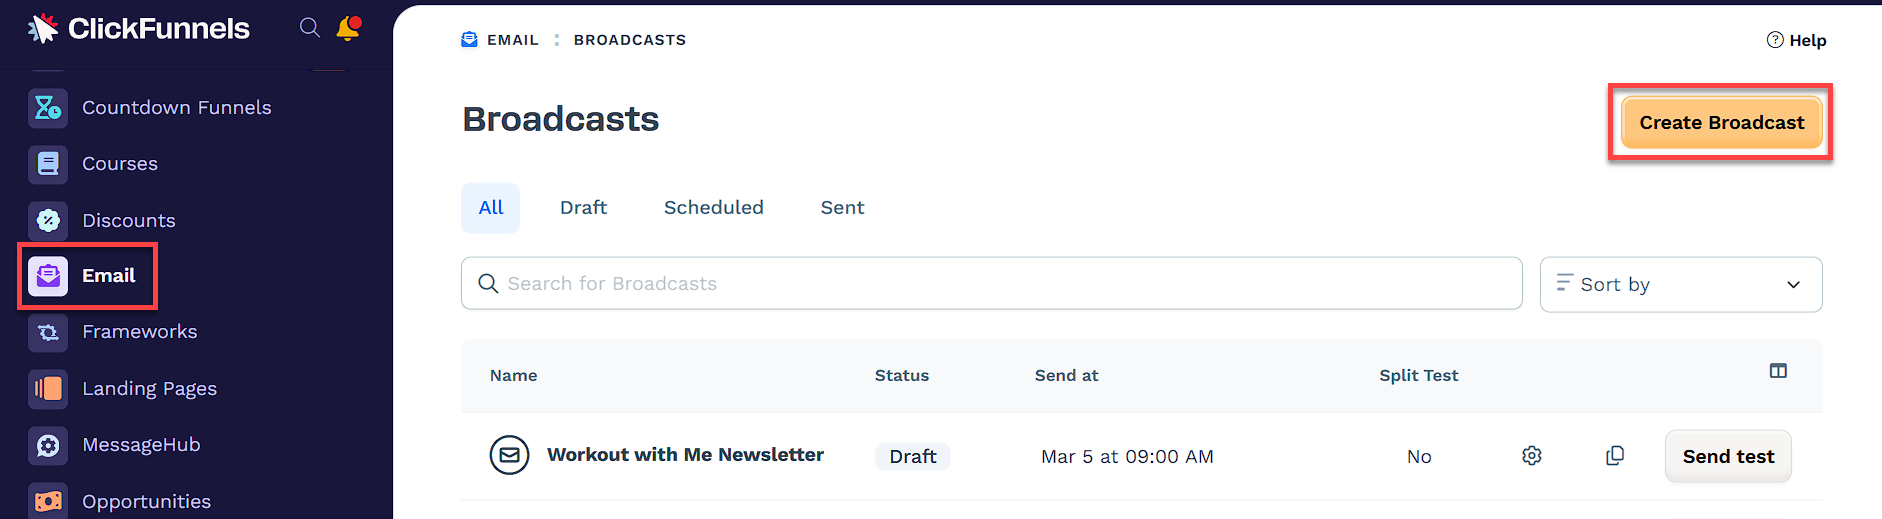
In the open prompt, type a name in the Broadcast name field.
Click the Create Broadcast button.
Setup and Design
Once you click the Create Broadcast button, you will be directed to the broadcast setup page, where you can configure your broadcast details.
If you need to edit an existing draft or scheduled broadcast, you can access the email setup page by:
Navigating to the Email app from the left menu.
Clicking the gear ⚙ icon next to the broadcast you want to edit.
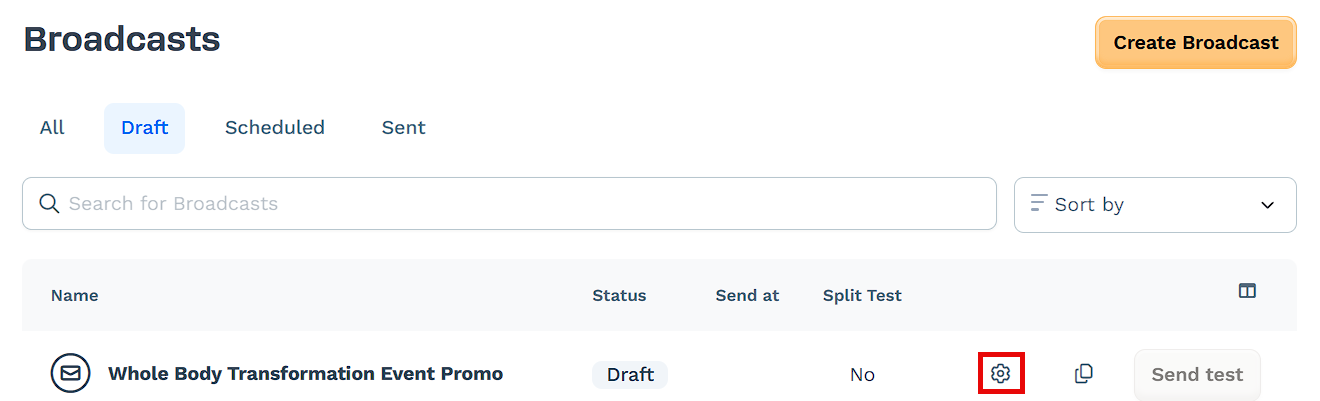
From there, you can proceed with designing and configuring your email.
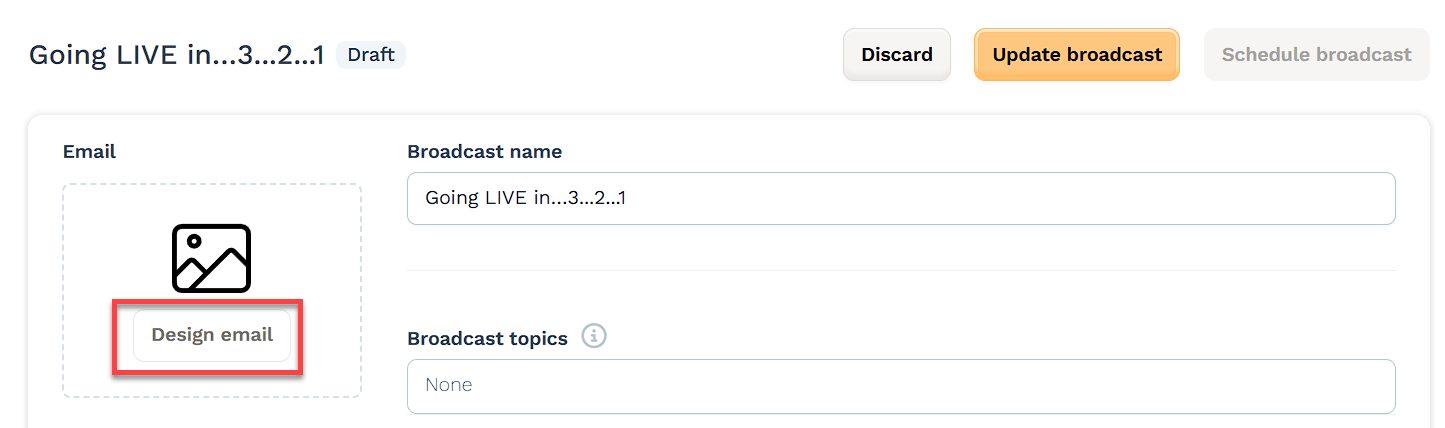
Design Email:
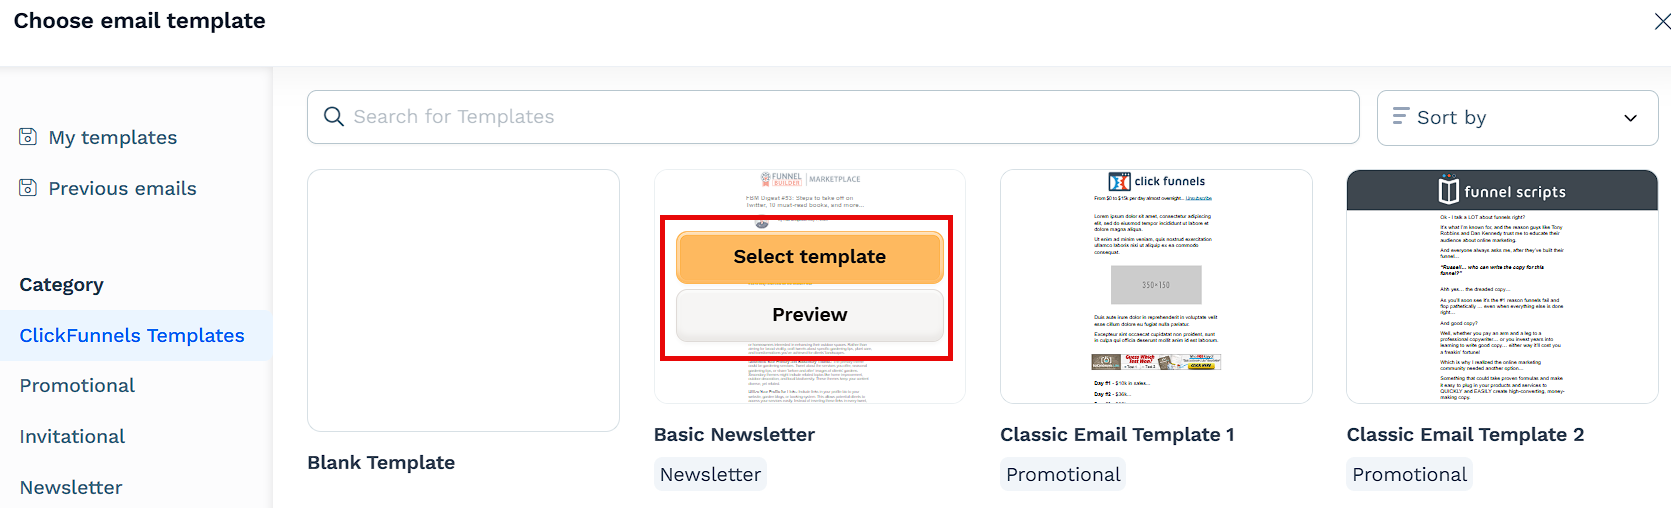
Click Design email to choose an email template. You can use the search bar or filter by category from the left menu.
To preview a template, hover over the thumbnail and click Preview.
Once you find a template you like, click Select template.
Alternatively, you can click Start from blank to design your email from scratch.
Use the ClickFunnels Email Editor to customize the email. When finished, click Publish and exit.
Alternatively, click Discard draft and exit to edit the email later.
To learn more about designing your emails, check out How to Design Emails
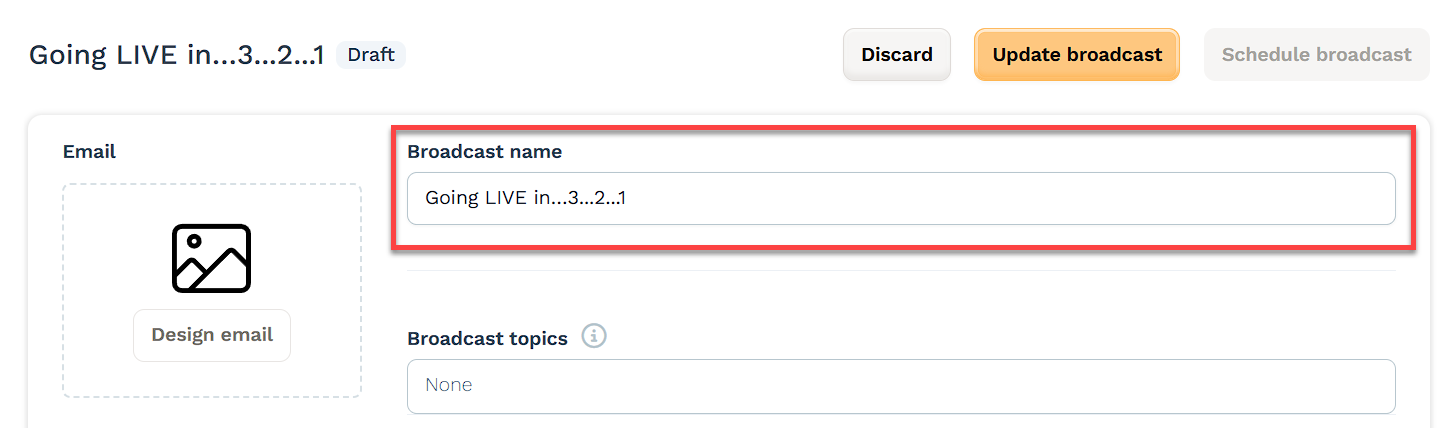
Broadcast Name:
Type a name in the Broadcast name field.
The broadcast name is not visible to the recipients.
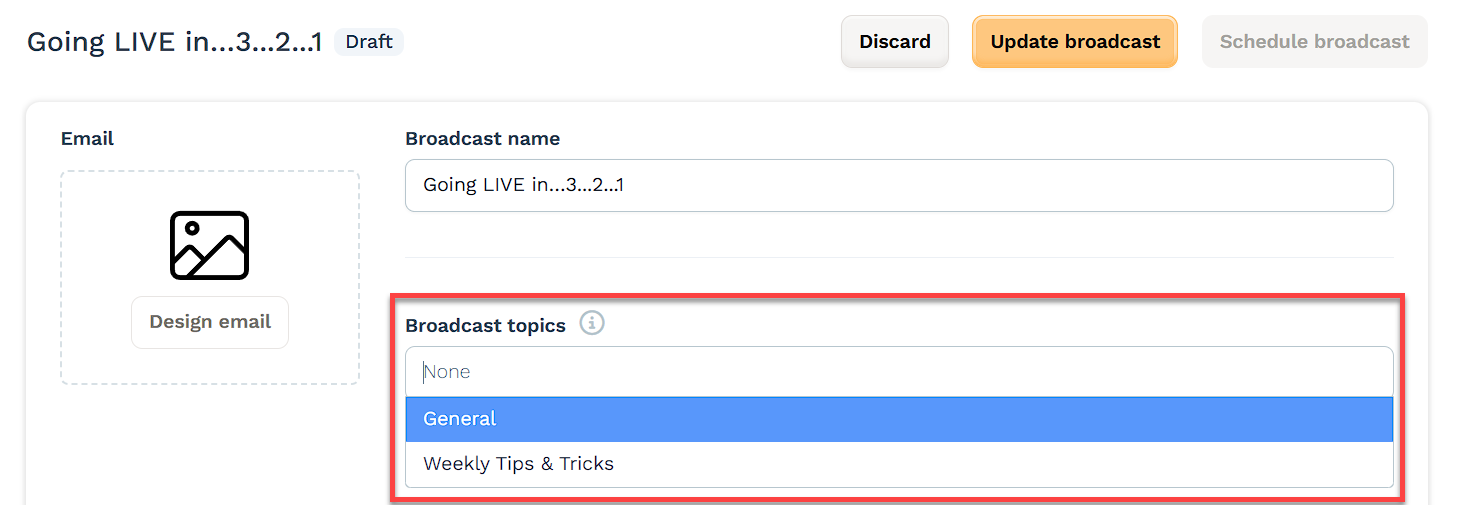
Broadcast Topics:
Provide a “topic” for your broadcast to indicate the content type. You can assign multiple topics to one email, and your contacts can subscribe or unsubscribe to topics.
Click on the Broadcast topics field to select an existing topic.
To create a new topic, navigate to Workspace Settings > Email Settings > Topics > Create Topic.
NOTE
Broadcast topics must be selected when setting up an email. If no specific topic is chosen, you can select “General,” which is the default option. For detailed instructions on creating and managing topics, refer to Topics - Managing Email Preferences for Your Broadcasts.
Send To - (Add Recipients):
In the “Send to” section, select the audience or recipients for the broadcast. The broadcast can be sent to contacts within the workspace.
Click the Edit audience button.
Use the Filter options to filter contacts, then click Save.

To learn more about filtering contacts and audiences, check out Setting Up Your Audience.
Email options:
From email: Select an email address in the From email field. This is the email address from which the broadcast will be sent. It is recommended to use an email address associated with a custom domain, such as
info@yourdomainname.com,support@yourdomain.com, etc.Reply-To email: Select an email address in the Reply-To email field. This email address determines where responses from recipients will be directed when they hit “reply” to your broadcast. It’s recommended to use an email address that you monitor regularly for easy management of recipient responses.
To learn more about adding a custom email address, check out Adding Email Address.
Subject lines - (Add Subject and Preheader to the Email):
Enter the email subject in the Subject line field. Optionally, personalize the subject line with Merge Tags such as
name,email address,phoneand more.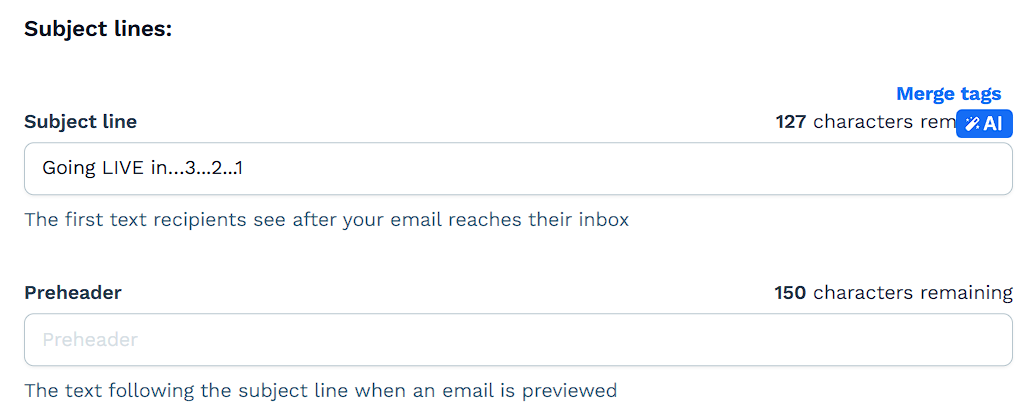
Enter text in the Preheader field to show a brief preview of your email’s content next to the subject line in the inbox. Here is how a preheader looks in an email:

(Optional) Enable Split Test:
Toggle on Enable Split Test to experiment with two versions of your email’s subject line and preheader. This helps identify which version performs better before delivering the full campaign.
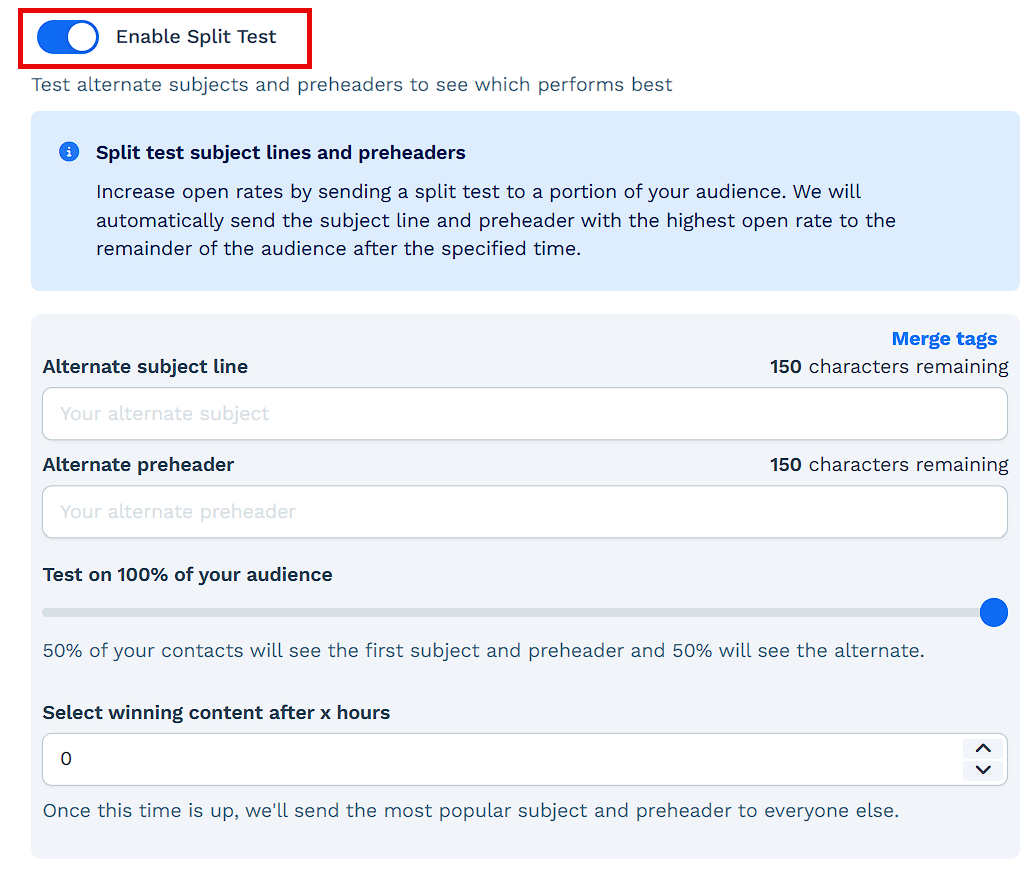
Enter an Alternate subject line and an Alternate preheader. These fields support up to 150 characters and accept merge tags.
Use the slider to choose the test group size. You can run the split test on your entire audience or a portion of it. For example, testing on 40% means 20% will see version A, 20% will see version B, and the remaining 60% will receive the winning version.
Set the Select winning content after x hours timer. Once the time has passed, the system will automatically choose the version with the highest open rate and send it to the rest of your audience.
After sending, you’ll be able to review the split test results in the broadcast performance report. You’ll see both versions side by side with a “Winner” label assigned to the better performer based on open rate.
Sending Options:
In the “Sending options” section, you can choose when the broadcast should be sent after publishing.
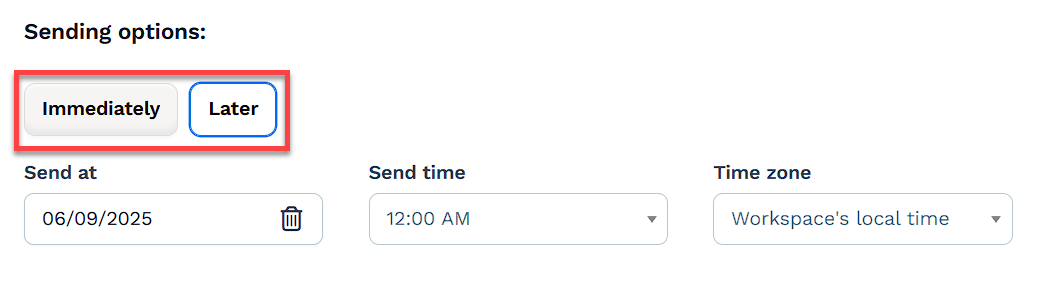
Click Immediately to send the email right after publishing.
Click Later to schedule the broadcast for a future date and time.
Smart Sending:
Smart Sending optimizes email delivery to avoid being flagged as spam. When sending a broadcast to a large number of contacts, the Smart Sending feature can help by batching emails rather than sending them all at once. This improves delivery and open rates and keeps email service providers happy by spreading the sending times.
Check the box Smart Sending.
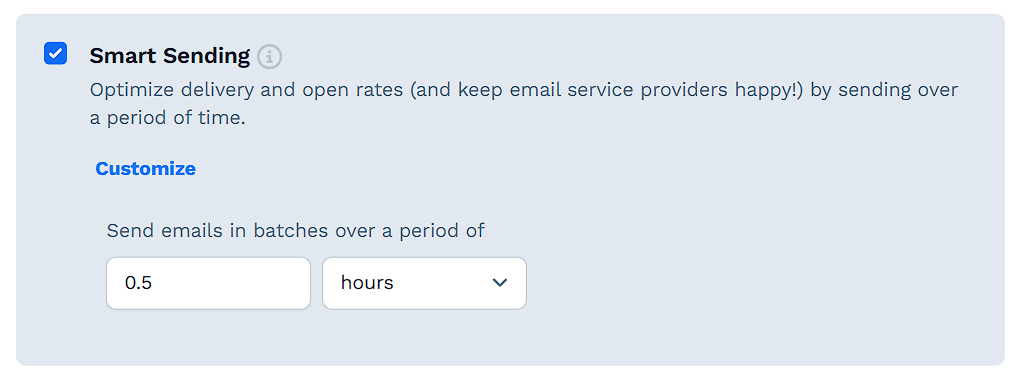
To set up sending batches, click Customize. Then, in the Send emails in batches over a period of fields, enter the number of hours or days the email service provider should wait between sending batches.
Send a Broadcast
Review your broadcast details and send a test email to ensure everything is correct.
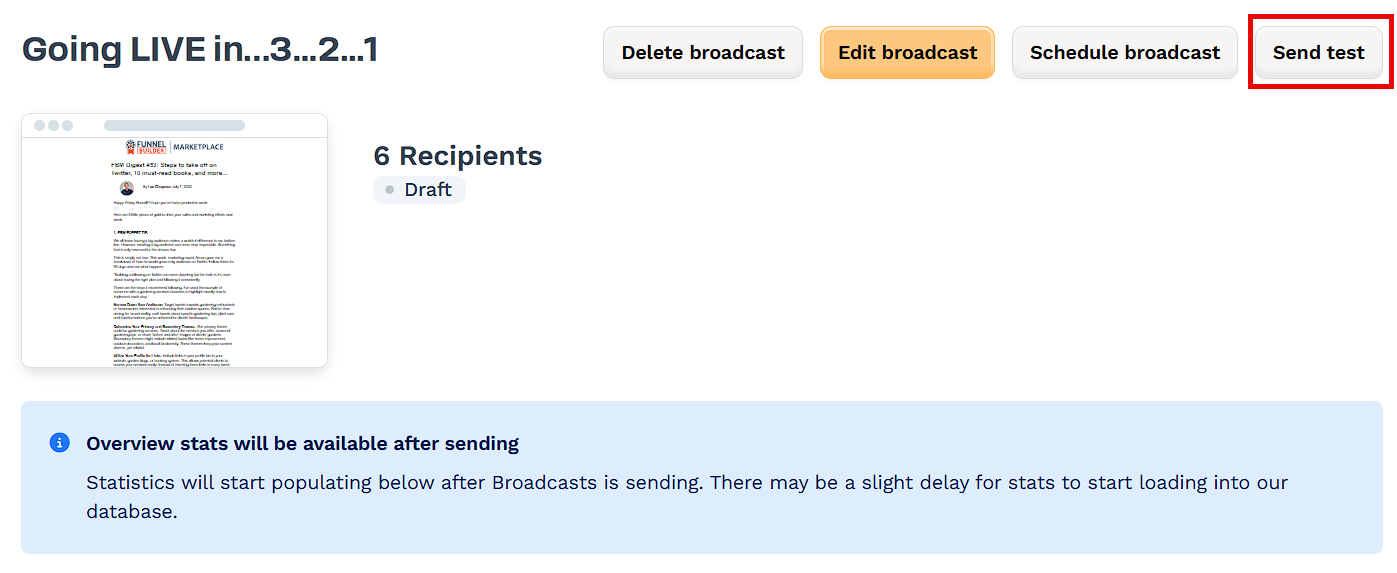
Click Schedule broadcast.
A pop-up with sending options will appear. Choose when to send your broadcast:
Click Schedule Now to send the email immediately.
Click Schedule if you are scheduling the email for a later date.
After sending, you’ll be redirected to a page showing the status, revenue and performance details of your broadcast. Click View details at the top right to review all the details of your broadcast.
Broadcast Performance Overview
Once your broadcast has been sent, you can view detailed performance analytics directly inside the Email app.
Accessing Analytics
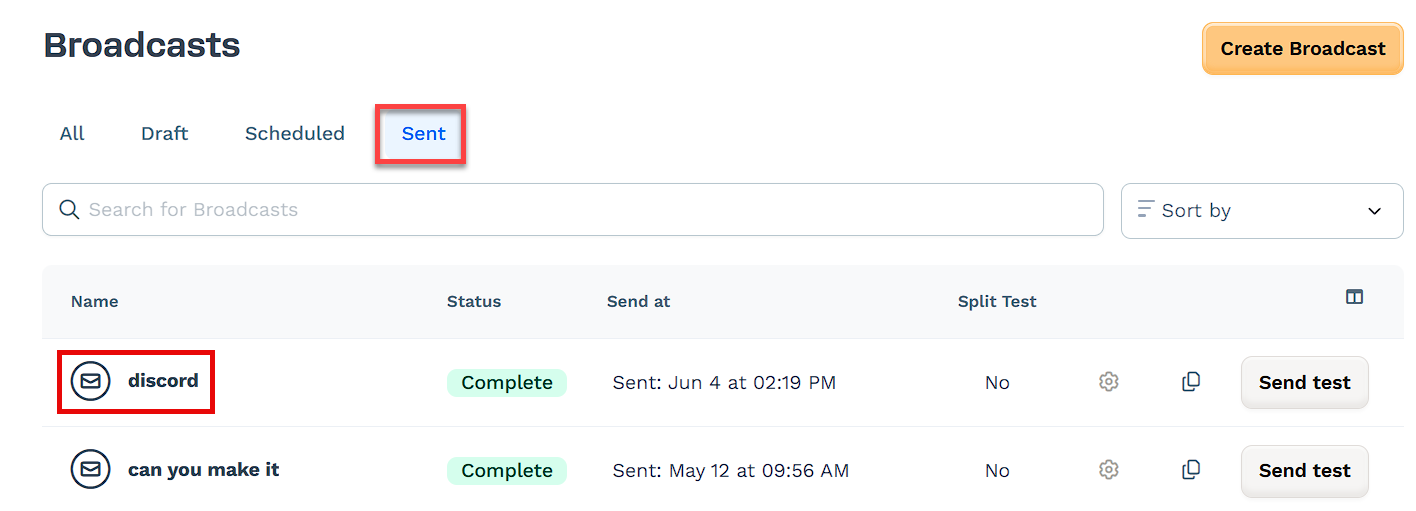
Navigate to the Email app from the left-hand sidebar of your ClickFunnels dashboard.
In the Broadcasts tab, switch to the Sent view.
Locate your broadcast in the list and click on the row to open its details page.
Analytics Overview
On the broadcast summary page, you'll see the following key insights:
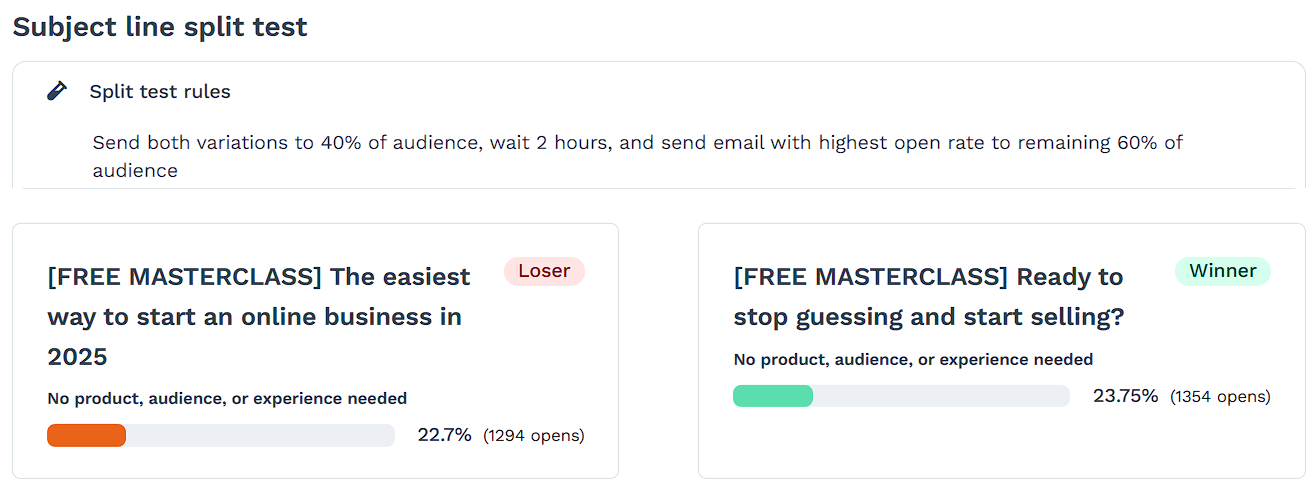
Subject Line Split Test (If Enabled)
View performance of each variation.
The winning subject is automatically sent to the remainder of your audience based on open rates.
Stats include open percentages and total opens per variation.
Revenue
Total Revenue generated by the broadcast.
Per Recipient earnings.
Per Unique Open/Click value metrics.

Performance Metrics
Delivered: Total number of successful sends.
Opened: Unique opens and open rate.
Clicked: Unique clicks and click-through rate.
Bounced: Number of undelivered messages.
Unsubscribed: Contacts who opted out via this email.
Open Stats: Total opens, unique opens, average open time.
Click Stats: Total clicks, unique clicks, average time to click.
