 Dashboard
 Site & Funnels
 Products
 Orders
 Contacts
 Analytics
 Marketing
 Sales
Sales Settings
 Apps
Apps Payments
 MessageHub
This article will cover the areas of the Workflow Builder. When creating a Workflow, you can edit or access certain features, for example, analytics, workflow settings, etc.
To access the Workflows area, you must setup your Marketing Settings first. Otherwise, you will see these warnings.

Table of Contents
Requirements
- An active ClickFunnels 2.0 account
- Configured Marketing Settings
- An existing Workflow
Workflow Builder Overview
-
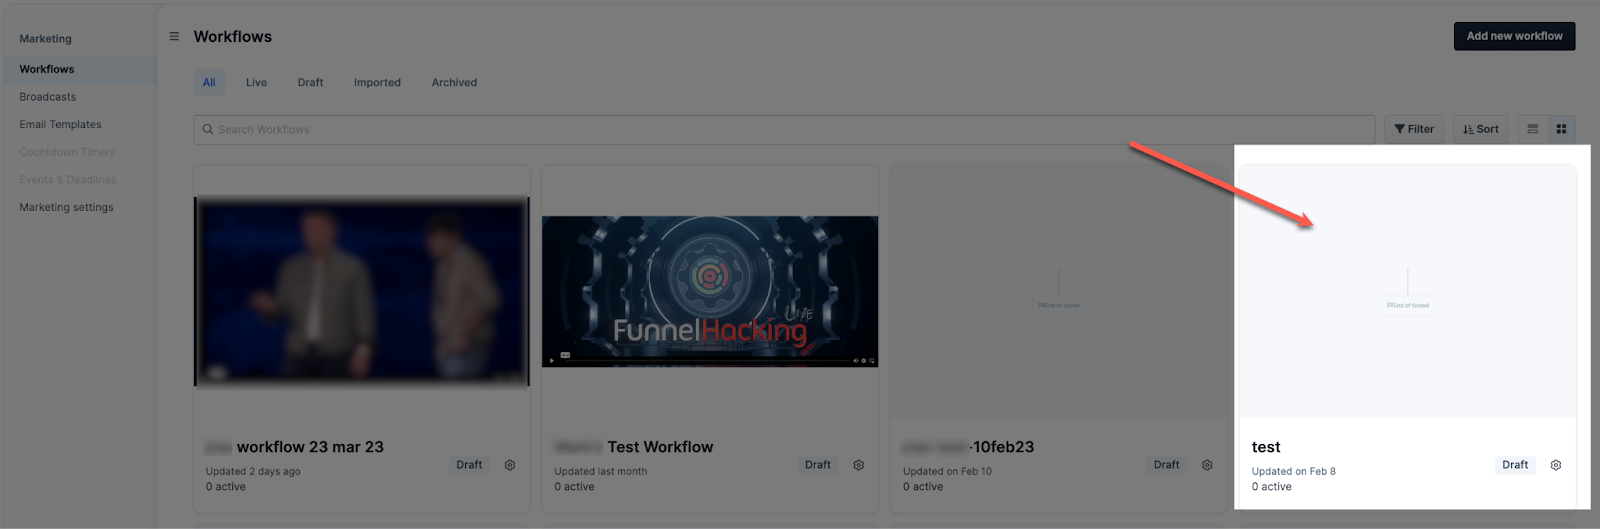
Click Marketing from the left main menu, then click on Workflows.

-
Click on a Workflow to access the workflow builder.
-
If the workflow is disabled, you will see a message at the top of the page. To enable the workflow, toggle the button in the top right corner.

-
You will see a map of your Workflow.

-
With Analytics enabled, you will find the stats of your Workflow, including individual email stats like “Sends,” “Opens,” “CTR (Click Through Rate),” “Revenue,” and “Unique Opens.” Stats can be filtered by date.

-
The 3 dots menu, located in the top right corner, will give you the option to:

- Enable or disable the Analytics view.
- Enable or disable a mini-map of the workflow.
- Back populate.
- View active runs.
-
From the bottom left corner, you can:

- Remove the mini-map.
- Fix the zoom of the page.
- Reset zoom
- Fit the size to your screen.
-
Click the envelope icon on the right side of the screen to add more steps to your Workflow.


Was this article helpful?
That’s Great!
Thank you for your feedback
Sorry! We couldn't be helpful
Thank you for your feedback
Feedback sent
We appreciate your effort and will try to fix the article