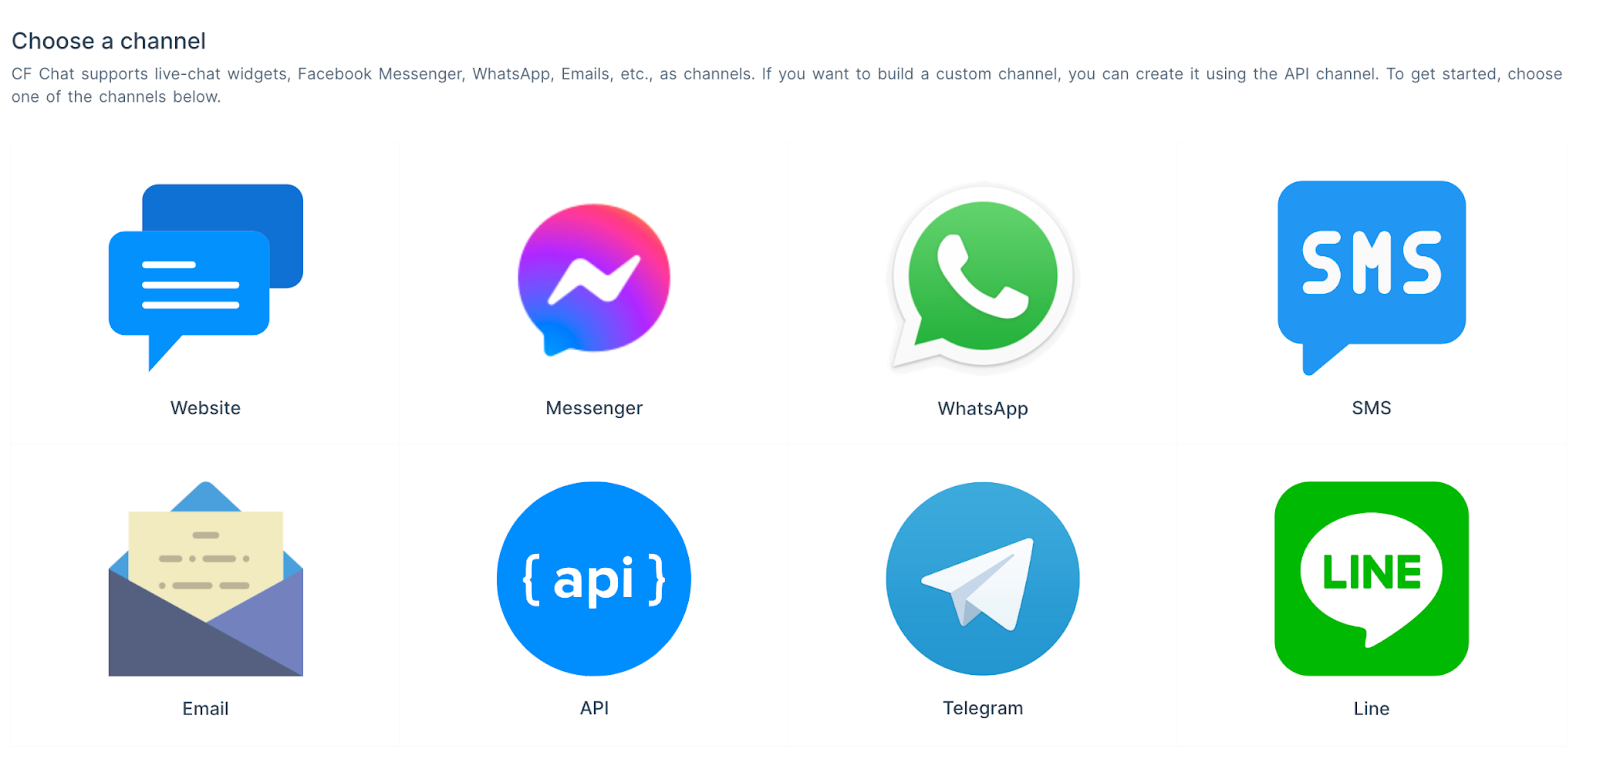
Inboxes in MessageHub allow you to manage conversations from different communication channels such as email, social media, live chat, and messaging apps, all in one place. They ensure that customer messages are centralized, making it easier for your team to respond and stay organized.
You can set up multiple inboxes to handle different communication channels based on your business needs. This article will explain how to create and configure inboxes step by step so you can start managing customer interactions efficiently.

Requirements
An active ClickFunnels account
The MessageHub App
Optional: A third-party app for specific inbox integrations
How to Add a Chat Inbox
To create a new inbox in MessageHub, follow these steps:
Navigate to the MessageHub app in the left-side menu of your ClickFunnels Workspace.
Choose one of the following options to start adding an inbox:
From the Settings Menu: Go to Settings ⚙ > Chat Inboxes and click the Add Inbox button in the top-right corner.
.png)
From the Conversations tab: Locate the + New Inbox option below your list of existing chat inboxes and click to begin.
.png)
Once you’ve accessed the Add Inbox screen, follow these steps to complete the setup:
Select the communication channel you want to integrate.
Enter the required details, such as account credentials or other setup information specific to the channel.
Add agents to ensure incoming conversations are properly handled.
Your inbox will be ready to use as soon as the setup is complete.
Learn More About Inbox Setup
If you want to add a specific type of inbox, refer to the guides below for detailed instructions tailored to each channel:
Managing Chat Inboxes
Once your inboxes are set up, you can manage them directly from the Chat Inboxes setting in MessageHub. Here’s how:.png)
Editing an Inbox
In MessageHub, go to Settings ⚙ > Chat Inboxes to see a list of your configured inboxes.
Click the gear ⚙ icon next to the inbox you want to edit.
Update the inbox details as needed, such as assigning it to a different team or adjusting its settings.
Deleting an Inbox
If you no longer need an inbox, you can delete it:
Navigate to the Chat Inboxes section under Settings ⚙.
Click the delete icon next to the inbox you want to remove.
A confirmation dialog will appear.
Type the name of the inbox to confirm the deletion.
Click Yes, Delete [Inbox Name] to proceed or No, Keep [Inbox Name] to cancel.