A well-maintained blog can enhance your brand’s visibility, engage your audience, and establish your authority in your industry. ClickFunnels provides a robust Blog feature to help you create, manage, and publish posts effortlessly. In this article, we’ll guide you through the process of creating and managing blog posts in ClickFunnels.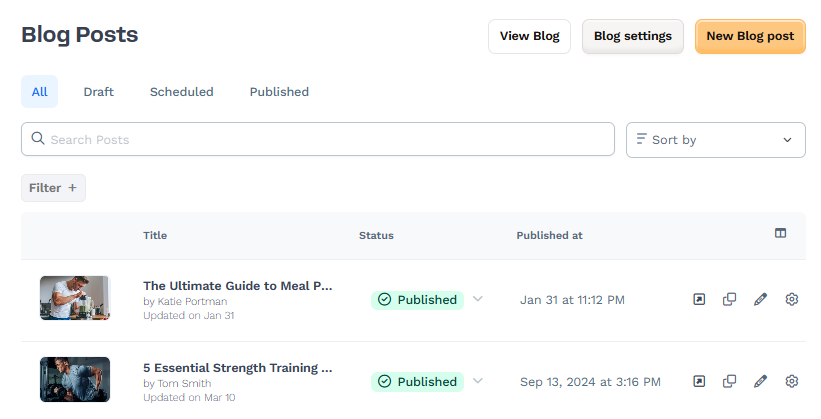
Requirements
An active ClickFunnels account
Creating a New Blog Post
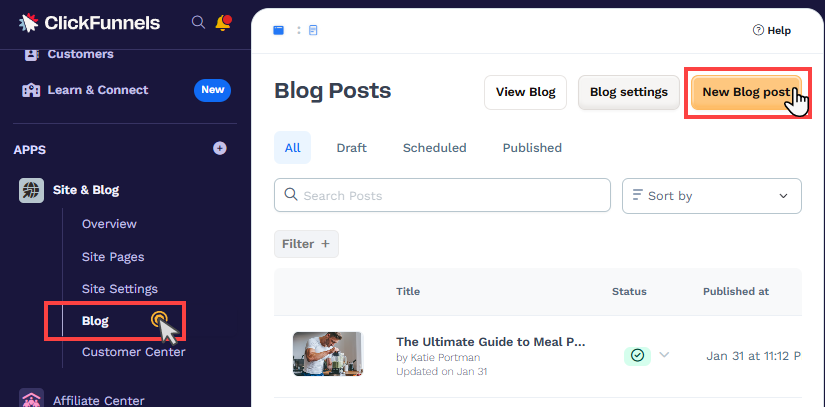
From the left-side navigation, click on the Site & Blog app.
Select Blog.
On the Blog Posts page, click the New Blog Post button.
The Post Details page will open, where you can customize the blog post details.
Customizing Post Details
On the Post Details page, configure the following settings:
Title
Add a descriptive and engaging title for your blog post. This will be displayed prominently on the blog page.
Summary
Write a short summary that highlights the key points of your blog. This will help readers quickly understand the post's topic.
Featured Image
Upload a featured image to represent your blog post visually. This image will appear alongside the title on the blog page.
SEO & Sharing
SEO Page Title: Add a concise title for search engine visibility (max 60 characters).
SEO Page Description: Write a description summarizing the blog content (max 160 characters).
Current Path: Set the URL path for the blog post. By default, the post title is used as a path.
Author
Assign an author to the blog post by selecting from the dropdown menu. You can create a new author by clicking the (+) icon or from the Blog Settings page. It is possible to add multiple authors to a single blog post. The author represents individuals who have contributed to writing the blog posts, and readers will be able to view the author's name.
Category
Organize your blog posts into categories to enhance content management. Categories assist readers in locating related blogs that correspond to specific topics. For instance, “Healthy Eating Habits” is an example of a category name. If you have seven blog posts pertaining to healthy eating habits, readers can access all relevant blogs associated with this category by clicking on it. Categories can be created in the Blog Settings, and once established, you can select the appropriate category when publishing your blog post.
Learn more about how to display blog categories on a page in the article (Collections) Blog Categories: Display Blog Categories.
Tags
Tags provide additional organization for blog posts. Unlike categories, tags are not visible to users but are useful for internal grouping and search.
IMPORTANT
Tag names must be unique. Tag names are case-insensitive, so “Fitness” and “fitness” are treated as the same. If you create a tag that already exists, the system will still create the tag but automatically add a suffix to make it unique.
Example: Creating a tag called “Health” when one already exists will create “Health (Duplicate)”.
Additional duplicates will be numbered: “Health (Duplicate 2)”, “Health (Duplicate 3)”, etc.
Advanced Settings
Style: Select a style guide from the list or leave it as “Use Default Style.”
Template Page: Override the default template if necessary by selecting an alternative template. Click the Edit Default Template Page option if you wish to view and modify the blog post template associated with the currently activated theme for your workspace. Please select a template here only if you desire this specific blog post to appear differently than the blog post template of your current theme.
Editing Post Content
Editing a blog post means adding the actual content to the body of the blog. This includes text, images, and other elements that make up the post's main content. To edit a blog post, follow the instructions below:
On the Blog Posts page, click the Pencil
✏️ icon next to the post you want to edit.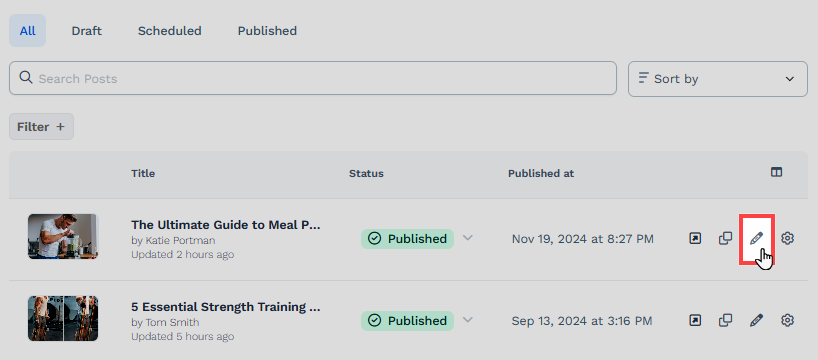
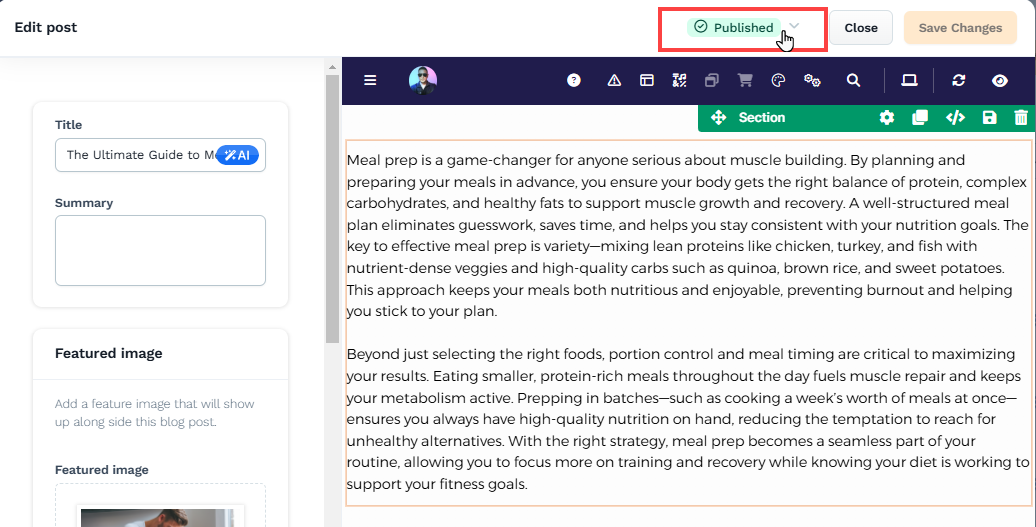
The editor will open, displaying the Post Settings on the left and the Page Editor on the right.
You can add and customize blog content in the Page Editor using Sections, Rows, and Elements. Learn more about ClickFunnels Page Editor in the article Getting Started with the ClickFunnels Page Editor.
Once done, click Save Changes to save your edits.
To publish the blog, toggle Publish. Additionally, you may schedule the publication for a future date if you wish to publish at a later time. To save the content as a draft, switch to Convert To Draft.
Viewing the Blog Page and Posts
Viewing the Blog Page
Click the View Blog button on the Blog Posts page to access the complete blog page. The blog page will adhere to the layout of the blog page based on the active theme of your workspace. If you wish to modify the blog home page template, please navigate to the Site & Blog app » Overview » Edit Site » Blog Home.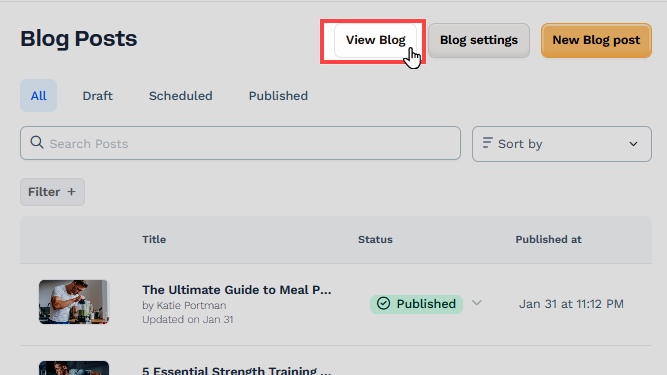
Viewing Individual Blog Posts
To view a specific blog post:
Click the Arrow
↗️ icon next to the post on the Blog Posts page.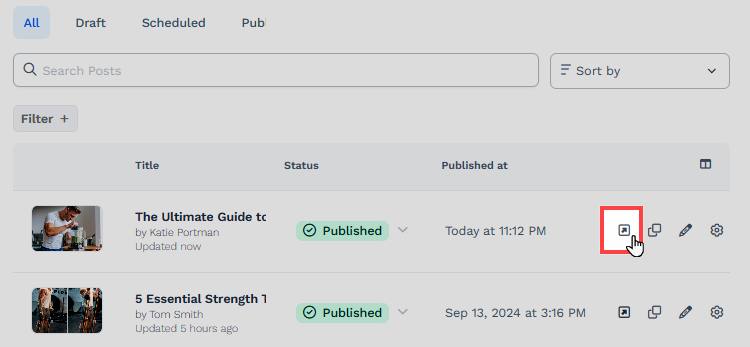
The individual blog post will open, displaying the full content.
Cloning a Blog Post
On the Blog Posts page, click the Clone icon next to the post you want to duplicate.

A copy of the blog post will be created, allowing you to edit and customize it as needed.
Deleting a Post
On the Blog Posts page, select the blog post you want to delete.
Click the Gear
⚙️ icon on the post to access its settings.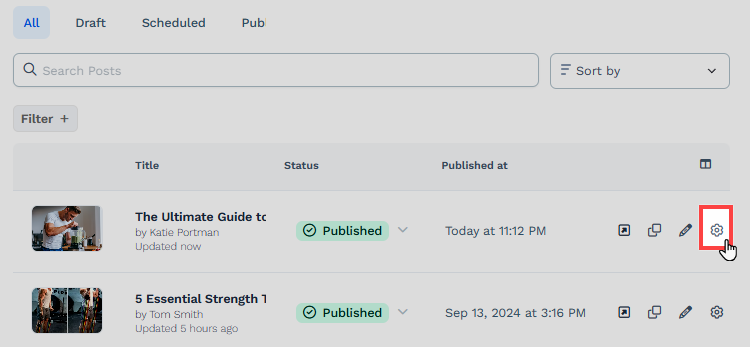
Click the Delete Blog Post button at the bottom of the Post Details page.
Confirm the deletion in the prompt.