The Blog Settings page in ClickFunnels allows users to configure and optimize their blogs for effective content management and better user engagement. Below is a detailed explanation of all the settings available on this page, divided into their respective components.
Requirements
An active ClickFunnels account
Accessing Blog Settings
From the left-side navigation, click on the Site & Blog app.
Select Blog.
On the Blog Posts page, click the Gear
⚙️ icon to access blog settings.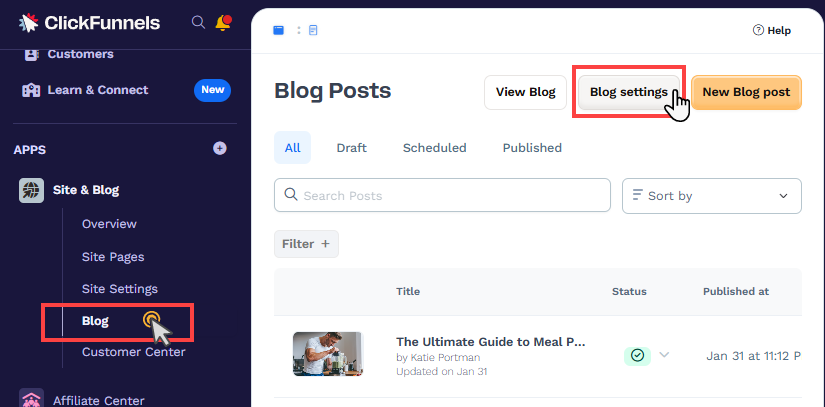
The Blog Settings page will open, where you can customize the blog settings.
Blog Settings
Blog Information
This section provides the foundational details of your blog and allows you to configure its general settings: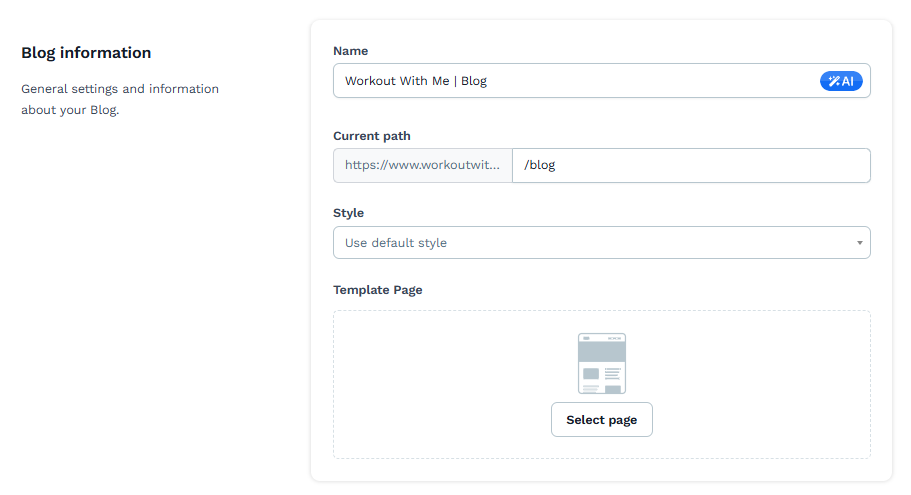
Name: Enter the name of your blog. This name will appear on the blog pages and may be used in sharing or linking contexts.
Current Path: This field shows the URL path where your blog will be hosted (e.g.,
/blog). You can edit this path to align with your website structure.Important:
The Blog feature defaults to using the domain linked with the Site app. It is not possible to use a different domain or subdomain for the Blog than the one associated with the Site app. To check the domain applied to the site, please go to Site app » Overview » Site Settings » Domain.
Style: Select a style guide from the list or leave it as “Use Default Style.”
Template Page: Assign a specific page template for your blog home page. Click "Select page" to choose a template.
Note:
When promoting a theme in your workspace, the blog home page template is included with the theme. You need to apply a template here only if you wish to utilize a different blog home page template than the one associated with the active theme of your workspace.
SEO & Sharing
The SEO & Sharing section is designed to help optimize the blog home page for search engines and social media platforms. These settings apply specifically when users share the blog home page, ensuring consistent branding and enhanced discoverability. Configurable settings include: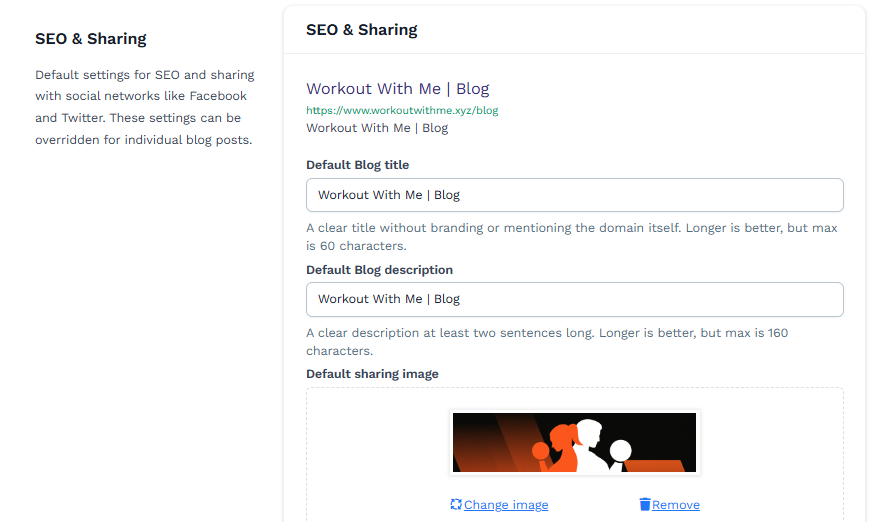
Default Blog Title: This title will appear on search engines and social media by default. Use a clear, concise title within 60 characters.
Default Blog Description: Provide a brief summary of your blog. Aim for at least two sentences, and keep it under 160 characters.
Default Sharing Image: Upload an image that will be used as a thumbnail when your blog home page is shared on social media platforms. You can change or remove this image anytime.
Additional Settings
Categories
Categories are used to organize your blog content into groups, making it easier for users to find related posts. When you create a new blog post, you can assign it to one or multiple categories.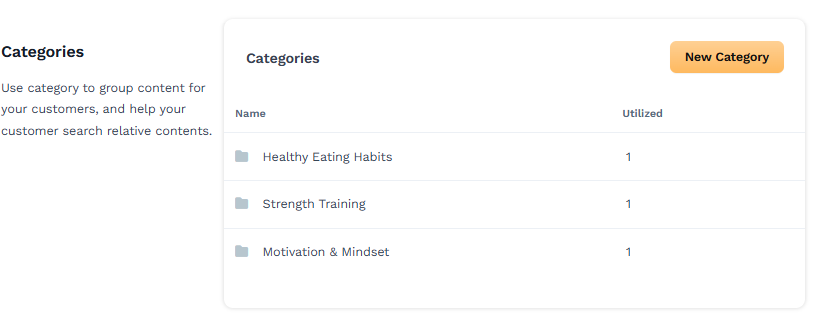
Create New Categories: Click "New Category" to add a category. Examples might include "Healthy Eating Habits," "Strength Training," or "Motivation & Mindset."
Utilization: The table shows how many posts are assigned to each category.
Tags
Tags provide additional organization for blog posts. Unlike categories, tags are not visible to users but are useful for internal grouping and search.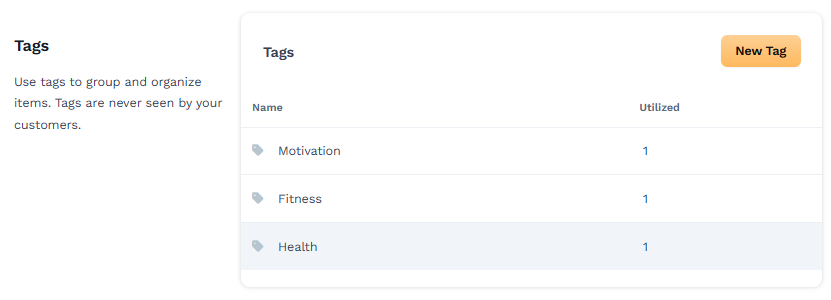
Create New Tags: Click "New Tag" to add a tag, such as "Motivation," "Fitness," or "Health."
IMPORTANT
Tag names must be unique. Tag names are case-insensitive, so “Fitness” and “fitness” are treated as the same. If you create a tag that already exists, the system will still create the tag but automatically add a suffix to make it unique.
Example: Creating a tag called “Health” when one already exists will create “Health (Duplicate)”.
Additional duplicates will be numbered: “Health (Duplicate 2)”, “Health (Duplicate 3)”, etc.
Authors
Authors are individuals who create blog posts. A blog may contain multiple posts, and various authors can contribute different articles based on their areas of expertise. For instance, if your site features blogs related to fitness and health, multiple authors can address diverse topics such as workouts, health and diets, and health advice, among others.
Author Profiles: Each profile includes the author's name, email address, and image.
Add New Author: Click "New Author" to add a new profile. Enter the author's name, email address, and profile image, which will appear in their posts.
Saving Settings
Once you have configured the blog settings, click “Update Blog” to apply the changes.