ClickFunnels provides a powerful blogging feature that enables you to create, manage, and publish content all in one place within the Site app. Whether you want to attract leads, educate your audience, or enhance your brand’s online presence, the Blog feature in ClickFunnels seamlessly integrates with your funnels to drive engagement and conversions. In this article, you will learn how to effectively set up, customize, and manage your blog within ClickFunnels.
Requirements
An active ClickFunnels account
Overview of Blog Feature
The Blog feature allows you to create a structured content hub to publish blog posts, categorize content, and optimize articles for search engines. It is designed to integrate seamlessly with your site, helping you drive engagement and conversions.
Key Components of the Blog Feature:
Blog Posts – Individual articles that provide value to your audience.
Categories – Organize your content for better navigation.
SEO Settings – Optimize posts for search engine visibility.
Design & Layout Customization – Modify the look of your blog to match your brand.
Publishing & Draft Mode – Manage post visibility and schedule content.
Creating New Blog Posts
Creating blog posts in ClickFunnels is simple and efficient.
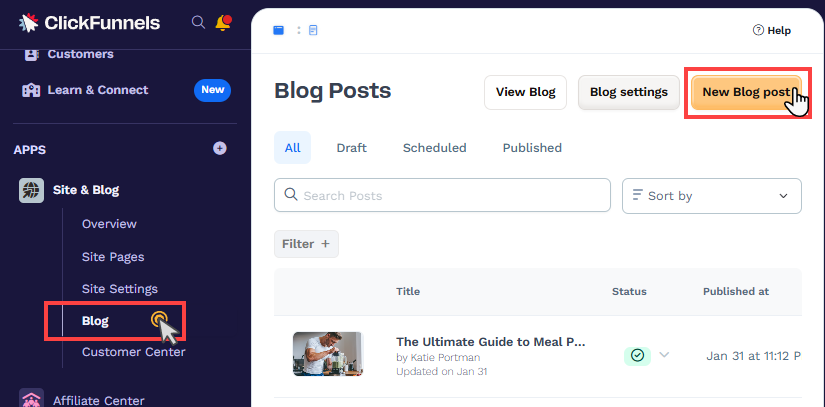
From the left-side navigation, click on the Site & Blog app.
Select the Blog menu.
On the Blog Posts page, click the New Blog Post button.
Enter the Title, Content, and upload a Featured Image.
Assign the post to a relevant Category for better organization.
Configure the SEO Settings, including meta title, description, and slug.
Customize the Post Layout to match your branding and design preferences.
Once ready, click Save to keep it as a draft or Publish to make it live.
For a detailed step-by-step guide, refer to our article How to Create and Manage Blog Posts.
Editing Post Content
Editing a blog post means adding the actual content to the body of the blog. This includes text, images, and other elements that make up the post's main content. To edit a blog post, follow the instructions below:
On the Blog Posts page, click the Pencil
✏️ icon next to the post you want to edit.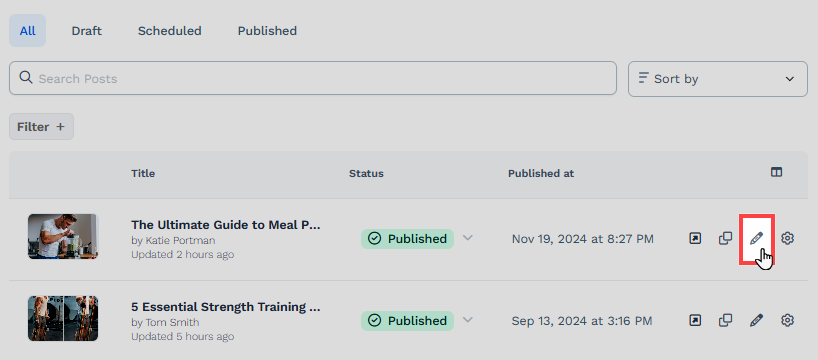
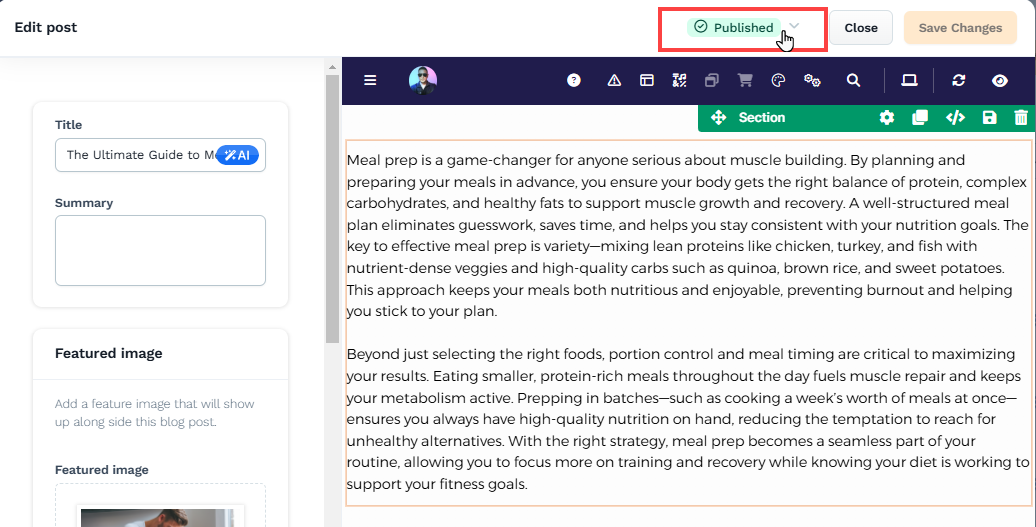
The editor will open, displaying the Post Settings on the left and the Page Editor on the right.
You can add and customize blog content in the Page Editor using Sections, Rows, and Elements. Learn more about ClickFunnels Page Editor in the article Getting Started with the ClickFunnels Page Editor.
Once done, click Save Changes to save your edits.
To publish the blog, toggle Publish. Additionally, you may schedule the publication for a future date if you wish to publish at a later time. To save the content as a draft, switch to Convert To Draft.
Customizing Blog Theme Pages
Blog theme pages in ClickFunnels define your blog's overall structure and design, ensuring a cohesive and professional look across all posts and pages. Customizing these pages allows you to align your blog with your brand identity and improve user experience. To customize your blog theme pages:
Navigate to the Site & Blog app in the left-hand menu of your workspace.
Click on Overview to view a summary of your site, including blog posts and pages.
Select Edit Site to access the theme pages.
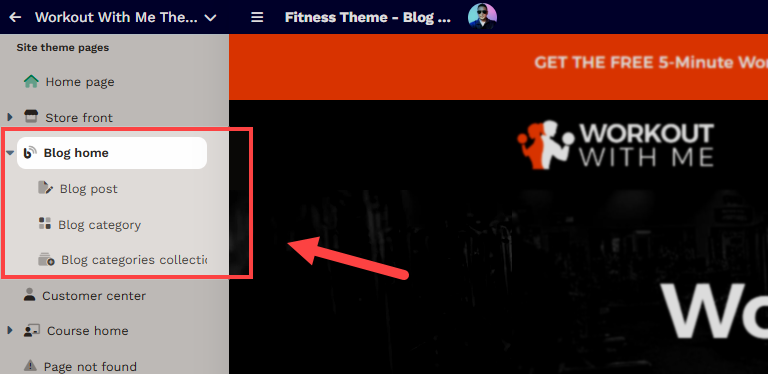
Locate the blog pages in the "Site Theme Pages" section. These include the Blog Home, Blog Post, Blog Category, and Blog Categories Collection page.
Clicking on the page name will open it in the page editor. After making the necessary edits to the content, please click Save to apply the changes.
Blog Theme Pages You Can Edit
Blog Home Page: Displays all published blog posts in a structured layout.
Blog Post Page: The individual article layout, where you can format content, images, and author details.
Blog Category Page: A page that showcases blog posts categorized under a specific topic.
Blog Categories Collection Page: Displays all available blog categories.
Learn more about customizing blog theme pages in the article Customizing Blog Theme Pages.
Managing Blog Settings
The Blog Settings section provides essential customization options to manage your blog effectively. In this section, you can:
Set Up a Custom URL – Define how your blog URL appears.
Configure SEO Settings – Improve visibility with meta titles and descriptions.
Enable Social Sharing – Allow users to share your blog posts on social media.
Adjust Publishing Preferences – Control how posts are displayed and scheduled.
Accessing Blog Settings
From the left-side navigation, click on the Site & Blog app.
Select Blog.
On the Blog Posts page, click the Gear
⚙️ icon to access blog settings.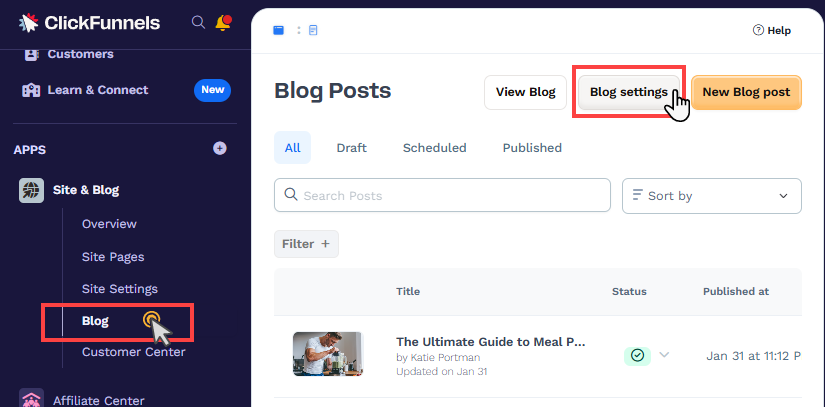
The Blog Settings page will open, where you can customize the blog settings.
Learn more about managing blog settings in the article Understanding Blog Settings.
Publishing and Sharing Blog
Once your blog post is ready, you must publish and share it effectively with your audience. ClickFunnels provides options to manage the visibility of your posts and share them across various platforms.
Schedule or Publish the Blog Posts:
To publish a blog post:
Navigate to the Blog menu in your ClickFunnels dashboard.
Select Blog Posts and choose the post you want to publish.
Ensure all SEO Settings and formatting are finalized.
Click Publish to make the post live on your blog.
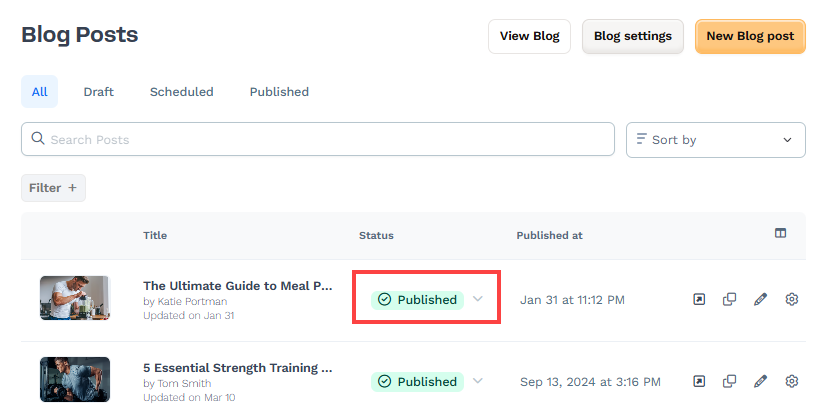
In the open prompt, you can select publish immediately or schedule for a future date.
Sharing the Blog Page URL with Your Audience
In the Blog Settings, you can customize the Current Path to define how your blog URL appears. The blog URL will always use your site’s domain and the path specified in the settings. For example, if your domain is www.example.com and the current path is /blog, your blog URL will be https://www.example.com/blog. This is the link you need to share with your audience.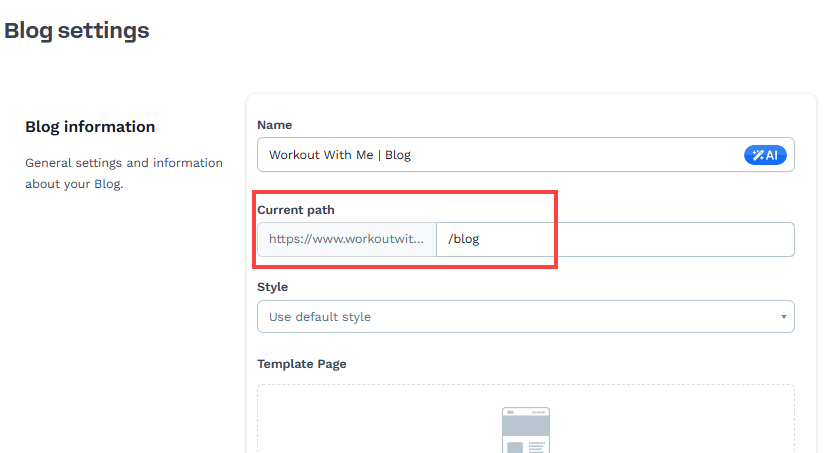
Hyperlinking the Blog URL on Your Site
You can make your blog accessible by adding hyperlinks in various elements of your site:
Button Element: Use a button to direct visitors to your blog. Set the blog URL as the link in the button’s settings.
Learn more about using the button element in the page editor in the article Button: Allow Users to Submit Actions.Navigation Element: Add the blog link to your site’s navigation menu for easy access.
To learn how to set up navigation links, read our article Navigation: Add Navigation Menus to Pages.