ClickFunnels provides a centralized Pages menu in the Workspace Settings, enabling you to view and manage all the pages across your workspace. This article explains the functionality of the Pages menu and how to perform key actions like editing, cloning, deleting, and updating page settings.
Requirements
An active ClickFunnels account
Types of Pages in ClickFunnels
ClickFunnels allows you to create various types of pages, each serving a specific purpose. These include:
Site Pages: Created in the Sites app for website-specific content.
Funnel Pages: Created in a funnel in the Funnels menu.
Landing Pages: Created in the Landing Pages app, which is often used for marketing campaigns.
Theme Pages: Used for templated designs and accessed through the Themes menu.
While these pages are created in their respective applications, the Pages menu consolidates all pages, making management easier.
Accessing Pages Menu
From your ClickFunnels dashboard, navigate to the Workspace Settings.
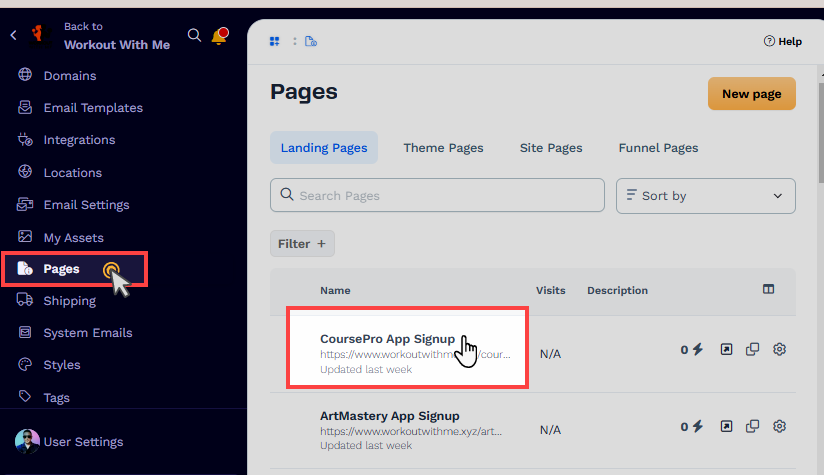
Select Pages from the left-hand menu.
Use the navigation tabs at the top to switch between Landing Pages, Theme Pages, Site Pages, and Funnel Pages. Selecting a tab filters the list to display only the relevant page type.
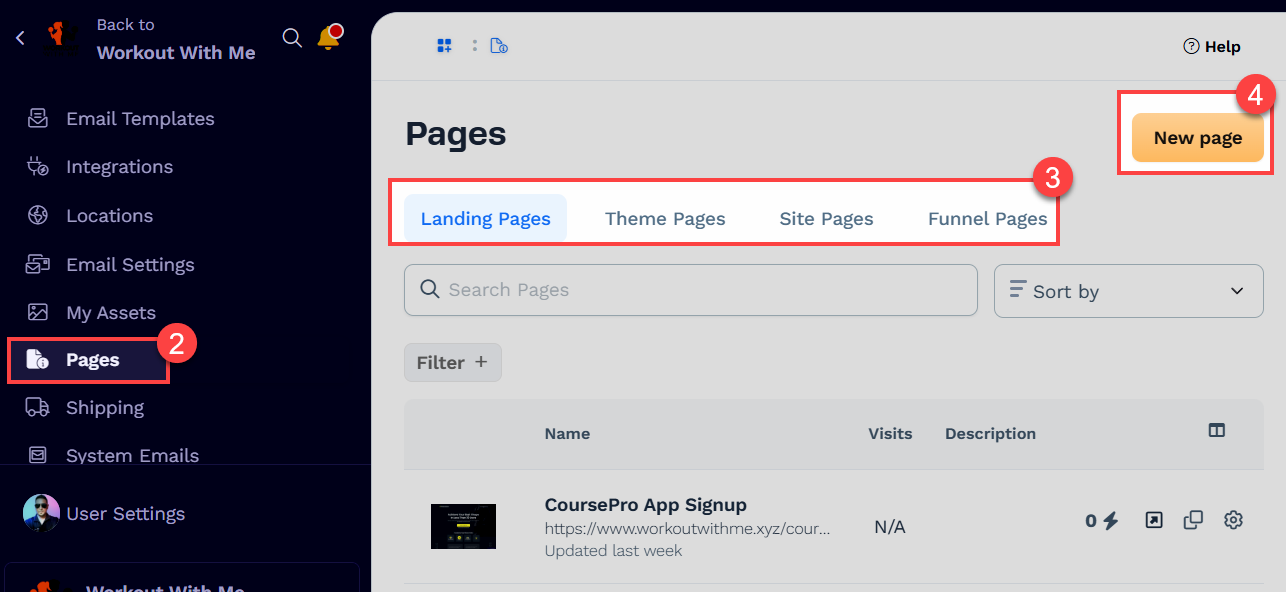
To create a new page, click the New Page button. Choose a page template and input page details to include the pages in the Pages menu.
Note:
Creating a new page from the Pages menu will create a landing page. Once finished, you can access the page in the Landing Pages tab or within the Landing Pages app. To make more types of pages, please go to the relevant applications like Site, Funnel, and Theme.
Filtering and Searching Pages in Your Workspace
The Pages menu includes powerful filtering and search capabilities, allowing you to locate specific pages across your workspace quickly. These tools are particularly useful if you are unsure of a page’s location or need to manage large numbers of pages.
Applying Filters
Click the Filter + button to access filtering options.
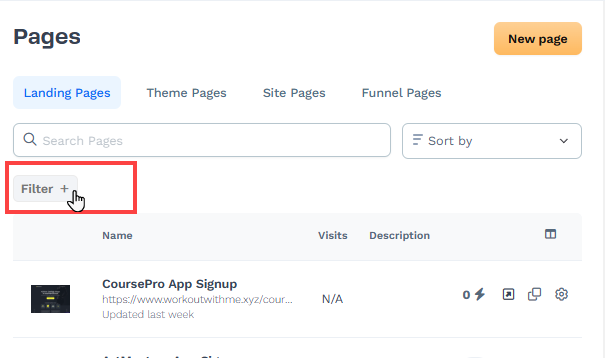
Select from attributes such as:
Created At: Filter pages by their creation date.
Name: Filter pages by specific names or keywords.
Updated At: Filter pages based on the last update date.
Filters allow you to narrow down the results to quickly find the pages you need, saving time and enhancing your workflow.
Searching Pages
The search bar in the Pages menu is a versatile tool for quickly finding specific pages. Suppose you created a funnel page to promote a course but don’t remember which funnel it’s in. By entering the page name or part of the URL in the search bar, the search results will pinpoint the exact funnel and location of the page. This saves time and ensures you can quickly access the page for updates or reviews. The search functionality is particularly useful for managing large workspaces, allowing you to find pages without manually navigating through multiple funnels or apps. Here’s how to use it:
Searching by Page Name:
Type the page name or keywords you are looking for in the search bar.
The search will display all results matching the page name.
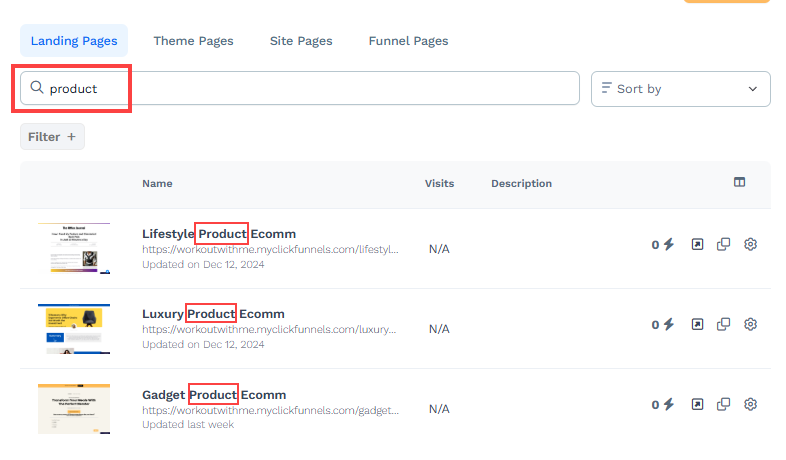
Example Use Case: If you consistently use a specific keyword, such as "Product," in the names of your checkout pages—either at the beginning or end of the name—you can simply type "Prroduct" into the search bar. The search will return all pages with "Product" in their name, helping you locate all related pages efficiently. For example, this can be useful if you search for multiple checkout pages in your funnels and use this naming convention for easier identification.
This method is particularly useful when remembering part of the page name but not its exact location within your workspace.
Searching by Page URL
Instead of entering the full URL, paste only the page path (e.g.,
/checkout-page) into the search bar.The results will display the matching page name, location (funnel or app), and URL.
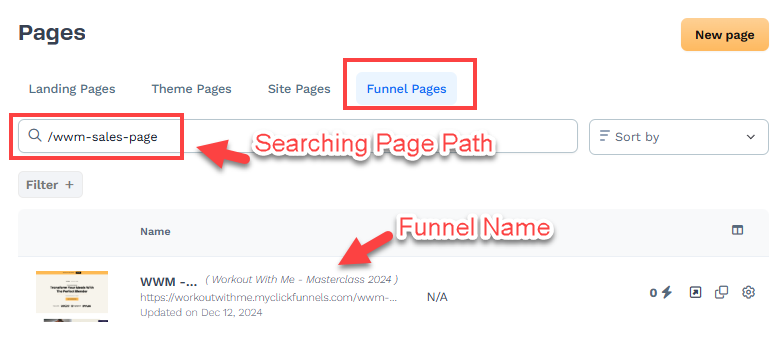
Example Use Case: If you know the page path (e.g., /sales-page) but don’t remember which funnel it belongs to, entering the path will help you find the page and its exact funnel location. This method is particularly helpful when working with shared or external links where only the page path is available.
Editing Pages
Locate the desired page in the list.
Click the page name to open the page editor. This allows you to make changes to the page content and design.
After editing, click Save to save changes.
Cloning Pages
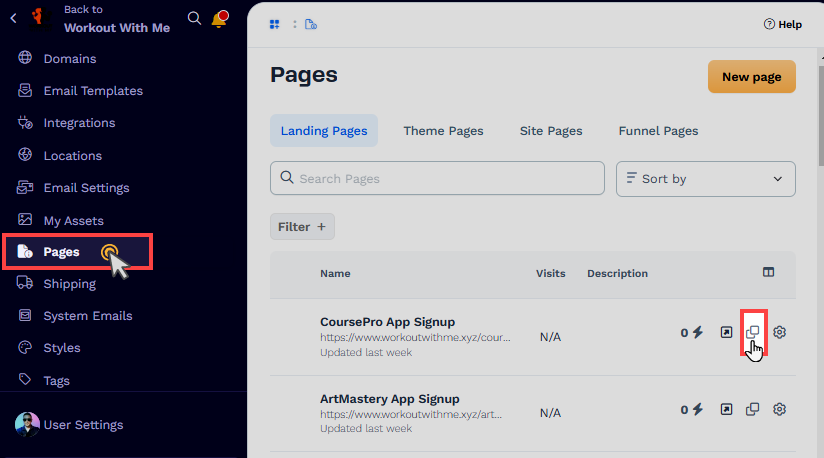
Locate the page you want to duplicate.
Click the clone icon. This creates an identical copy of the page, which you can modify as needed.
Deleting Pages
Identify the page to remove.
Click the Gear
⚙️ icon on the page to access its settings.Click the Delete button and confirm the action.
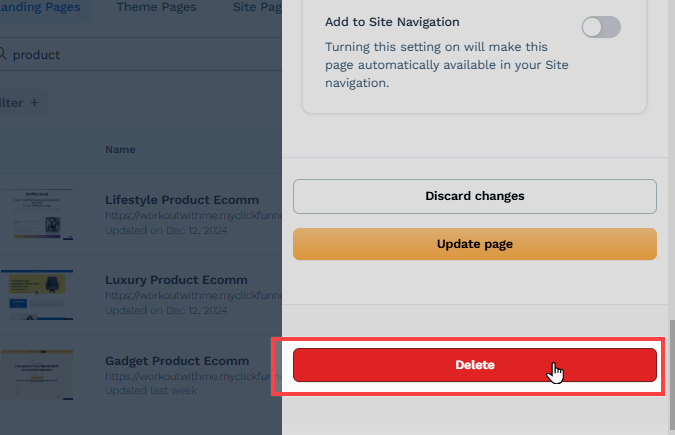
Warning:
Deleting a page is permanent, so proceed with caution.
Adding Quick Actions to Pages
Quick Actions allow you to add automation to your pages, such as sending emails, providing access to assets or courses, or triggering workflows based on user behaviors like page visits or form submissions. These automations enhance user engagement and streamline your marketing efforts.
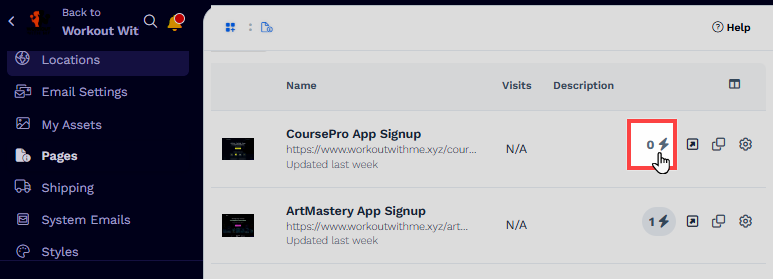
Navigate to the Pages menu and locate the specific page where you want to add quick action.
Click on the Quick Actions icon next to the page name.
Click Add Trigger to set up a user behavior that initiates the automation such as Opt-ins, views, etc.
Click Add Effect to define what action occurs when the trigger is met such as “Send Assets”, “Add/Remove Tag”, “Send Email”, etc.
Learn more about ClickFunnels “Quick Actions” feature in the Automations - How to Manage Quick Actions article.
Updating Page Settings
Page settings can be accessed by clicking the gear icon (⚙️) next to the page in the Pages list. You may configure: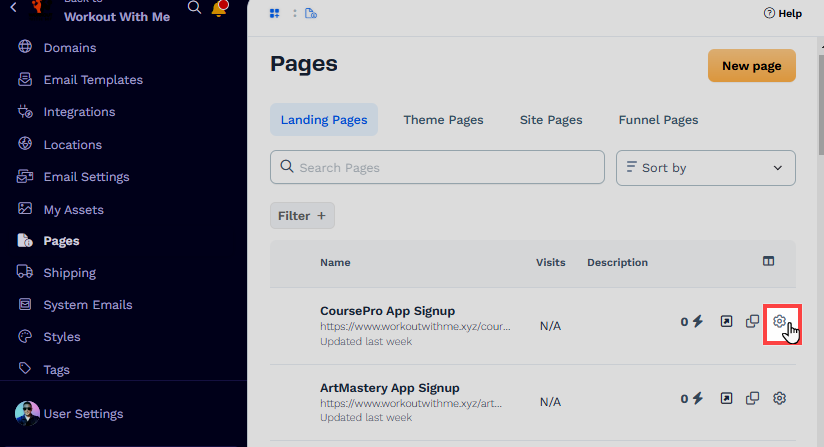
Page Name and Description
Page Name: This is the internal name of the page in your workspace. It helps you identify the page but is not visible to visitors.
Description: Provide a short description of the page for your reference.
SEO & Sharing
Page Title: This title appears in search engine results and browser tabs. Use a clear and descriptive title, such as "About Us | WWM."
Page Description: Add a concise description (up to 160 characters) to summarize the content of your page for search engines.
Page URL: Customize the URL path for your page (e.g.,
/about-us).Index in Search Engines: Toggle this option if you want the page to appear in search engine results and be included in your page domain sitemap file. This helps with SEO and allows search engines to crawl and index the page. When enabled, search engines like Google, Bing, and others can locate your domain.
Sharing Image: Upload an image that appears when your page link is shared on social media.
Favicon Image: Add a small icon (usually 16x16 or 32x32 pixels) displayed in the browser tab. If not uploaded, Favicon from Site Settings will be used as default.
Advanced Settings
Style: Select a specific style for the page if you want it to differ from the default style. Otherwise, leave it set to "Use Default Style." To create a style guide, go to Workspace Settings > Styles, define your styles and save the guide. Once created, you can select the style guide from the dropdown menu here to apply it to the site home page.
Add to Site Navigation: Enable this option if you want the page to be classified as a "Site Page" and visible under the Site Pages menu. If disabled, the page will be created as a standalone landing page and will not appear in the Site Pages menu.
After configuring these settings, click Update Page to apply the changes.