ClickFunnels provides a powerful Landing Pages app, allowing users to create customized landing pages that are not part of a funnel. These standalone landing pages are useful for various situations, such as one-off promotions or collecting leads without being part of a larger funnel. In this article, you will learn how to use the “Landing Pages” app in your ClickFunnels workspace.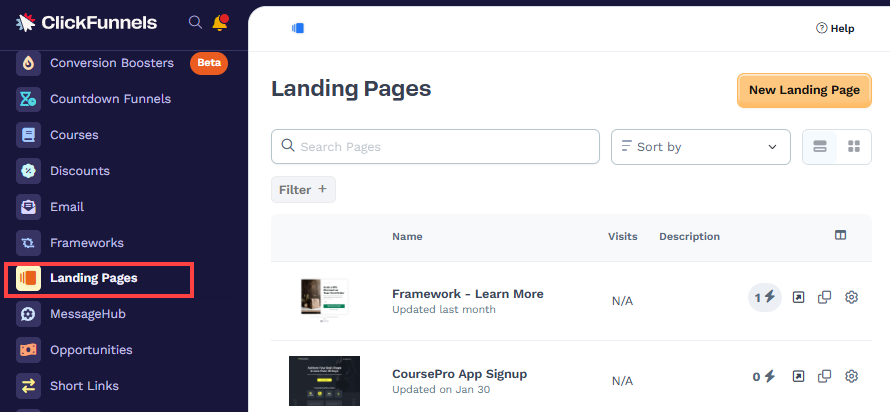
Requirements
An active ClickFunnels account
The Landing Pages app added to your workspace
What is a Landing Page
A landing page in ClickFunnels is a standalone web page designed to capture your audience's attention and prompt them to take specific actions or provide valuable information in a simple format. Unlike funnel pages, which guide visitors through multiple steps, standalone landing pages serve as individual, focused points of interaction.
Example Use Case: There are several scenarios where a standalone landing page is the ideal choice:
Lead Capture for a Special Offer: Suppose you want to create a dedicated information page for a special campaign or offer without building a full multi-step funnel. For example, you could create a page announcing an event or promoting a free resource. By using a landing page, you can leverage ClickFunnels’ built-in tracking capabilities to capture who visits the page and use an opt-in form to gather leads from interested users. This allows you to deliver your message with minimal friction while still tracking engagement and expanding your audience effectively.
Resource Delivery Page: You might also use a landing page to create a resource library where users can directly download assets like eBooks, guides, or templates without needing to navigate through a funnel. This provides an easy way for users to access valuable content while you monitor engagement metrics like page views and opt-ins.
Informational Pages: Landing pages can also be used for Terms and Conditions, Privacy Policy, or FAQ pages—essential information that users need to access, but which doesn’t require a complex journey or lead collection. These pages are valuable because they provide crucial information in a direct, easily accessible manner.
What is the Difference Between a Standalone Landing Page and a Funnel Page
While both landing pages and funnel pages are part of ClickFunnels, they serve different purposes:
Funnel Pages: These pages are part of a multi-step funnel. They guide visitors through a sequence, such as offering an upsell after a product purchase. Funnel pages are linked to maintain a flow, guiding customers towards a specific goal.
Standalone Landing Pages: These pages are independent and are not connected to any funnel by default. They are often used for specific promotions, lead capture, or content that doesn’t require a sequential journey. Standalone landing pages can be added to funnels later if needed, but they initially exist outside any sequence.
Adding the “Landing Pages” App in the Workspace
From the main menu on the left, click on + Add Apps to navigate to the Apps page.
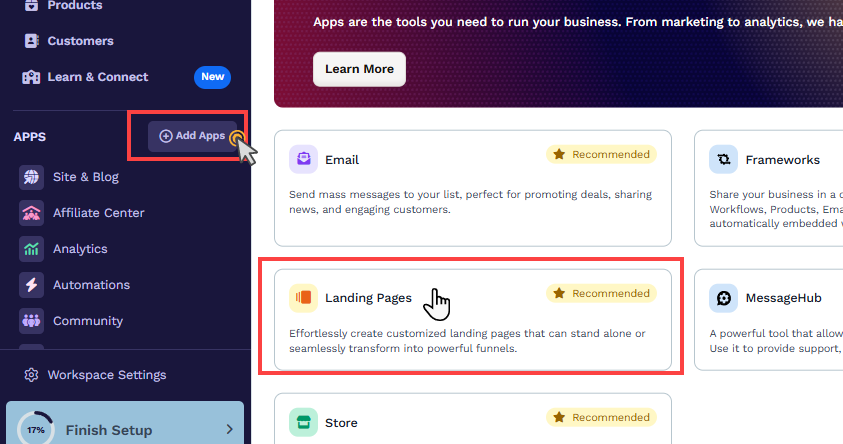
Scroll down until you find the Landing Pages app, then click on it.
Confirm your selection by clicking the Add App button.
Learn more about adding apps in the article Adding Apps to Your ClickFunnels Workspace.
How to Create a New Landing Page
To create a new landing page in ClickFunnels:
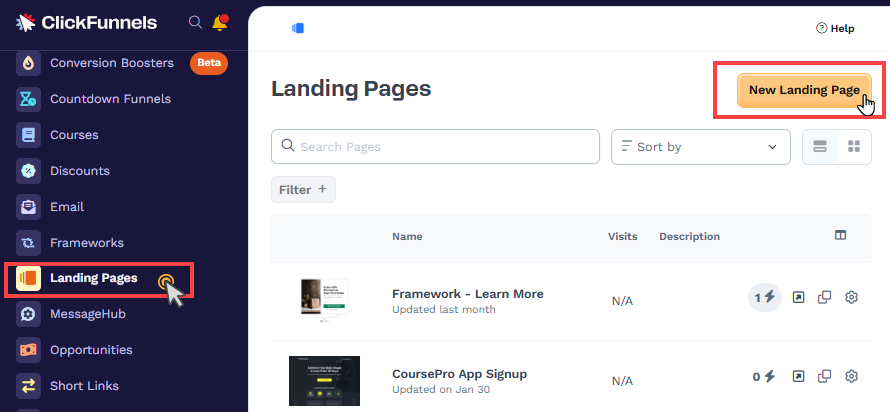
From the left-hand menu, click on the Landing Pages app.
In the Landing Pages dashboard, click the New Landing Page button at the top right.
Browse the available templates, such as opt-in pages and thank-you pages, and select the one that best suits your needs.
Note:
Although the template library includes options for order pages, landing pages are not intended for direct product sales. To offer products and complete transactions, please consider using a funnel, which is specifically designed to facilitate the sales process.
Enter Page Information:
Page Name: Provide a unique name for your page.
AI Instructions: Use this field to briefly describe the purpose of the landing page. This helps generate initial page content when the page is created.
Page URL: Customize the URL path if desired. If the name is already taken, ClickFunnels will suggest an alternative.
Select Style: Choose a global style to ensure your branding is consistent.
SEO & Sharing: Adjust the page title, description, and other SEO settings. You can also decide whether or not the page should be indexed by search engines.
Create the Page: Click Create Page to finalize your new landing page.
Your landing page will then be created and opened in the editor, where you can further customize the content.
Managing Workspace Pages
ClickFunnels provides the flexibility to create different types of pages, including Landing Pages, Site Pages, Theme Pages, and Funnel Pages. Each of these serves a unique purpose in building your online presence.
The Landing Pages app in ClickFunnels specifically manages the standalone landing pages for your workspace, enabling you to create and control independent pages designed for focused marketing purposes. However, if you need to see and manage all your pages in one place, you can do so through the Workspace Settings.
To access all pages created in your workspace:
Navigate to Workspace Settings and click on the Pages tab.
Here, you will find all the pages categorized under Landing Pages, Theme Pages, Site Pages, and Funnel Pages.

You can use the navigation options to view, organize, or edit the pages that are part of your workspace.
This consolidated view allows you to effectively manage your entire collection of pages from one central location, ensuring consistency and streamlining your page management process.
Landing Page Settings
The Landing Page Settings allow you to fine-tune key aspects of the page, such as its metadata, URL, and advanced options. Below is an explanation of the available settings:
Accessing Landing Page Settings
From your workspace, navigate to the Landing Pages app.
Select a Landing Page from the list.
Click the adjacent Gear
⚙️ icon to access the page settings.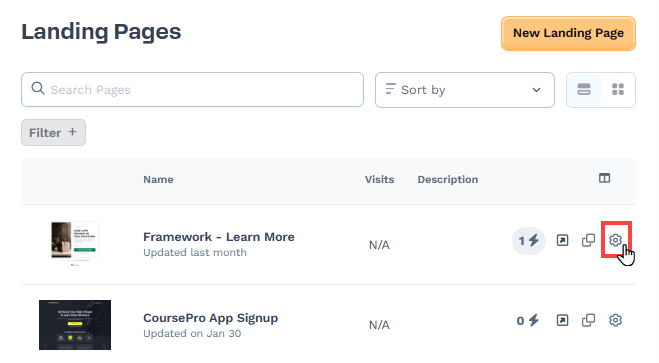
Page Name and Description
Page Name: This is the internal name of the page in your workspace. It helps you identify the page but is not visible to visitors.
Description: Provide a short description of the page for your reference.
SEO & Sharing
Page Title: This title appears in search engine results and browser tabs. Use a clear and descriptive title, such as "Premium Coaching Services - Elevate Wellness."
Page Description: Add a concise description (up to 160 characters) to summarize the content of your home page for search engines.
Page URL: Customize the URL path for your home page (e.g.,
/sign-up).Index in Search Engines: Activate this option if you want this page to appear in search engine results. Search engines like Google, Bing, and others can locate this page URL when enabled.
Sharing Image: Upload an image that appears when your page link is shared on social media.
Favicon Image: Upload a small icon image (typically 16x16 or 32x32 pixels) that will be displayed in the browser tab. If an image is not uploaded, the landing page will utilize the favicon from the Site & Blog app settings. This is due to the fact that the Landing Pages app operates under the same domain associated with the Site & Blog app settings. You may navigate to the Site & Blog app » Site Settings to view the site favicon.
Advanced Settings
Style: Select the style guide you want to apply to this page. This ensures consistency with your site’s design. A style guide is a pre-defined set of visual styles, such as fonts, colors, button designs, shadows, and borders. It ensures that your pages have a consistent and professional appearance without manually updating styles on each page. To create a style guide, go to Workspace Settings > Styles, define your style properties, and save the style guide. Once created, you can select the style guide from the dropdown menu here to apply it to the site home page.
Add to Site Navigation: Enable this option if you want the page to be classified as a "Site Page" and visible under the Site Pages menu. If disabled, the page will be created as a standalone landing page and will not appear in the Site Pages menu.
After configuring these settings, click Update Page to apply the changes.
Cloning a Landing Page
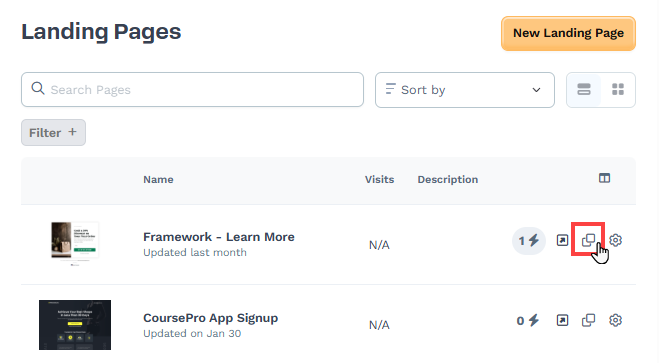
Navigate to the Landing Pages app and locate the page you want to clone.
Click the Clone icon next to the landing page’s name.
The new page will be created with the same settings and design as the original, which you can modify as needed.
Adding Quick Actions to a Landing Page
Quick Actions allow you to add automation to your landing page, such as sending emails, providing access to assets or courses, or triggering workflows based on user behaviors like page visits or form submissions. These automations enhance user engagement and streamline your marketing efforts.
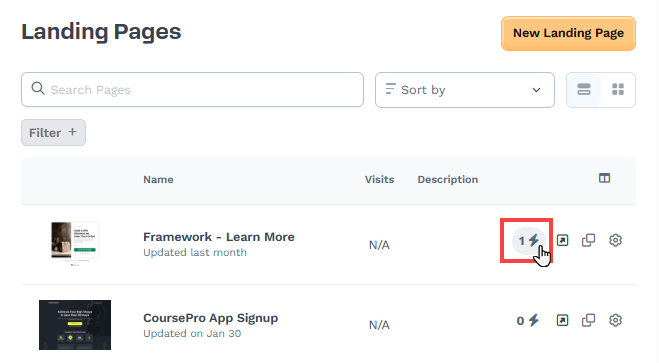
Navigate to the Landing Pages app and locate the specific page where you want to add automation.
Click on the Quick Actions icon next to the landing page name.
Click Add Trigger to set up a user behavior that initiates the automation, such as opt-ins, views, etc.
Click Add Effect to define what action occurs when the trigger is met, such as “Send Assets,” “Add/Remove Tag,” “Send Email,” etc.
Learn more about ClickFunnels Quick Actions in the article Automations - How to Manage Quick Actions.
Landing Pages FAQs
Can I add a standalone landing page to an existing funnel?
Yes. You can go to the funnel and try to add a new page. Select the landing page from the templates, and a cloned version of the landing page will be added to your funnel.
Is there a limit to the number of landing pages I can create?
There is no limit. You can create as many landing pages as you need in your ClickFunnels workspace.
Can I use different domains for different landing pages?
By default, landing pages utilize the domain associated with the Site & Blog app. You may access the Site & Blog app » Site Settings » Domain field to view and modify the domain. It is important to note that different domains cannot be assigned to individual landing pages; all landing pages within a workspace share the Site domain.
Can I connect automation with a landing page?
Yes. You can use Quick Actions to add automation to the landing page.
Can I collect payments on a landing page?
No. Collecting payments will only work on a funnel checkout page and on the Store checkout page.