Email addresses in ClickFunnels are used to send marketing and automated emails, such as broadcasts, workflows, and system emails. These addresses are displayed in the recipients’ inboxes, helping you maintain consistent branding and ensuring proper message delivery. In this article, we will guide you through creating and managing a custom email address in ClickFunnels.
Requirements
An active ClickFunnels account
Access to Email Settings (available only to users with the Funnel Builder, Marketing, or Administrator roles)
A domain connected to the workspace
Email DNS records verified in the domain
Adding a New Email Address
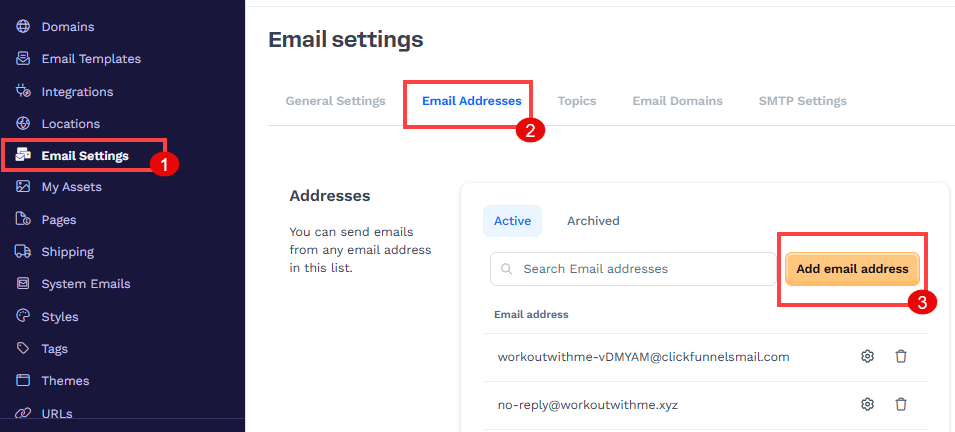
From the ClickFunnels dashboard, click Workspace Settings and then select Email Settings.
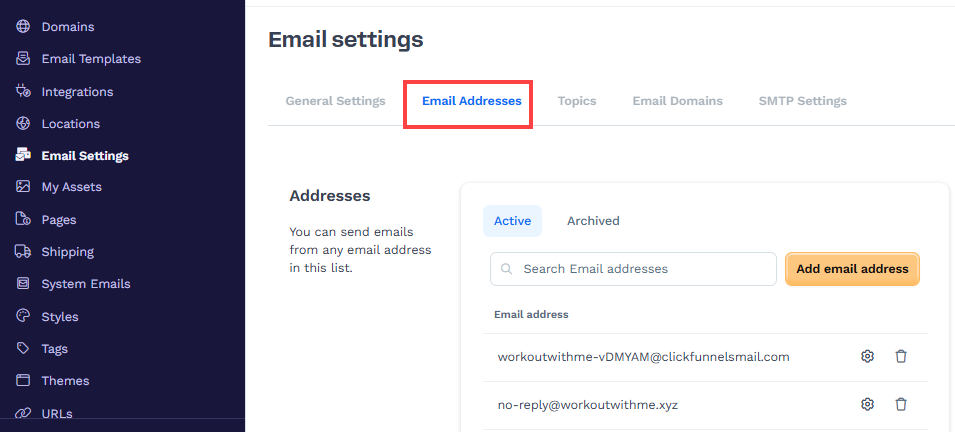
Navigate to the Email Addresses tab.
Click Add Email Address.
Enter the email address details, including:
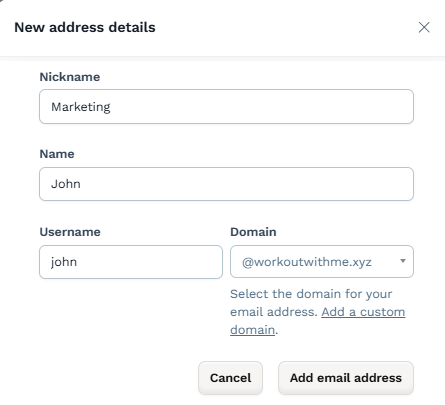
Nickname: This is for internal reference only and helps you organize email addresses based on their purpose or department (e.g., Support, Marketing, Sales).
Name: This is the name that will be shown to email recipients. For example, if both John and Mike work in the Marketing department and send emails to the company audience, they would each need a separate marketing email address. You would create two different addresses:
For John: The Name would be “John,” and the Nickname could be “Marketing.”
For Mike: The Name would be “Mike,” and the Nickname could also be “Marketing.”
Username: The part of the email before the ’@’ symbol (e.g.,
john@yourdomain.com). Here the wordjohnis username.Domain: Select the domain in the dropdown that you want to associate this custom email with.
Click Add Email Address.
Updating Email Addresses
Navigate to the Workspace Settings and then select Email Settings.
Go to the Email Addresses tab.
Find the email address you want to update and click the Settings ⚙ icon to edit.
Update the necessary address details.
Click Update address to save your changes.
Archiving Email Addresses
You can archive email addresses in ClickFunnels even if they are used in a send email step or a broadcast. Archiving ensures the email address is not deleted permanently, but is no longer active. This will not affect your ongoing campaigns or broadcasts.
Navigate to the Workspace Settings and then select Email Settings.
Go to the Email Addresses tab.
Locate the email address you want to archive.
Click the Trash icon.
Alternatively, click on the email address and click the Archive button.
Click Proceed to confirm the deletion.
Important:
If an email address is designated as a company email address in the Email Settings, the system will prevent you from archiving that email address. To proceed with archiving, you must first remove the email from the Workspace Settings » Email Settings » General Settings » Company email address.
Effects of Archiving an Email Address
In ClickFunnels, it’s important to note that email addresses cannot be deleted—they can only be archived. Archiving removes the email address from active use but can be restored. Archiving an email address in ClickFunnels does not stop any pending broadcasts or workflows where the address is already in use. Here’s how it impacts different scenarios:
Broadcast Emails:
If the email address is archived after being used in a broadcast, the system will still complete the email sending process for any pending broadcasts. Archiving the email address will not interrupt or cancel the scheduled emails.
Workflows:
If the email address is used in a workflow, ClickFunnels will display a warning on the email step indicating that the previously selected email has been archived. You must choose a new email address or restore the archived one to continue using it.
However, even though the email address is archived, the workflow will still function correctly with the archived email address to prevent errors. This ensures that your emails will still be sent without interruption, even if the address is no longer active.

Restoring Archived Email Addresses
Navigate to the Workspace Settings and then select Email Settings.
Go to the Email Addresses tab.
Click the Archived tab.
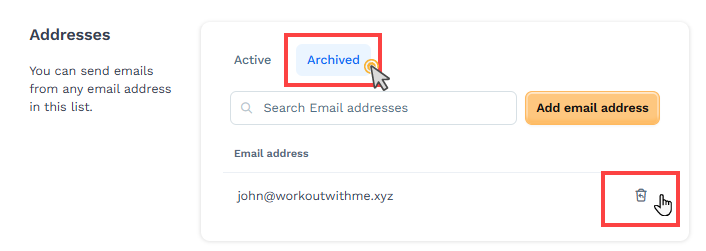
Find the email address you want restored and click the adjacent Restore icon.
Confirm by clicking Proceed to make the address available for use again.
Assigning Custom Emails to Send System or Marketing Emails
Once you've added a custom email address, you can use it to send or receive system and marketing emails. This is done by assigning the email to your workspace’s general settings.
Follow these steps to set it up:
Navigate to Workspace Settings on the left side of the navigation.
Select Email Settings.
Scroll to the Company Email Addresses section.
Under System Email Addresses, choose your custom email for:
From address: The from address needs to be on your own custom domain. You must create the email address in the Email Addresses menu for it to appear in the drop-down list.
Reply-to address: optional and can be left blank if you want replies to go to the from address.
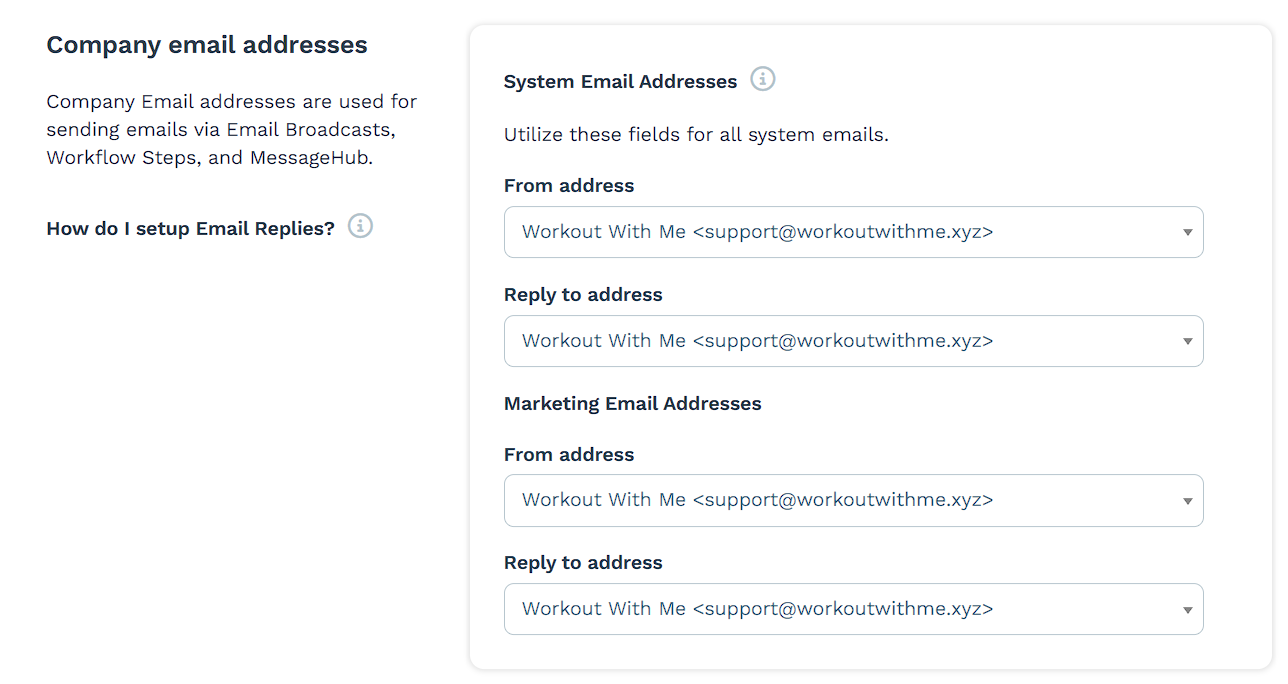
Under Marketing Email Addresses, select your custom email for either field if you want to use it in broadcasts or email sequences.
Helpful Resources:
Using Custom Email Addresses with the Shared ClickFunnels Domain
Even without connecting your domain, you can create an email address using the shared ClickFunnels domain: @clickfunnelsmail.com. This allows you to customize the front part of the email address, such as support@clickfunnelsmail.com. However, if the desired front name is already being used by another ClickFunnels user, you cannot claim that email address.
⚠️ Restrictions for Shared Domain Email Addresses:
There are specific limitations to using email addresses associated with the shared domain @clickfunnelsmail.com:
These email addresses are only suitable for testing purposes. They are not designed for marketing campaigns.
You are limited to sending a maximum of 100 emails from these temporary email addresses.
If you plan to use email for marketing or to send larger volumes of emails, it is recommended that you connect to and verify your own domain.