A Lead Magnet Funnel, also known as a Squeeze Page and Opt-in Funnel, is a simple but powerful way to attract potential customers by offering them something valuable for free, like an ebook or a checklist, in exchange for their contact information. It’s important to include lead funnels in your marketing strategy because they help you grow your email list and turn interested visitors into loyal customers. This guide will show you, step-by-step, how to create your own Lead Magnet Funnel to attract and convert more leads for your business.
Requirements
An active ClickFunnels account
Lead Magnet Funnel Structure
A Lead Magnet funnel typically consists of two main pages: an opt-in page and a thank-you page.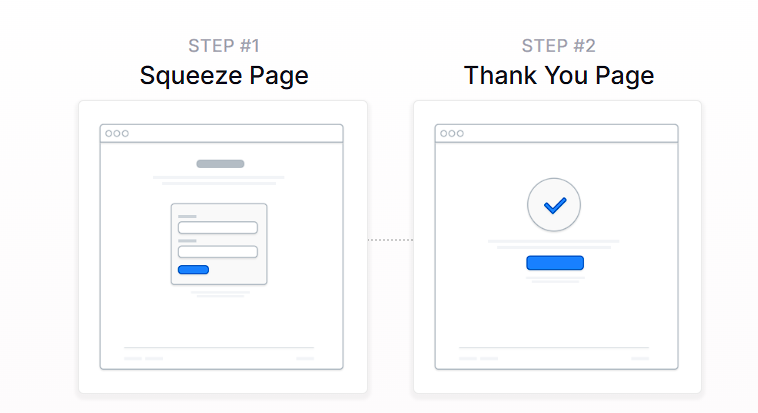
Opt-In Page: This is the first page that visitors land on. It’s designed to capture their attention and persuade them to provide their contact information, usually an email address, in exchange for a valuable offer (such as a free guide, discount, or course). The opt-in page should have a clear and compelling headline, a brief description of the offer, and a form where visitors can enter their details.
Thank You Page: After visitors submit their information on the opt-in page, they are redirected to the thank you page. This page confirms that their submission was successful and provides further instructions or access to the promised offer. It can also include additional calls to action, such as inviting them to follow your social media channels, schedule a consultation, or explore other related content.
Lead Funnel Examples
A digital marketing agency might offer a free social media guide to get new leads.
A health and fitness coach might share a free workout plan or nutrition guide to gather new clients.
A real estate agent might provide a free home-buying checklist or market report to draw in prospects.
A financial advisor could offer a free financial planning guide or retirement calculator to generate interest.
A beauty and skincare brand could offer a free skincare routine guide or sample pack to attract new customers.
A consulting firm might distribute a free industry report or white paper to collect contact information.
How to Create a Lead Magnet Funnel
Click on Funnels from the left navigation menu.
Click on the Create Funnel button.
Select Lead “Squeeze” Funnel to explore the available templates. To see a template in action, click Preview Template.
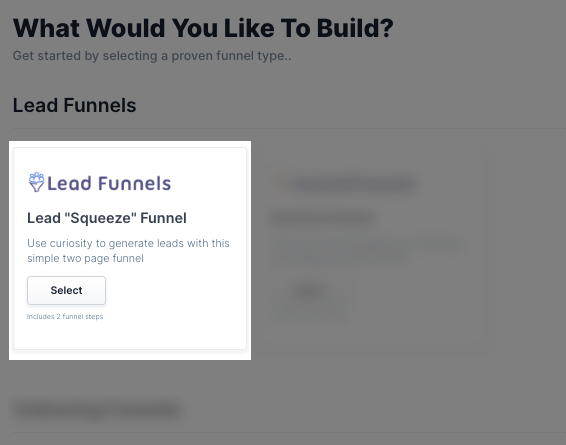
Once you’ve chosen a template, click Select Funnel to proceed.
Get started with customizing your funnel by clicking on Customize Now.
This will direct you to the Funnel Editor, where you can begin customizing your funnel pages.
To edit your page content, click Edit to open the Page Editor.
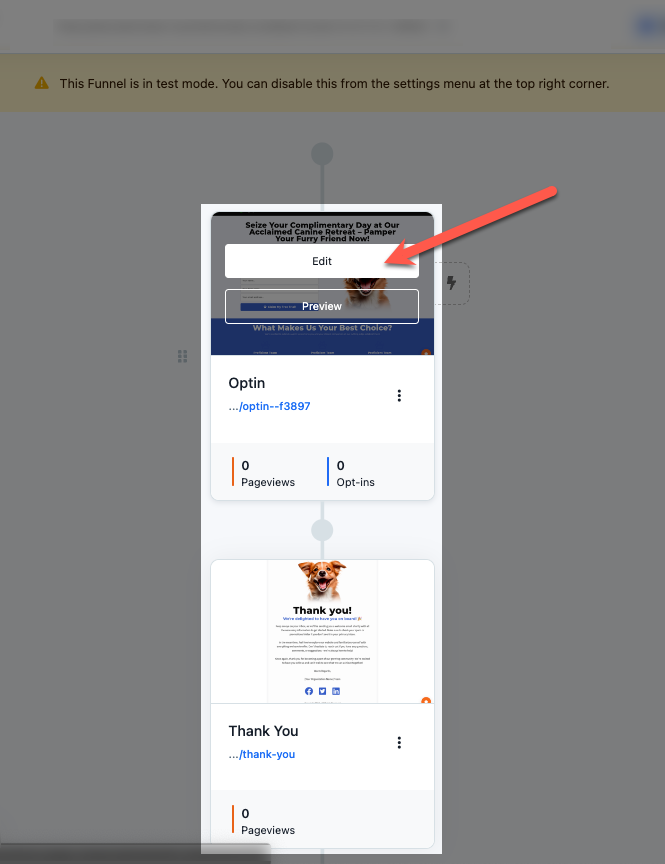
You can start editing your page as needed by adding or removing sections, rows, or elements.
An opt-in page needs Two Elements to work as expected:
Input Element and set the Input Type to Email Field to collect email addresses.

A Button element that is set to Submit order/form.

Click Save on the top right of the funnel editor once you have finished editing your page.
Set Up the Thank You Page
In your Funnel Editor, navigate to the Thank You Page using the mini-map on the left.
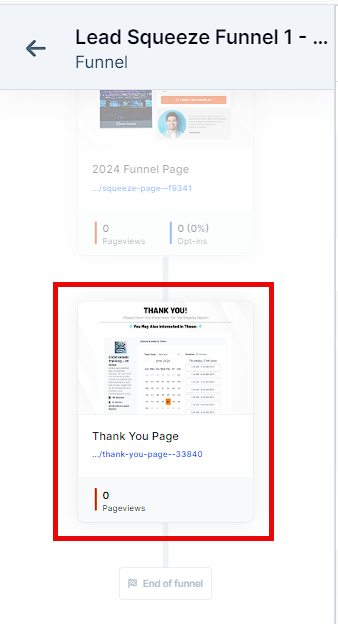
Customize the Thank You Page by adding or removing sections, rows, or elements. You can also provide download or access instructions.
Automating Follow-Ups with Workflows
Workflows help you engage leads after they opt into your Lead Magnet funnel. Instead of manually sending emails or managing follow-ups, you can automate key actions to nurture prospects and move them toward your main offer.
With workflows, you can:
Send Lead Magnet Delivery Emails: Automatically email leads with access to their free resource.
Tag and Segment New Leads: Organize leads based on their signup source or interests.
Send Follow-Up Emails: Guide leads toward your next step with a welcome series or educational content.
Offer Limited-Time Promotions: Automate special offers or upsells to convert leads into customers.
Trigger SMS or Notifications: Send reminders or updates to keep leads engaged.
To create a workflow:
Locate the funnel step where you want to trigger the workflow.
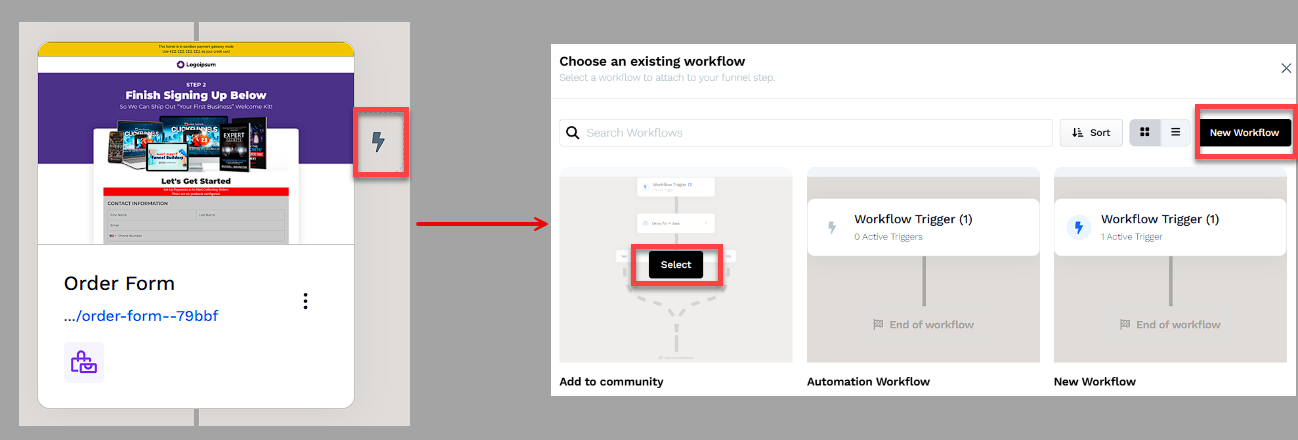
Click the Lightning Bolt icon next to the step to add a new or existing workflow.
Select an existing workflow from the list or create a new one.
Click + (Plus) icon to add actions such as Send an Email, Send an Asset, Enroll in a Course, or Tag Contact.
(Optional) Add a Delay to space out follow-up actions over time.
In the top right corner of the workflow navigation, find the Status option.
Toggle the status option. The workflow status will change from disabled to active.
Helpful Resources:
Post Funnel Build Checklist
Review Each Funnel Page:
Check for spelling and grammar errors.
Ensure all images and videos load correctly.
Verify that all links are working.
Ensure the correct domains and ending paths are used. For more information, check out the How to Connect a Domain to Your Site and Funnel article.
Check that page titles and SEO settings are optimized.
Test Forms and Opt-ins:
Submit test entries to ensure forms are capturing data correctly.
Verify that thank you pages or confirmation messages display as intended.
Verify Email Integrations:
Check workflows are connected to the funnel step. Learn more about how to create a workflow and attach to funnel step in the How to Create a Workflow article.
Mobile Responsiveness:
Review each page on mobile devices to ensure they display correctly. Learn more about mobile optimization in the Mobile Optimization Techniques article.
Adjust any elements that do not fit or look good on smaller screens.
Test Funnel Flow:
Navigate through the entire funnel as a user to ensure the flow is smooth.
Check that users are correctly redirected between pages.
Review Legal Pages:
Ensure that privacy policy, terms of service, and other legal pages are linked and accessible.
Turn On Live Mode:
Ensure your funnel is set to live mode so it is accessible to your audience. Learn How to Test Funnel Checkout in Test / Sandbox Mode
Funnel Builder Support Options
For additional support building your funnel, explore the Funnel Builder Coaching & Certification Program. The program offers step-by-step training and live coaching for members who want to build with guidance.
To hire a certified funnel builder, visit the Funnel Builder Directory to connect with a verified expert.