The Store Order Confirmation Theme Page in ClickFunnels is a critical component for providing a seamless post-purchase experience. This page displays a summary of a customer’s completed order, offering clarity and professionalism to your store. In this article, you will learn the customization process and features available for this page.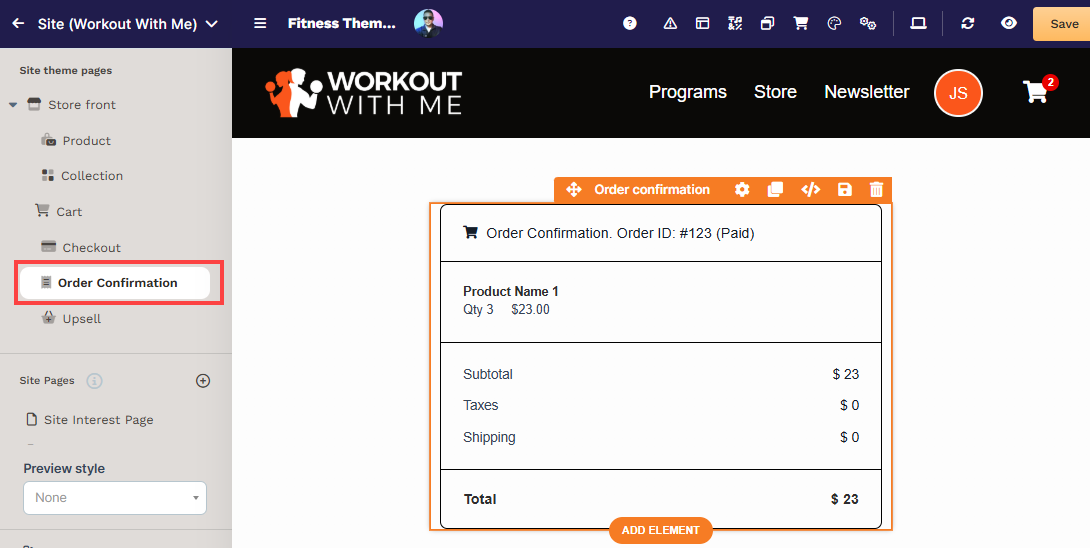
Requirements
An active ClickFunnels account
Understanding the Store Order Confirmation Theme Page
The Order Confirmation Theme Page is designed to display the details of a customer's completed order dynamically. The Order Confirmation Theme Page:
Automatically fetches and displays order details, such as product names, quantities, prices, taxes, shipping, and the total.
Enhances the customer experience by providing a professional and clear summary of their purchase.
Serves as a confirmation that the transaction has been successfully processed.
Accessing the Store Order Confirmation Theme Page
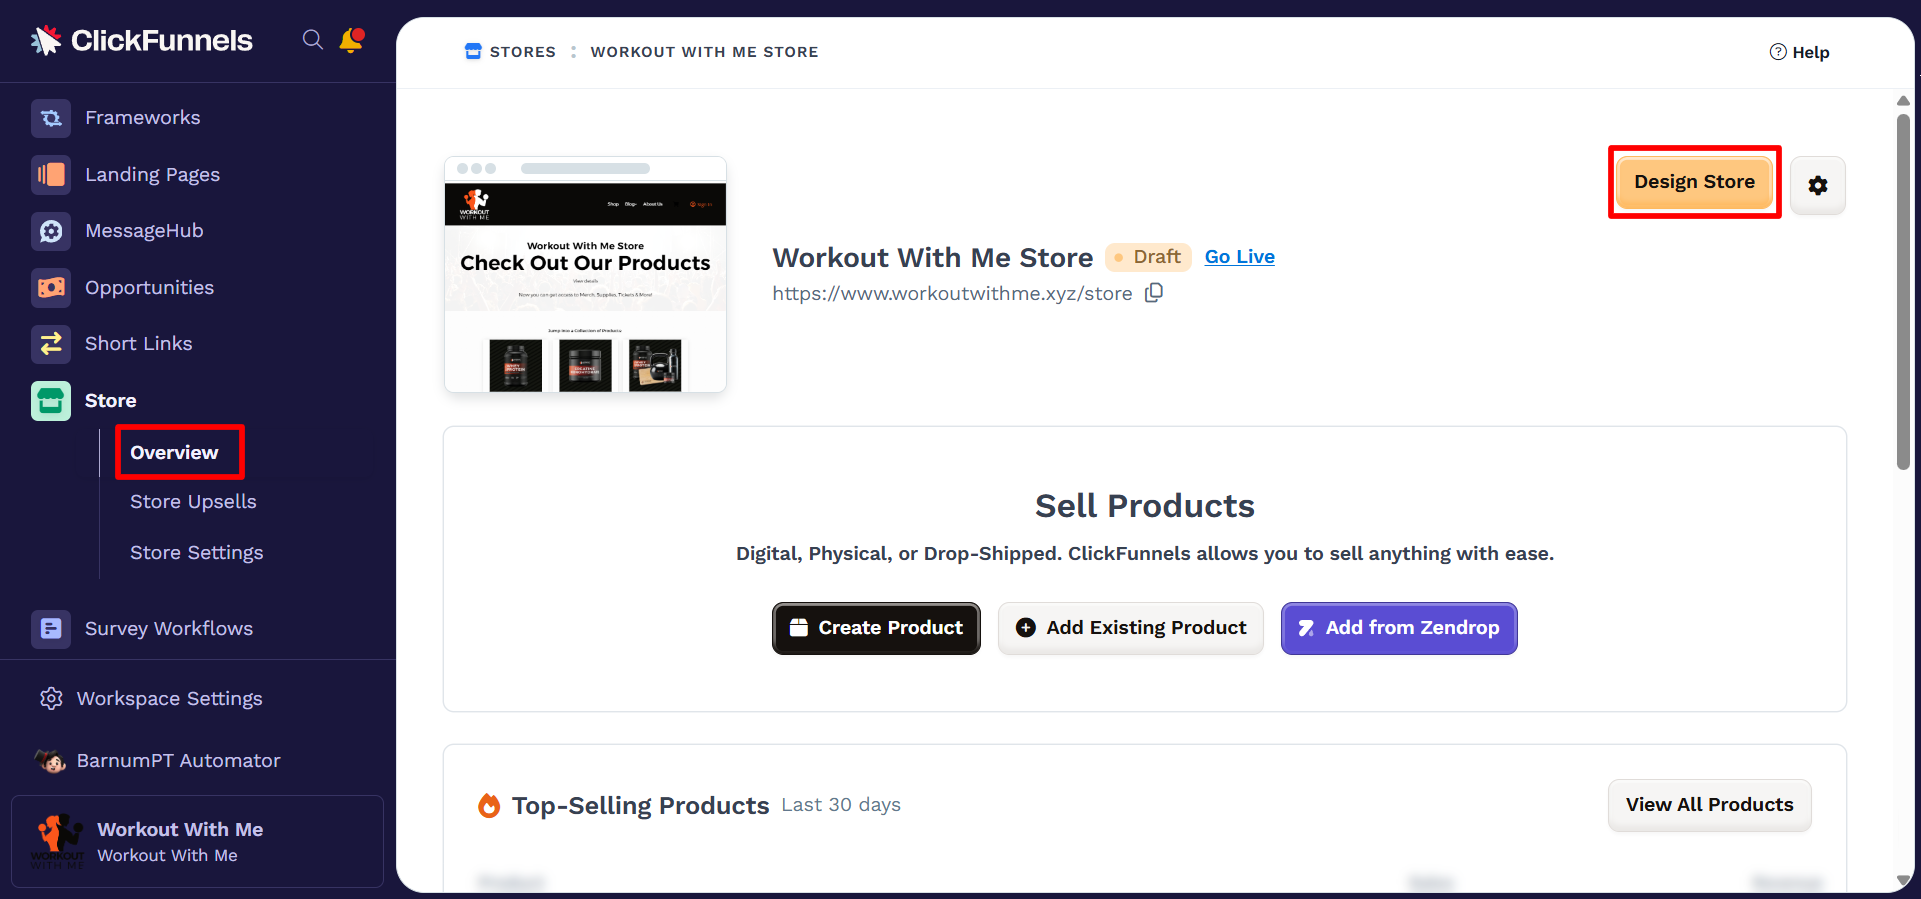
From your workspace, navigate to the Store app in the left-hand menu.
Select Overview.
Click Design Store in the top-right corner.
Under the Site Theme Pages, Expand Store Front.
Select the Order Confirmation page.
You can now start editing the page using the available tools in the Page Editor.
Key Elements for the Store Order Confirmation Page
To provide the best checkout experience, you can add and customize the following elements:
1. Order Confirmation
Purpose: Dynamically retrieves and displays order details, ensuring customers can review their purchases immediately after checkout.

Customization Options: You can modify the style, layout, and displayed details, including product names, order IDs, and pricing breakdowns.
Learn more about the Order Confirmation element in the article Confirmation: Display Order Confirmation and Summary.
3. Navigation Element
Purpose: Adds a navigation bar to link to other pages, such as "Shop" or "Home." This improves usability and accessibility.
Customization Options: Update link labels, order, and alignment.
Learn more about the Navigation element in the article Navigation: Add Navigation Menus to Pages.