The Store Checkout page is an essential part of your store, allowing visitors to finalize their purchases. In ClickFunnels, this theme page is customizable to suit your branding and functional requirements. In this article, you will learn how to customize the Checkout page, focusing on key elements and required components.
Requirements
An active ClickFunnels account
Understanding the Store Checkout Theme Page
When visitors add products to their cart and proceed to checkout, they are directed to the Checkout page. This page plays a crucial role in completing the sales process in the store and must include all the necessary elements for a smooth and effective user experience. The Checkout element is the only required element on this page, as it enables payment processing. While the theme page automatically includes the Checkout element upon creation, you must re-add it if it is removed during customization.
Example:
Imagine a visitor browsing your ClickFunnels storefront. They see a product they like and click on it to view details. After adding this product to their cart, they continue shopping and add two more items. Once they decide to complete their purchase, they click the Checkout button. This action redirects them to the Store Checkout page, where they can review their cart, provide contact and shipping details, and finalize their payment.
Accessing the Store Checkout Theme Page
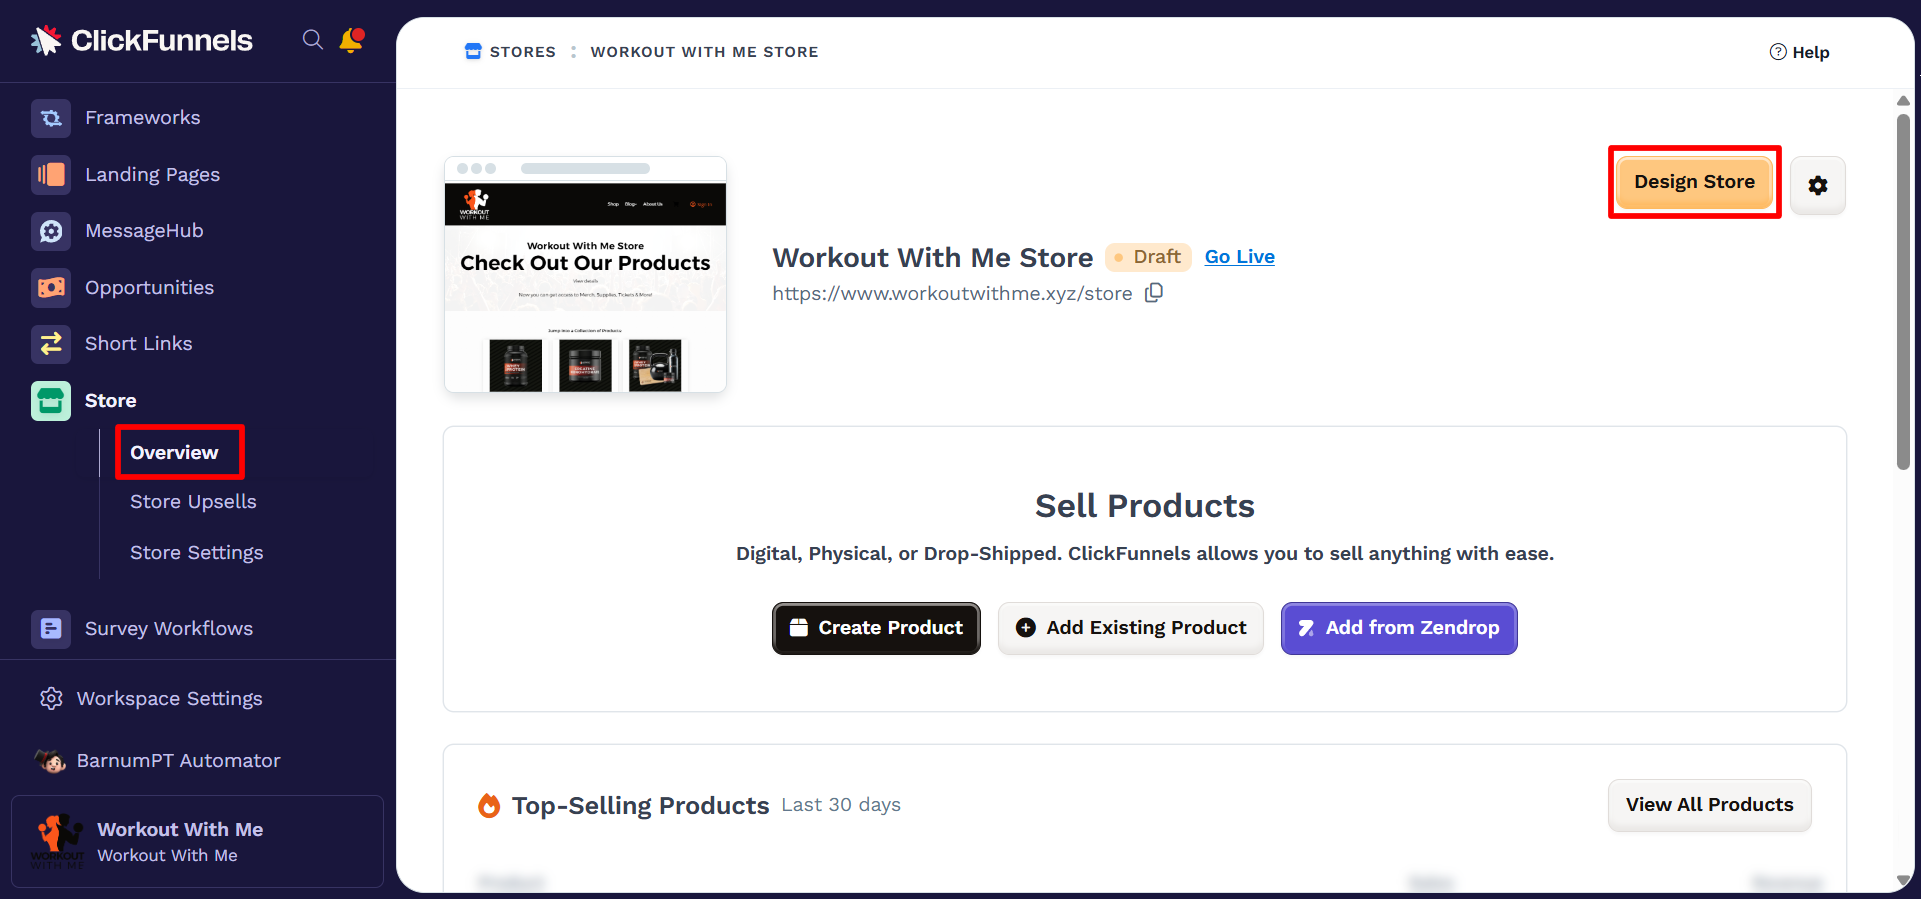
From your workspace, navigate to the Store app in the left-hand menu.
Select Overview.
Click Design Store in the top-right corner.

Under the Site Theme Pages, Expand Store Front.
Select the Checkout page.
You can now start editing the page using the available tools in the Page Editor.
Key Elements for the Store Checkout Page
To provide the best checkout experience, you can add and customize the following elements:
1. Checkout Element (Required)
Purpose: Processes payments and collects customer information (contact, shipping, and payment details).
Requirement: This element must be present on the Checkout page for the page to function.
Learn more about the Checkout element in the article Checkout: Enable Users to Complete their Purchase.
2. Order Summary Element
Purpose: Displays a summary of the items in the cart, including product details, quantities, and pricing.
Note:
When the Order Summary element is added to a page, it automatically hides the built-in order summary component within the Checkout element upon page load. This allows the standalone Order Summary element to function as an independent, dynamic extension of the embedded summary, providing flexibility in placement while preserving full functionality.
Customization Options: Modify the layout, font styles, and colors to match your theme.
Learn more about the Order Summary element in the article Order Summary: Provide a Summary of the User's Order.
3. Navigation Element
Purpose: Adds a navigation bar to link to other pages, such as "Shop" or "Home." This improves usability and accessibility.
Customization Options: Update link labels, order, and alignment.
Learn more about the Navigation element in the article Navigation: Add Navigation Menus to Pages.
4. Cart Icon Element
Purpose: Allows customers to quickly view or modify the items in their cart without leaving the page.
Customization Options: Change the icon styles and display settings.
Learn more about the Cart Icon element in the article Cart Icon: Allow Customers to Track and Open the Shopping Cart.
Testing the Store Checkout Page in Test Mode
Testing the Store Checkout page in Test Mode differs from testing a funnel. Instead of toggling the store's test mode on or off, you can test a product by disabling Page Live Mode. Follow these steps:
Add the Store App: Ensure the Store app is installed in your ClickFunnels workspace.
Access Products: Navigate to the Products menu and select All Products.
Select a Product: Choose the product you want to test from the list.
Hide Product Visibility: To temporarily hide the product, uncheck the Online store and Customer Center in the Sales Channel Visibility section.
Disable Live Mode: Toggle off the Page Live Mode in the Advanced Settings.
Copy Product URL: Scroll down to the SEO and Sharing section, copy the product’s URL, and paste it into a new browser tab.
Test Checkout: On the product’s checkout page, complete the checkout process using the test credit card number
4111 1111 1111 1111with any valid expiration date and CVV.Restore Product Visibility: After testing, return to the product editor and re-enable the product's visibility by checking the Online store and Customer center options.
Learn more about testing the store in the test mode in the article How to Test Store Checkout in TEST Mode.