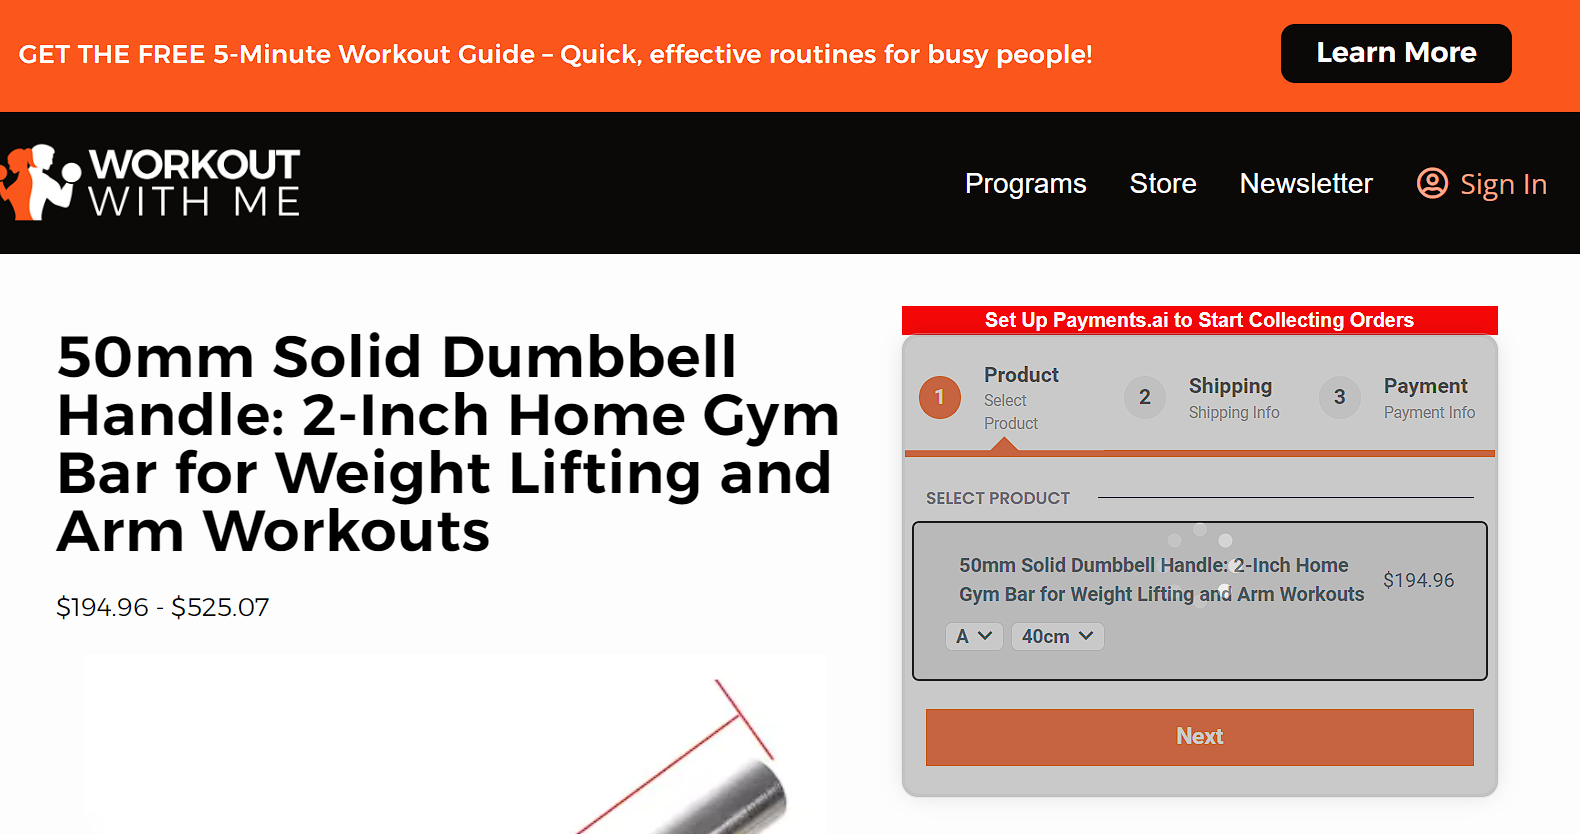
Customizing the Store Product Page in ClickFunnels allows you to control how your products are displayed, improving the shopping experience for customers. By personalizing this page, you can highlight key product information, align the design with your brand, and make it easier for customers to make a purchase. This article will show you how to customize the page using dynamic product elements that pull details from the products you’ve already set up.
Table of Contents
Requirements
- An active ClickFunnels account
- At least one product is created
- Ensure that each product included in the “Product Collection” is set to be visible in the Online Store.
Overview of the Store Product Page
The Store Product Page is where your customers get all the information they need to make a buying decision. By customizing this page, you can ensure your products are displayed in a way that’s both attractive and easy to understand, which can lead to increased sales.
Customizing the page allows you to highlight product details such as the name, image, price, and description, using dynamic elements that automatically pull data from the products you’ve already created. This not only saves you time but also keeps your store looking consistent and professional.
A well-customized product page can:
- Improve user experience by organizing product information clearly.
- Boost conversions by creating a clean, easy-to-navigate layout.
- Strengthen your brand identity by aligning the page design with your overall store theme.
Customizing the Store Product Page
When setting up the Product Page, you can choose between individual product checkout or Add to Cart functionality. Note that this choice will apply to all products in your store—you cannot use Add to Cart for some products and individual checkout for others.
- Individual Product Checkout: This option allows customers to purchase a single product directly from the product page, taking them immediately to checkout.
- Add to Cart: This option enables customers to add multiple products to a cart, review their selections, and then proceed to checkout.
- In the left-hand menu, click Store, then select Overview.
- Click Customize Store to access the theme editor.
-
Make sure the Product page is selected from the left-hand panel.

- Inside the editor, add a Section, then add a Row within that section. Click the orange Add Element button inside the row to insert a new element.
- From the Elements menu on the right, scroll to the Product section and add the elements you want, such as:
- Name: Automatically displays the product name.
- Description: Adds the product description.
- Price: Shows the product price.
- Image: Displays the product image.
- Choose how you want customers to complete their purchase:
- Option 1: Individual Product Checkout
- Add a Checkout element to the product page. When clicked, it will take customers directly to the checkout page to complete their purchase.
- Option 2: Add to Cart Functionality
- Replace any existing Checkout element on the product page with the Add to Cart element.
- For detailed steps on setting up and customizing Add to Cart, visit our How to Use Add to Cart Functionality in Your Store article.
- Option 1: Individual Product Checkout
-
Click on each element to access its settings. Adjust the fonts, colors, spacing, and layout to match your store’s theme, ensuring a cohesive and professional look.
You can add other elements, such as custom text or images, as needed to further personalize the page. Feel free to adjust the layout or add additional sections to suit your design preferences.
- After completing your setup, Save your changes.
Related Articles
Was this article helpful?
That’s Great!
Thank you for your feedback
Sorry! We couldn't be helpful
Thank you for your feedback
Feedback sent
We appreciate your effort and will try to fix the article
 Dashboard
 Site & Funnels
 Products
 Orders
 Contacts
 Analytics
 Marketing
 Sales
Sales Settings
 Apps
Apps Payments
 MessageHub