Managing orders in ClickFunnels is an essential part of running your business. In this article, you’ll learn how to navigate the process of creating orders manually, keeping them updated, and ensuring everything runs smoothly. With the right tools and steps, you can keep your operations running smoothly and provide a great experience for your customers.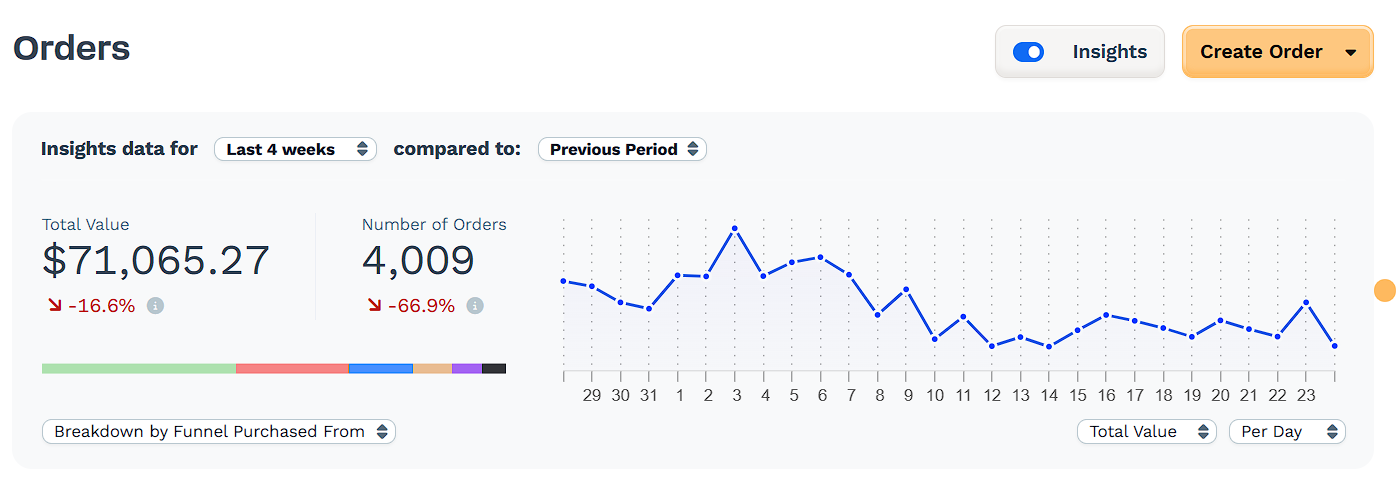
Requirements
An active ClickFunnels account
Overview of Orders in ClickFunnels
The Orders page in ClickFunnels is where you can track and manage customer transactions. This dashboard provides insights into your total sales, the number of orders, and the status of each transaction. Whether you're reviewing live sales or testing your funnel setup, the Orders page gives you the tools to monitor activity and stay organized.
ClickFunnels allows you to create and manage the following order types:
Test Orders
Test orders let you simulate transactions using test payment methods. These orders are excluded from your analytics and are useful for verifying your funnel and payment setup before going live.
Live Orders
These are real purchases processed through your payment processor. They reflect actual customer transactions and are included in your analytics.
NOTE
If no payment method is connected to your account, only the Create Test Order option will be available. To enable live orders, follow the steps in Getting Started: Setting Up Payments in ClickFunnels.
How to Create Manual Orders
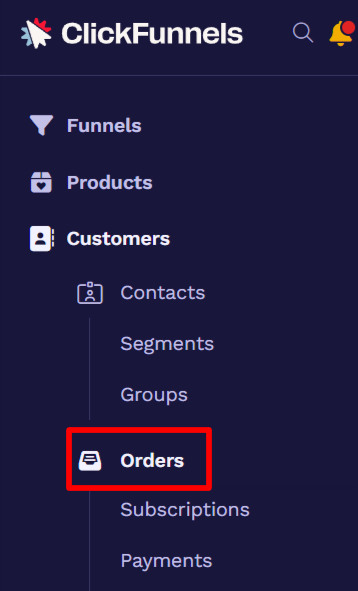
Navigate to Customers in the sidebar menu, then click Orders.
Click Create Order button in the top-right and select either:
Create Test Order: For test transactions that do not impact your analytics or real payment data.
Create Order: For real transactions with active payment processors.
Click + Add Products and select the product(s) you want. Adjust quantity or price if needed, then click Select.
In the Customer field, search for an existing customer or click Create a New Contact to add their details.
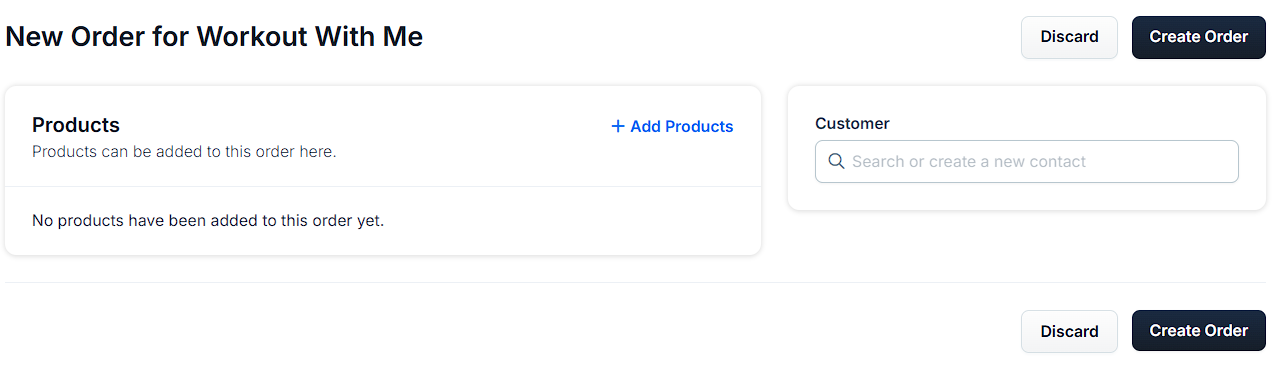
Click Create Order to save the order. You will be automatically redirected to the order details page to manage or complete the order.
Managing Orders
The order detail page provides tools to manage orders. The actions available depend on the order’s status, fulfillment, and billing conditions.
Manage Subscription (If applicable)
The Manage Subscription menu includes options to modify the subscription settings: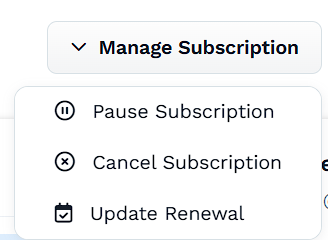
Pause Subscription: Temporarily stops billing and fulfillment. Access will remain paused until the subscription is resumed.
Cancel Subscription: Ends the subscription immediately, stopping future payments and access.
Update Renewal: Adjusts the next renewal date for the subscription, allowing changes to the billing cycle.
Manage Order
The Manage Order menu includes options to make adjustments to the overall order: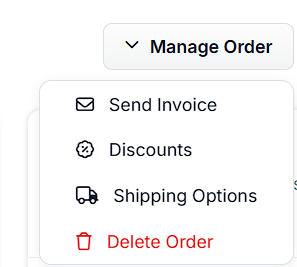
Send Invoice: Sends the invoice to the customer via email. You can customize the subject and message before sending.
Discounts: Adds or adjusts discounts for the order. Select the desired discount option from the menu. Refer to the Creating and Managing Discounts in ClickFunnels article.
Shipping Options: Edits or adds shipping charges to the order. You can choose predefined rates or set a custom shipping value. Learn more about How to Create and Manage Shipping Profiles.
Delete Order: Deletes the order permanently. This option is only available for orders with a Pending status.
Pay Invoice
If the order is unpaid or has an outstanding invoice, the Pay Invoice button becomes available.
Click Pay Invoice.
Confirm the invoice details, including the amount.
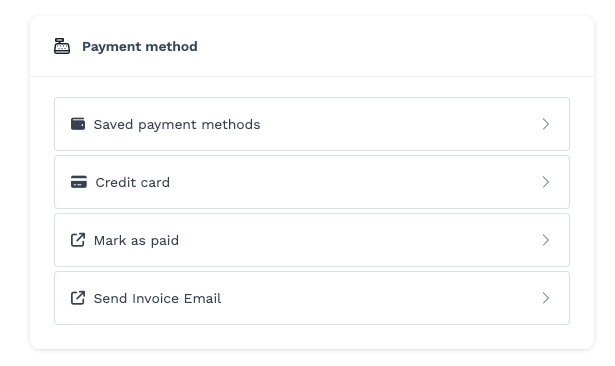
Select a payment method:
Saved Payment Methods: Use an existing card already saved to the contact.
Credit Card: Manually enter a new card (only visible if admin credit card entry is enabled).
Mark as Paid: Use this option if the customer already paid through an external method.
Send Invoice Email: Send the customer an email with a payment link so they can complete the transaction themselves.
IMPORTANT
If you don’t see the Credit Card option listed, your workspace may have disabled admin credit card entry. This is controlled by the “Allow User Credit Card Entry” setting in your workspace settings.
To learn how to check or update this setting, see “Allow User Credit Card Entry” section in the How to Manage Workspace Settings article.
Enter the payment amount.
Click Pay $[Amount] to complete the payment. Once processed, the order status will update to Paid.
Managing Order Products
When managing an order, you can review and adjust the included products before finalizing payment. Once an order is completed, product details can no longer be edited.
On the order details page, review the order under the Product or Plan section, depending on the type of product included. Subscription products will appear under Plan section, while one-time purchases are listed under Product.
To add products, click Add Products and select the item(s) you want to include. To learn about creating products, refer to the How to Create and Manage Products article.
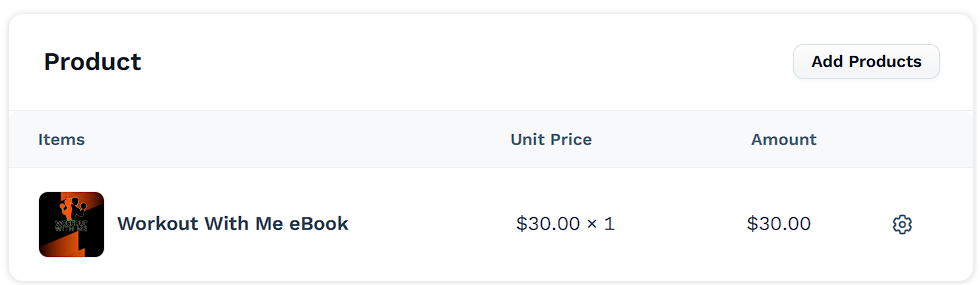
To edit or remove a product, click the gear icon next to the item. This will open a modal where you can:
Update the variant, price, or quantity.
Click Delete at the bottom left of the modal to remove the item.
Managing Payment Transactions
The Payments section on the order page provides a detailed record of all payments associated with the order. You can view payment information or process refunds when needed.
Steps to Manage Payments
View Payment Details:
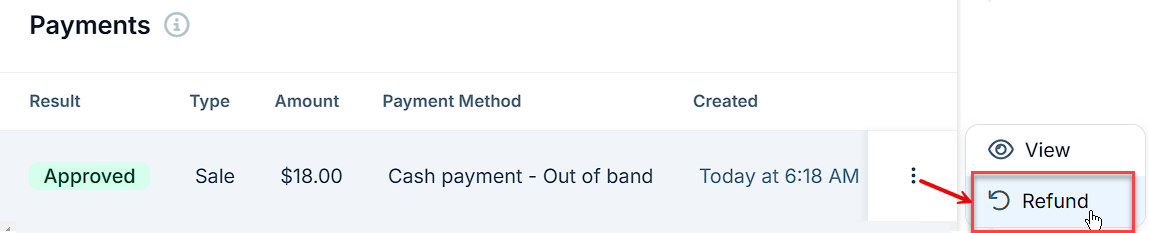
Locate the payment in the Payments section.
The table displays the payment Result, Type, Amount, Payment Method, and the date it was created.
To view more details, click the three dots icon next to the payment and select View.
Refund a Payment (if applicable):
Click the three dots icon next to the payment you want to refund.
Select Refund from the dropdown menu.
In the Refund Payment pop-up, enter the refund amount. You can issue a full or partial refund based on the available balance.
Optionally, add a reason for the refund in the text field provided.
Review the details, then click Refund $[Amount] to process the refund.
Once the refund is complete, it will appear in the Payments section with updated details.
Managing Invoices
The Invoices section on the order page provides a record of all invoices associated with the order. You can view details, manage payments, or take additional actions based on the invoice status.
To manage an invoice, click the Three dots icon next to it and select one of the available options: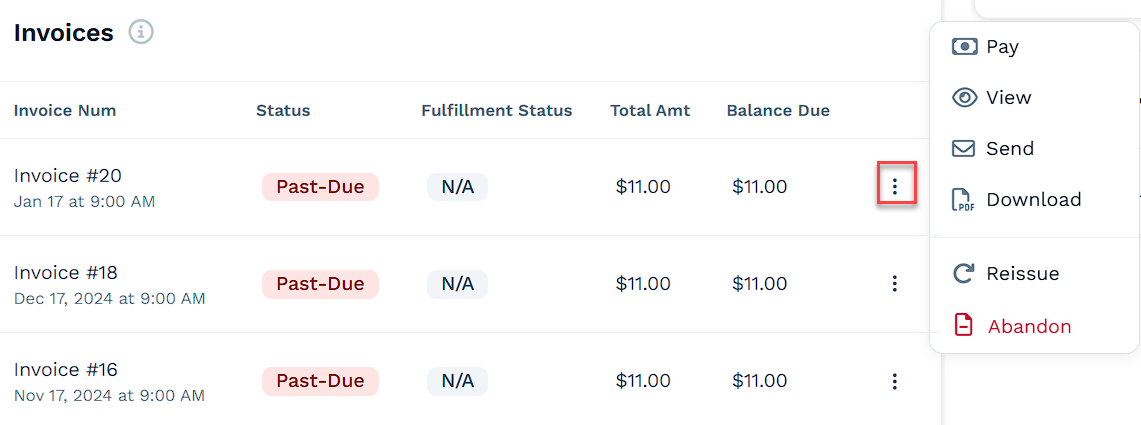
Pay: Process payment for an unpaid invoice.
View: Open and review invoice details.
Send: Email the invoice to the customer.
Download: Save a PDF copy of the invoice.
Reissue: Regenerate the invoice with updated details.
Abandon: Cancel the invoice (only available for unpaid invoices).
For more detailed steps, refer to the How to Manage Invoices article.
Assign affiliate commissions
Click Assign Affiliate in the Commissions section to assign an affiliate to the order.
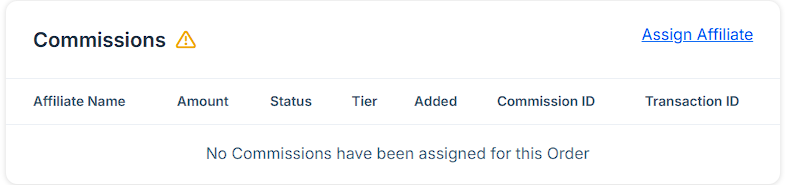
For detailed instructions on managing affiliate commissions, refer to the How to View and Manage Affiliate Commissions article.
Order Timeline
The Order Timeline section provides a chronological log of all activities related to the subscription order. This includes invoice generation, payment status updates, subscription renewals, and other key events.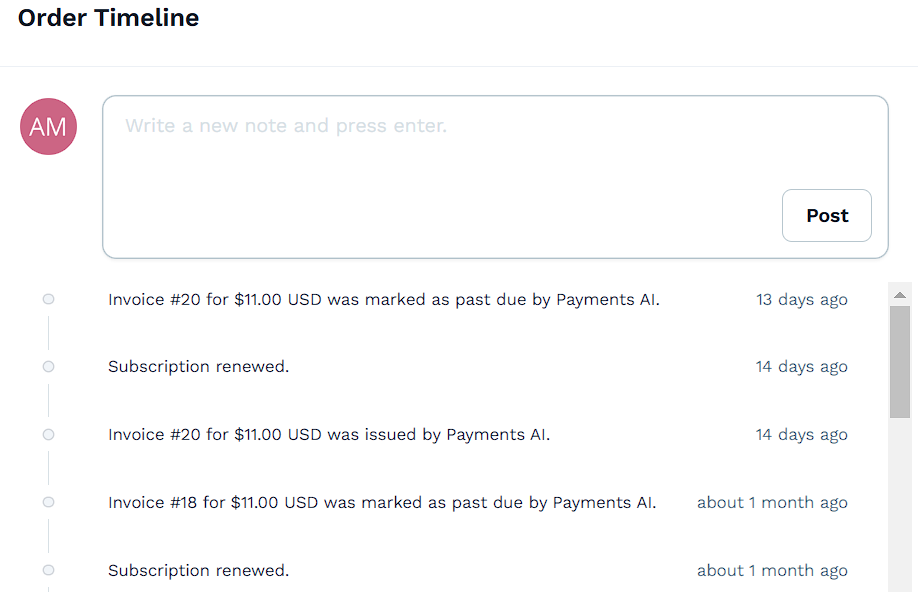
How to Use the Order Timeline
Review Order Events:
Scroll through the timeline to view a detailed history of events, such as:
Invoice issuance and updates (e.g., marked as paid, past due).
Subscription renewals or cancellations.
Payment actions recorded by the system.
Add Internal Notes:
Use the text box at the top of the timeline to write a note.
Click Post to save the note.
Notes are internal and can help track additional information or communication regarding the order.
Managing Customer Details
The right-hand section of the order page provides tools and information for managing customer details and additional order actions.
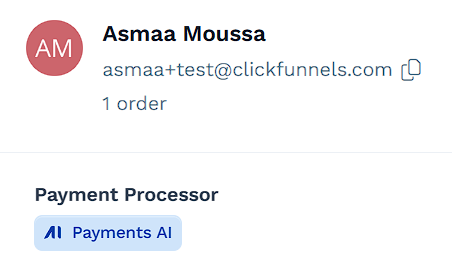
Customer Information
Name and Contact Information: Displays the customer's name, email, and the total number of orders they’ve placed.
Payment Processor: Indicates which processor is being used for the order (e.g., Payments AI).
Subscription Details (if applicable): For subscription orders, this section also includes:
Start Date: The date the subscription began.
Current Period: Shows the start and end dates of the current billing cycle.
Renewal Date: Indicates when the subscription will renew next.
Total Paid: The total amount the customer has paid for the subscription so far.
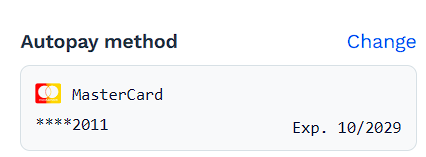
Autopay Method (Available for Subscription Product Orders)
Payment Method: Displays the saved payment method (e.g., credit card or PayPal) and its expiration date.
Change Payment Method:
If the customer has added multiple payment methods in their Customer Center, you can select one of these existing methods for autopay. If your workspace has enabled the Allow User Credit Card Entry setting, admins can also add a new credit card during this process.Click Change next to the autopay method.
Choose a payment method from the list of options, or click Add New Card to enter a new credit card.
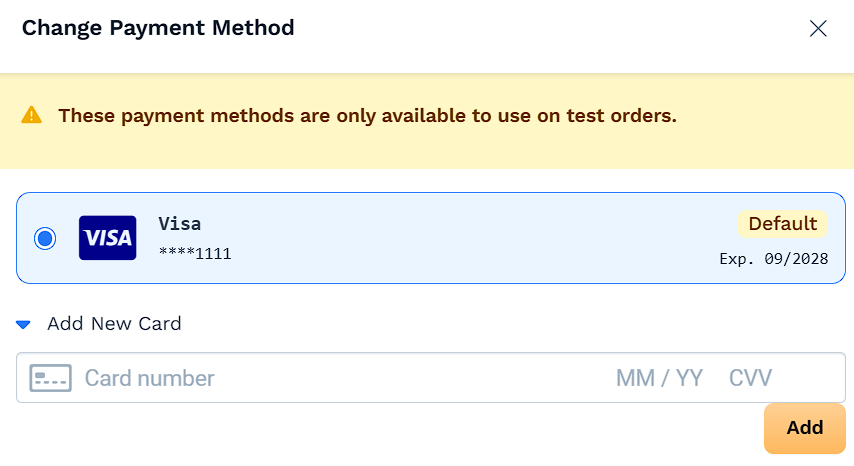
Save the changes to update the autopay settings for future payments.
Helpful Resources
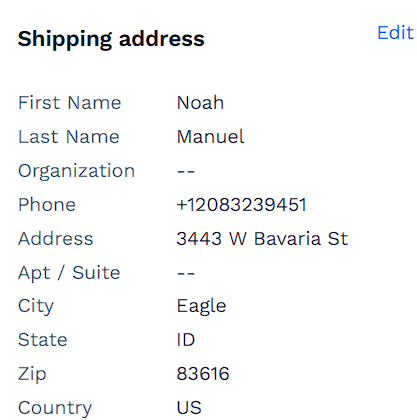
Shipping Address
Displays the customer’s shipping address.
Click Edit to update the address if necessary.
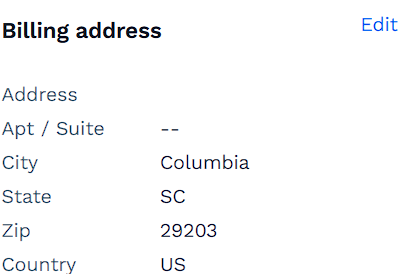
Billing Address
Shows the current billing address.
Click Edit to modify the information.
Order Tags
Use Order Tags to categorize and organize the order.
Click Add to create new tags or assign existing tags to the order.
Tags can help you track orders by category, priority, or any other custom labels you choose.
Notes
The Notes section allows you to add internal comments related to the order:
Click Add to write a new note.
Notes are visible only to team members and can be used to document special instructions, customer requests, or order history.