 Dashboard
 Site & Funnels
 Products
 Orders
 Contacts
 Analytics
 Marketing
 Sales
Sales Settings
 Apps
Apps Payments
 MessageHub
This article shows you how to update your account settings in the ClickFunnels 2.0 Customer Dashboard. Adjusting these settings helps you make sure your personal and billing information is current and set up the way you like.
This article is created specifically for users of the Customer Center feature of the workspace and does not apply to settings for our customers’ personal ClickFunnels accounts.
Table of Contents
- Requirements
- How to Access Customer Dashboard
- How to Update Personal Details
- How to Update Community Profile
- Additional Information
Requirements
- An active ClickFunnels 2.0 account
- A working Customer Center
How to Access Customer Dashboard
Click the Sites option from the main menu, located at the left of your page.

From the Site menu, select the Customer Center option.

Click on the link found under the Customer Center to enter your Customer Center backend.

The Customer Center will open in a new tab.

Click on the profile picture at the top right corner of the screen, then select My Account from the dropdown menu.

You’ll be directed to the Customer Dashboard.

Click Manage account.

How to Update Personal Details
Enter your First and Last names in the designated input boxes.

If you need to update your Email address or Verified phone number, please contact support at cf2support@clickfunnels.com.

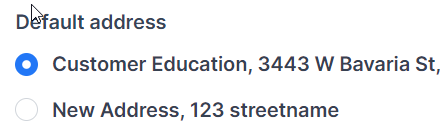
Select your Default address to set it as your preferred address.
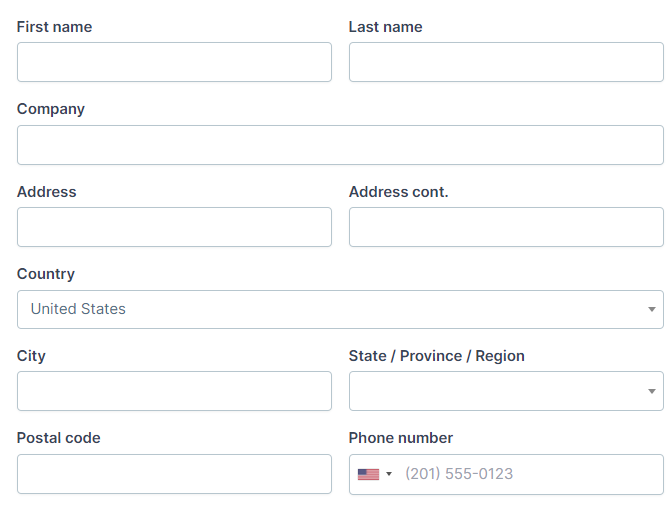
(Optional) You can also add a new address to your file.
Click on the new address option to save a new address to your account.

Fill in the new address details to add to your profile.
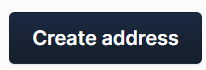
Click Create address button to save your changes.
Review Billing Payment Methods

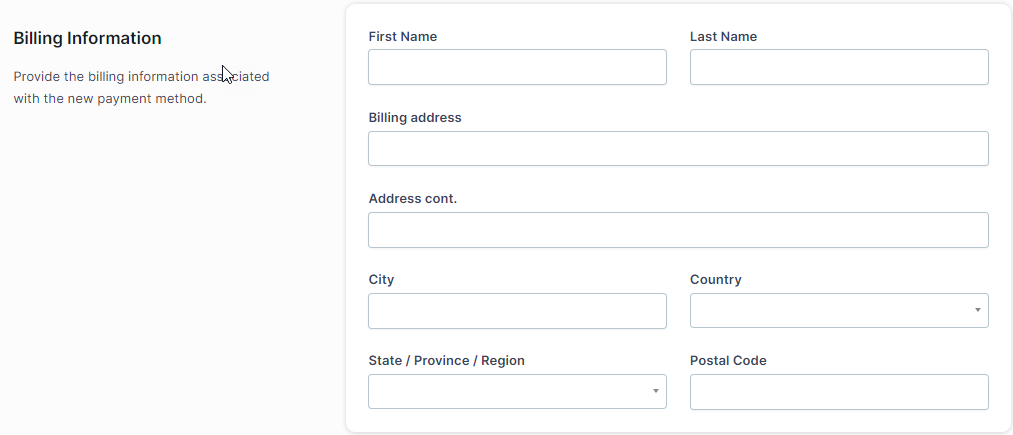
(Optional) You can also add a new payment method.
Click on the new payment method option.

Provide the details of the new payment method you’d like to add.

Provide the billing information associated with the new payment method.
Click the Create payment method button to save your information.
Update Profile: Click the “Update Profile” button to save your edits and ensure all changes to your personal details are applied successfully.

How to Update Community Profile
You can view and update your public community profile to ensure that your personal and professional information is current and accurately displayed within the community.
Community Bio: Edit the Public Bio for the Community to personalize how your professional background and interests are presented to other community members.

Facebook URL: Update the Facebook URL in your profile to link your Facebook page, allowing other community members to connect with you on social media.

Twitter URL: Update the Twitter URL in your profile to include a link to your Twitter account.

Instagram URL: Update the Instagram URL in your profile to connect your Instagram account.

Linkedin URL: Modify the LinkedIn URL in your profile to include your LinkedIn account link.

Website URL: Adjust the Website URL in your profile to direct community members to your personal or business website.

Update Profile: Click the “Update Profile” button to save your edits and ensure all changes to your community profile are applied successfully.
Additional Information
Was this article helpful?
That’s Great!
Thank you for your feedback
Sorry! We couldn't be helpful
Thank you for your feedback
Feedback sent
We appreciate your effort and will try to fix the article