 Dashboard
 Site & Funnels
 Products
 Orders
 Contacts
 Analytics
 Marketing
 Sales
Sales Settings
 Apps
Apps Payments
 MessageHub
Learn how to manage your payment methods using the Customer Dashboard in ClickFunnels 2.0. If you’re subscribed to services or products, understanding how to update your payment options is crucial. This article will guide you through the process of changing your payment methods, ensuring your transactions continue smoothly as your needs or payment details change.
This article is created specifically for users of the Customer Center feature of the workspace and does not apply to settings for our customers’ personal ClickFunnels accounts.
Table of Contents
- Requirements
- How to Access Payment Methods Tab in The Customer Dashboard
- How to Edit An Existing Payment Method
- How to Delete An Existing Payment Method
- How to Add New Payment Method
- Additional Information
Requirements
- An active ClickFunnels 2.0 account
- A working Customer Center
How to Access Payment Methods Tab in The Customer Dashboard
Click the Sites option from the main menu, located at the left of your page.

From the Site menu, select the Customer Center option.

Click on the link found under the Customer Center to enter your Customer Center backend.

The Customer Center will open in a new tab.

Click on the profile picture at the top right corner of the screen, then select My Account from the dropdown menu.

You’ll be directed to the Customer Dashboard.

Click on the Payment Methods tab.
How to Edit An Existing Payment Method
Click the Edit icon to the right of the payment method you wish to modify. A new window will pop up, allowing you to edit the payment details.

Edit Description as needed. You can update this to better reflect the details or purpose of the payment method.

Update the Expiration Month of your payment method.

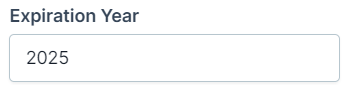
Update the Expiration Year of your payment method.
Click the Update payment method button to save any changes made to your payment details.

How to Delete An Existing Payment Method
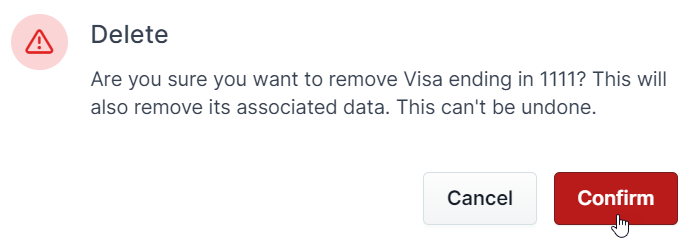
Click the Delete icon on the far right of the payment method you wish to remove.

Click Confirm in the confirmation prompt to permanently remove the payment method.
How to Add New Payment Method
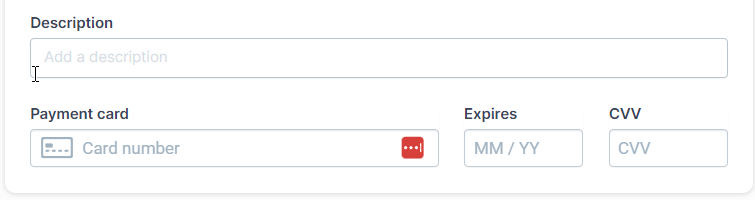
Click the Add new payment method button at the bottom of the Payment Methods tab. You’ll be directed to another page where you can provide the details of the new payment method you’d like to add.

Provide the details of the new payment method you’d like to add.
Provide the Billing Information associated with the new payment method.
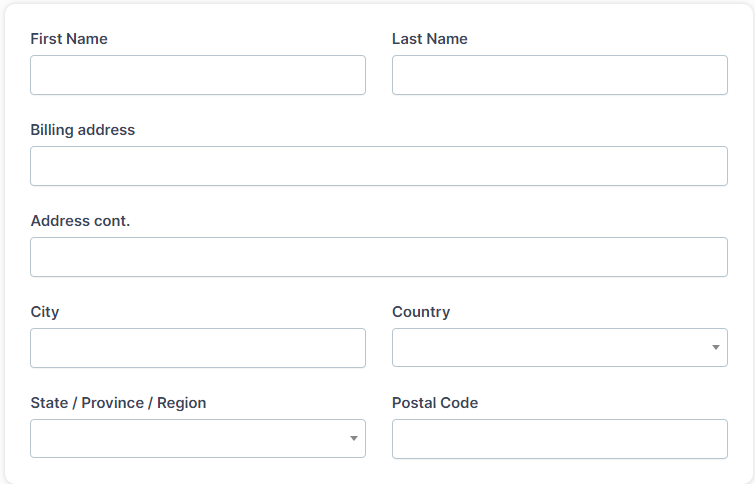
Click on the Create payment method button to add the new method.

Additional Information
Was this article helpful?
That’s Great!
Thank you for your feedback
Sorry! We couldn't be helpful
Thank you for your feedback
Feedback sent
We appreciate your effort and will try to fix the article