Giving members access to your community is an important step in building engagement. Whether you want to grant access to the entire community, specific groups, or individual topics, ClickFunnels offers flexible options to manage permissions for your members. In this article, you’ll learn how to grant access to make sure your members can easily join and participate.
Table of Contents
- Requirements
- Granting Access Through Product Purchase
- Granting Access via Contact Profile
- Granting Access via Workflows
- Granting Access via the Community Manager Role
- Related Articles
Requirements
- An active ClickFunnels account
- A Community with at least one Group and one Topic.
Granting Access Through Product Purchase
You can give members access to your community by linking it to a product purchase. This method allows you to grant community, group, or topic access automatically when someone buys a product.
- From the Products section, select All Products in the left menu.
- Choose the product you want to link with community access.
- Scroll down to the Purchase Actions section.
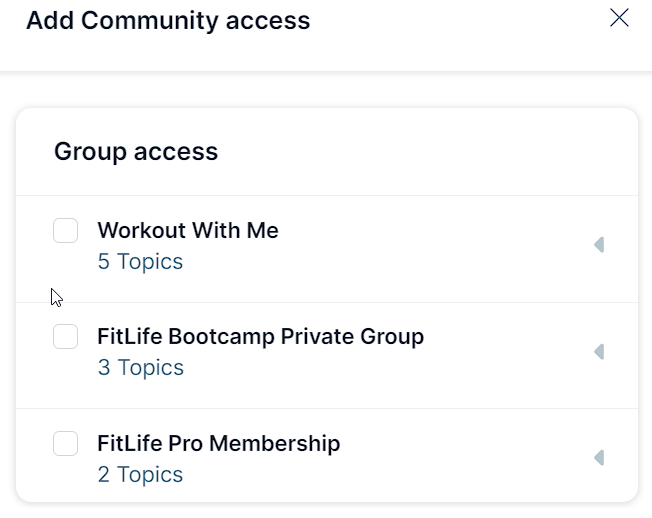
- Click the (+) sign next to Community access option.
- Check the boxes next to the Groups and Topics you want the product to grant access to.
- Click Save to apply your changes.
Granting Access via Contact Profile
You can manually grant a contact access to the community, specific groups, or topics from their contact profile. Follow these steps:
- From the Customers tab, select Contacts in the left menu.
- Click on the contact you want to grant access to.
- From the Manage contact dropdown, click Edit contact.
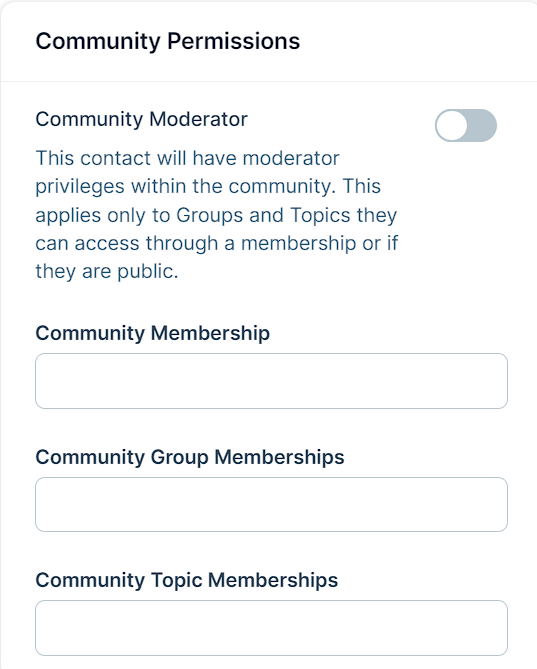
- Scroll down to the Community Permissions section and click Update Settings.
- Add the desired Community, Group, or Topic memberships for the contact.

- Click Update Contact to save the changes.
Granting Access via Workflows
You can also automatically grant community access to contacts using the Grant Community Access step in ClickFunnels workflows. This method allows you to streamline access management without manually adjusting permissions for each contact.
- From the dashboard, navigate to Automations app and select Workflows.
- Open an existing workflow or create a new one.
- Click the plus (+) icon in the workflow editor to add a new step.
- In the right-hand panel, select Grant Community Access under the Internal category.
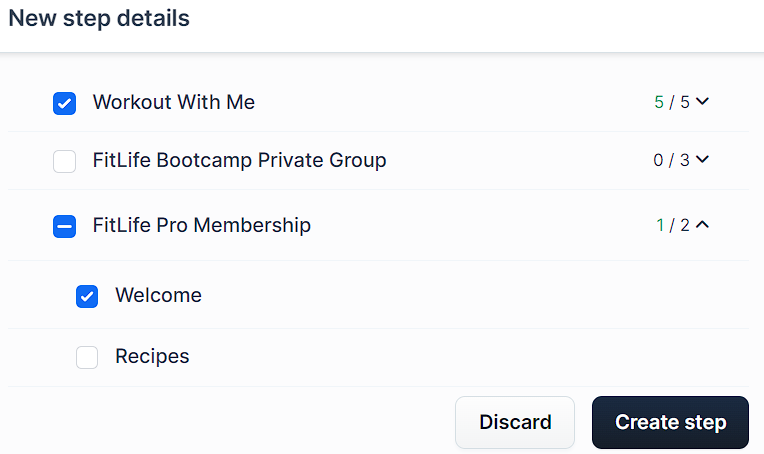
- A dialog box will appear. Select the specific Community Groups, or Topics you want to grant access to.

- After making your selections, click Create Step to save the workflow action.
Once the workflow is set, it will automatically grant access to the community based on the triggers you define. For detailed guidance on setting up workflows, refer to the Workflows “Grant Community Access” Step article.
Granting Access via the Community Manager Role
The Community Manager role allows a collaborator to manage community-related tasks, including overseeing posts, Topics, and Groups within your ClickFunnels workspace. Here’s how to assign this role to a collaborator:
- From the dashboard, scroll down to Workspace Settings in the left menu.
- Click Collaborators from the menu.
- Select Add new collaborator at the top right of the Collaborators page.
- Provide the collaborator’s details or click Add new to invite someone.
- Under Roles, select Community Manager.
- Click Create collaborator to assign the role.

Related Articles
Was this article helpful?
That’s Great!
Thank you for your feedback
Sorry! We couldn't be helpful
Thank you for your feedback
Feedback sent
We appreciate your effort and will try to fix the article
 Dashboard
 Site & Funnels
 Products
 Orders
 Contacts
 Analytics
 Marketing
 Sales
Sales Settings
 Apps
Apps Payments
 MessageHub