This article will provide instructions on creating, updating, or deleting a Contact. Contacts are users that have given you their contact information through one of your pages or some other form of consent. All of their data is stored in individual Contact Profiles.
Requirements
An active ClickFunnels account
Add a New Contact
Adding a new contact manually can be useful when you’ve collected information offline or need to input data from other sources. Here’s how to add a new contact:
Click Customers from the left-hand main menu.
Select Contacts from the submenu.
Click the Add Contacts button at the upper-right corner of the page.
Choose Manually Add Contacts from the dropdown menu.
In the New contact form, fill out the following details:
Email address (required)
First name
Last name
Phone number
Time Zone
Organizations
Tags
(Optional) Add a default shipping address by clicking Add default address.
If applicable, update the contact’s community profile by clicking Update Profile.
Click the Create contact button at the bottom of the form to add the new contact to your list.
Edit an Existing Contact
Locate the contact you want to edit in the Contacts page.
Click on the contact’s name to open their profile.
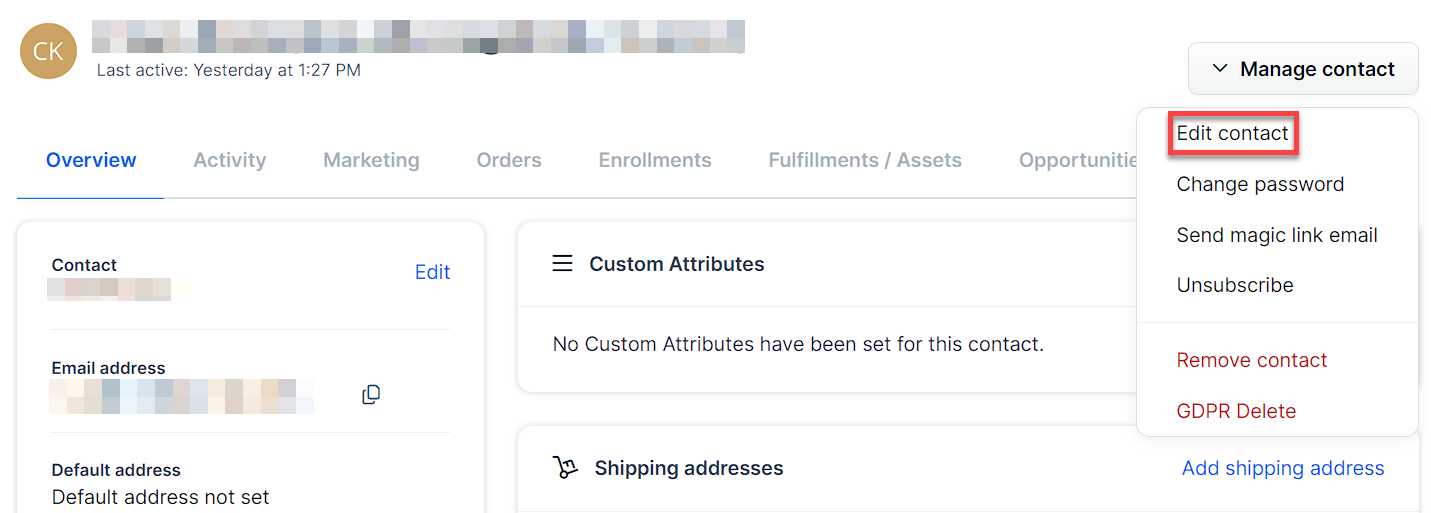
Select Edit Contact from the Manage Contact drop-down menu.
Make the necessary changes to the contact’s information.
Click the Update contact button at the bottom of the form to save your changes.
Change a Contact’s Password
If a contact needs their password reset:
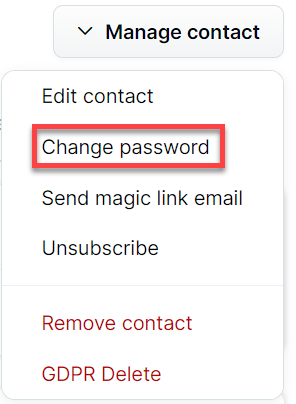
Select Change Password from the Manage Contact drop-down menu.
Enter the new password in the provided field.
Click the Update Contact button to save the new password.
Send a Magic Link Email
To securely provide login access to a contact without requiring them to remember a password:
Navigate to the contact’s profile.
Click the Manage contact dropdown menu.
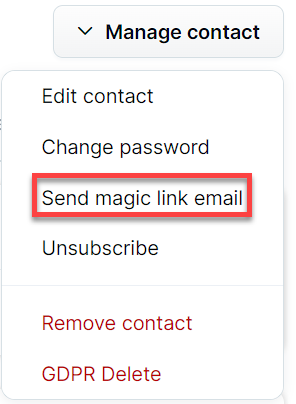
Select Send magic link email from the options.
Once you do this, an email containing a secure login link will be sent to the contact’s email address. When they click this link, they’ll be able to log in directly without needing to enter a password.
This feature is useful for:
Onboarding new users
Helping users who have forgotten their password
Providing temporary access to specific areas of your site
Magic links are typically valid for a limited time for security reasons. Advise your contacts to use the link promptly.
Unsubscribe a Contact
When a contact wishes to opt out of your communications:
Open the contact’s profile.
Select Unsubscribe from the Manage Contact drop-down menu.
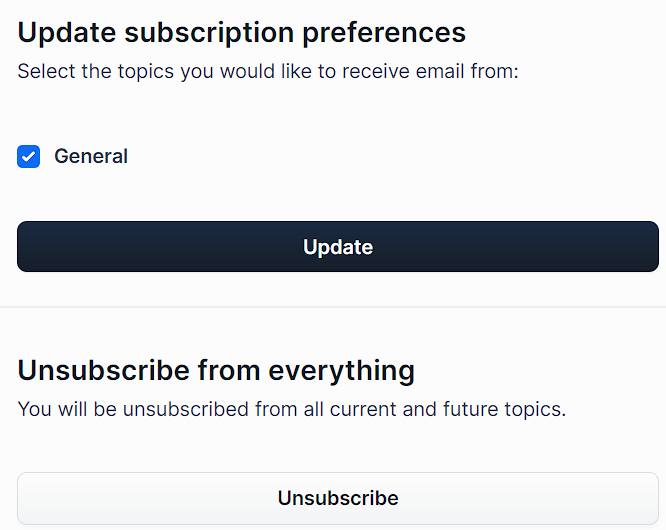
In the Update subscription preferences section:
Select specific topics the contact wishes to unsubscribe from by unchecking the corresponding boxes.
Click the Update button to save these preferences.
To unsubscribe the contact from all communications, click the Unsubscribe from everything button at the bottom of the page.
Filter Contacts
Filters allow you to refine the list of contacts based on specific criteria, making it easier to locate particular groups of contacts.
In the Contacts dashboard, click Filter + at the top of the page.
Choose an attribute to filter by (e.g., First Name, Contact Tags, LTV).
Set a condition (e.g., is, contains) and enter or select the value by which you want to filter.
Click Apply to see the filtered results. After applying a filter, click Save to keep it for future use.
You can also combine multiple filters by using and/or to further narrow down your contact list. 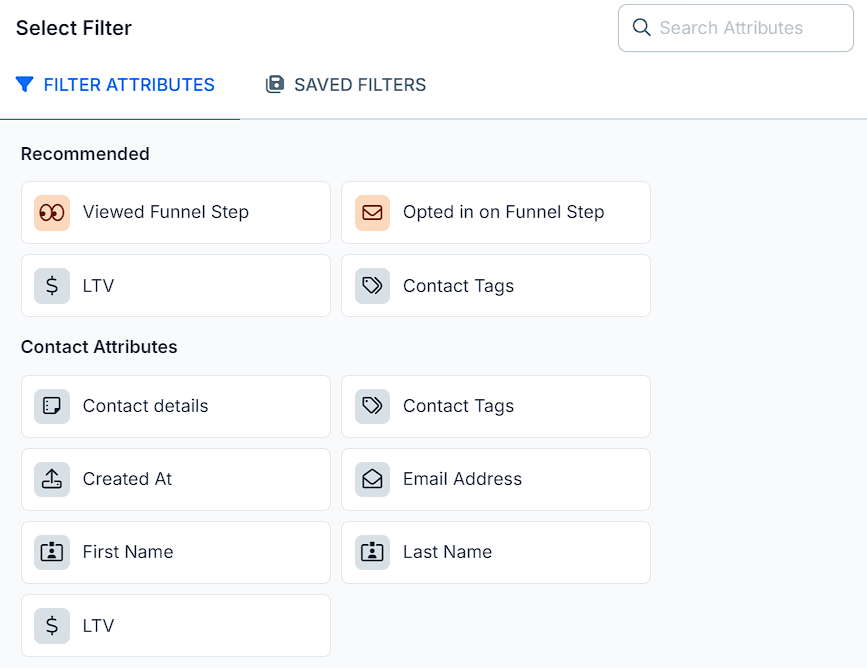
Remove a Contact
The “Remove Contact” option will not be available if the contact:
Has orders associated with their profile.
Is enrolled in any courses.
Has community activity.
When available, here’s how to remove a contact:
Open the contact’s profile.
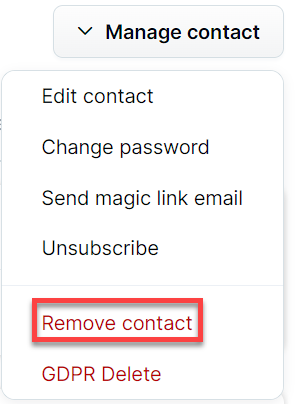
If available, select Remove Contact in the Manage Contact drop-down menu.
Click the Proceed button to confirm. Clicking the “proceed” button removes the customer information and cannot be undone.
GDPR Delete a Contact
Open the contact’s profile.
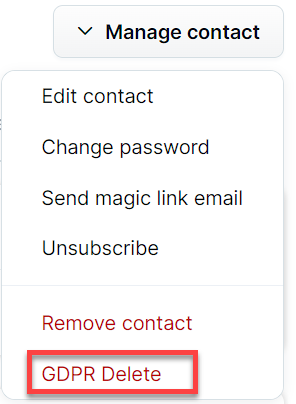
Select GDPR Delete from the Manage Contact drop-down menu.
Type “DELETE” in the confirmation field.
Click the Proceed button to permanently anonymize all of the contact’s information.
Clicking the proceed button removes the customer information and cannot be undone.
