The Affiliate Center app in ClickFunnels allows you to create a powerful affiliate program, enabling affiliates to promote your products and services in exchange for commissions. A seamless registration and login process for affiliates is crucial to ensure they can easily access their dashboard, find promotional materials, and start generating sales. In this article, you will learn how to set up the registration process for your affiliates, manage new registrations, and provide them with the necessary information to log in and start promoting.
Requirements
An active ClickFunnels account
The Affiliate Center app added to the workspace
Available on the Optimize and Dominate plan
Step 1 - Create an Affiliate Registration Funnel
You must set up a funnel with a registration form to allow your affiliates to register to collect essential affiliate details. There are two ways to create this funnel: you can save time by importing a pre-built funnel from ClickFunnels or create one from scratch. Let’s explore both options./ca
Option 1: Import the Default Affiliate Registration Framework
ClickFunnels offers a Default Affiliate Registration Framework, including the necessary pages and an attached workflow to register affiliates automatically.
📥 Download:Click here to import the Default Affiliate Registration Framework to your workspace.
Open a web browser (such as Chrome, Firefox, Safari, etc.) and click on the shared link.
If you are not already logged in, you will be prompted to log into your ClickFunnels account. If you do not have an account, you must create one.
Once logged in, you can choose which workspace you want to import the components into. Alternatively, you can create a new workspace for the imported Framework.
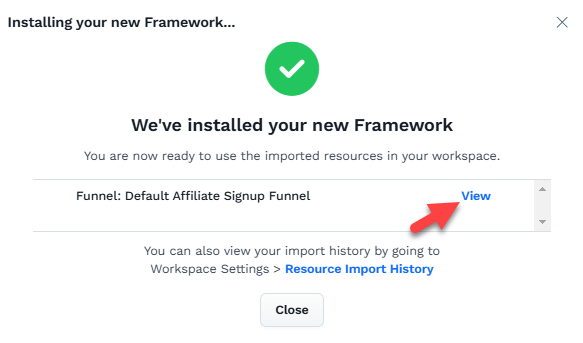
When the importing is completed, a success window will appear. Click View to access the signup funnel.
This funnel consists of:
Affiliate Registration Page – Where new affiliates sign up.
Affiliate Confirmation Page – Automatically displays the affiliate’s unique referral link after registration.
Automated Workflow – Manages the automation of affiliate contact registration.
You can customize the design and content of the framework components according to your brand’s needs.
Note:
You need to access the workflow and add the tag(s) and commission plan(s) you want to apply to the registered affiliate, before sharing affiliate registration funnel.
The Affiliate Registration funnel includes the Instant Affiliate feature on the "Thank You" page. This functionality allows affiliates to receive an immediate affiliate link for promotion upon registration. For further details regarding the Instant Affiliate feature, please refer to the article How to Create An Instant Affiliate Link After Registration.
Option 2: Create an Affiliate Registration Funnel from Scratch
If you prefer to create your affiliate registration funnel manually, follow these steps:

Create a New Funnel: In your ClickFunnels dashboard, go to the Funnels menu and click on Create Funnel.
Add an Opt-In Page: Add a new page and select a template that suits your affiliate registration process. Make sure it has an opt-in form to collect essential information like name, email, and PayPal email address.
Collecting PayPal Email Addresses: To collect your affiliates’ PayPal email addresses for payouts, add a custom input field to the form and set the Custom Type to
payout_details. This ensures the PayPal email is automatically mapped to the affiliate’s account in ClickFunnels. You can set this field as “Not Required’ if you want your affiliates can still register without having a PayPal account.
Create a Thank You Page: After the registration page, add a Thank You page to confirm the affiliate’s registration. This page can provide further instructions or inform them that their registration is under review.
For more information on creating a funnel, refer to our article How to Create a New Funnel.
Step 2 - Create a Workflow for Affiliate Registration
After setting up the registration page, you need to create a workflow that triggers the creation of an affiliate account once someone signs up.
Note:
If you have imported the Default Affiliate Registration Framework (as described in Step 1, Option 1), it already includes a pre-configured workflow. There is no need to create a new workflow for the registration process. Instead, access the imported workflow and complete any necessary configurations, such as adding tags or assigning commission plans.
Create a Workflow: In the ClickFunnels Automations app, select the Workflows menu and create a new workflow.
Set Up a Trigger for the Workflow: Choose Opt-in as event type in the trigger step, so the workflow is activated when someone completes the registration form.

Insert Create Affiliate Step: After the workflow trigger step, insert Create Affiliate. This step will automatically register the user as an affiliate in your Affiliate Center after they submit their information.

Assign Commission Plans: In the Create Affiliate step, you can assign one or more commission plans to the new affiliate. Based on the commission plans selected, relevant campaigns linked to those plans will appear in the affiliate’s dashboard.
Note:
Even if you assign specific commission plans in the Create Affiliate step, the default commission plan set in the Affiliate Center will still apply. Additionally, if an existing affiliate signs up again, they will retain their current commission plans, with any new plans specified in this step being added to their profile.
Step 3 - Ensure Affiliate System Emails Are Enabled
System emails play a vital role in communicating with your affiliates during the registration and approval process.
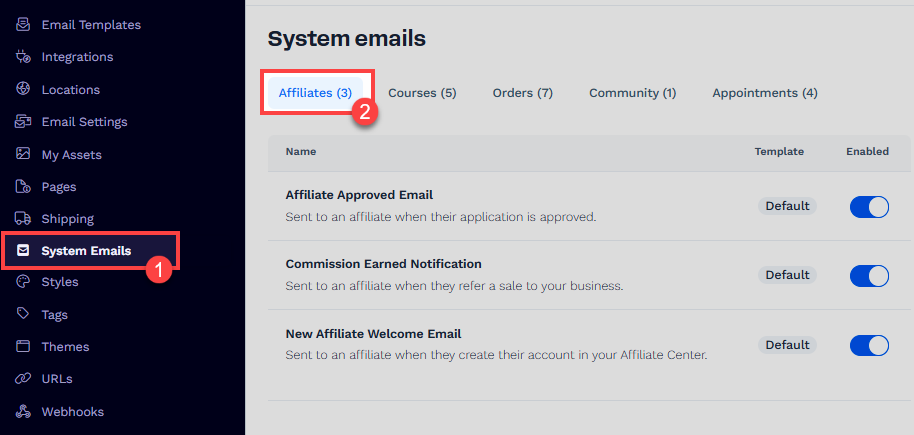
Navigate to System Emails: From the ClickFunnels dashboard, go to your workspace settings and select System Emails.
Enable System Emails for Affiliates: Ensure the New Affiliate Welcome Email and Affiliate Approved Email are enabled. These emails notify affiliates about their registration and approvals.
Learn more about affiliate center system emails in the Affiliate Center - Customizing System Emails article.
How to Manually Create an Affiliate
In some cases, you might want to manually add an affiliate to your Affiliate Center, allowing you to skip the standard affiliate registration process. This method is helpful when you need to add affiliates directly without them going through a registration form. Follow these steps to create an affiliate in your Affiliate Center manually:
Create a Contact in the Customers Menu:
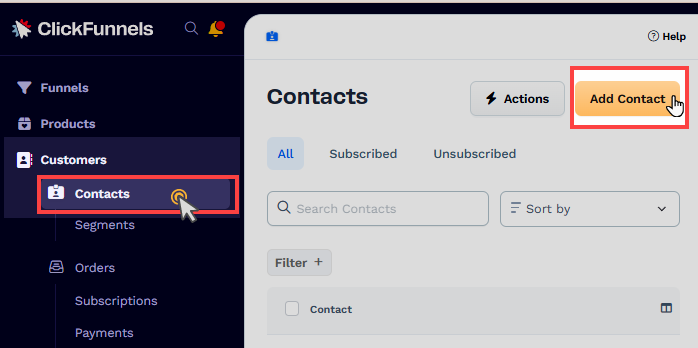
Navigate to Customers » Contacts from the ClickFunnels dashboard.
Click on the Add Contact button to create a new contact.
Fill in the required details like name, email address, and any other relevant information for the contact.
Once the contact is created, it will appear in the list of contacts and be ready to be used to create an affiliate.
Create a New Affiliate in the Affiliate Center App:
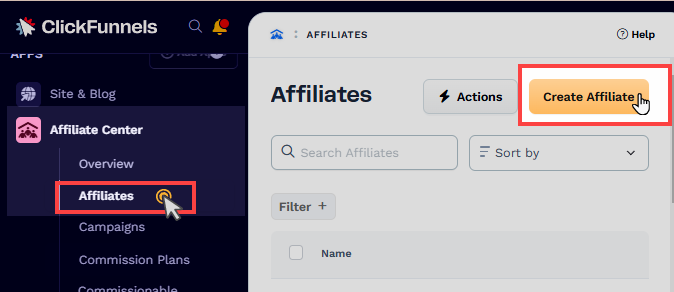
From the ClickFunnels dashboard, go to the Affiliate Center app and click on the Affiliates tab.
This will display a list of all the affiliates currently in your system.
Click the Create Affiliate button located at the top right corner of the Affiliates page.
In the New Affiliate window, enter the name of the affiliate.
Under Member (Contact), click the dropdown and select the contact you created earlier from the list.
Once selected, click Create Affiliate to add the affiliate to your Affiliate Center.

Viewing Newly Registered Affiliates
Once affiliates register, you can manage and view them in the Affiliate Center:
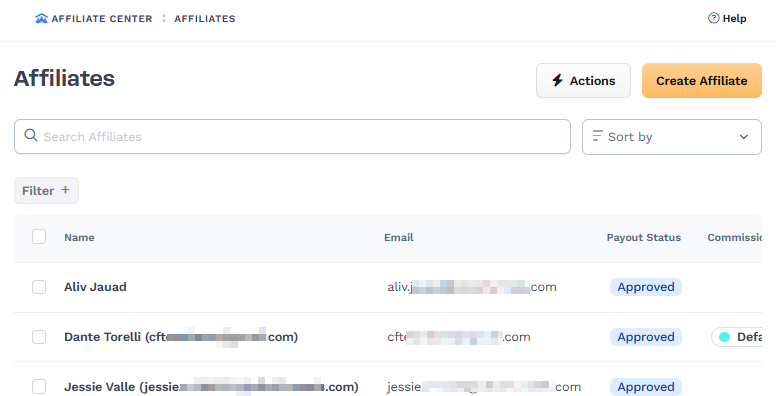
Access Newly Registered Affiliates: Go to the Affiliate Center app, click on Affiliates, and view the list of registered affiliates.
Payout Status and Approval Process: New affiliates will initially have a Pending payout status, indicating their registration is under review. While their status is pending, affiliates can still log in to their affiliate area and promote campaigns, but payouts will only be processed after their registration is approved.
Default Commission Plan for Newly Registered Affiliates
When affiliates register, the system automatically applies a default commission plan. Here’s what you need to know:
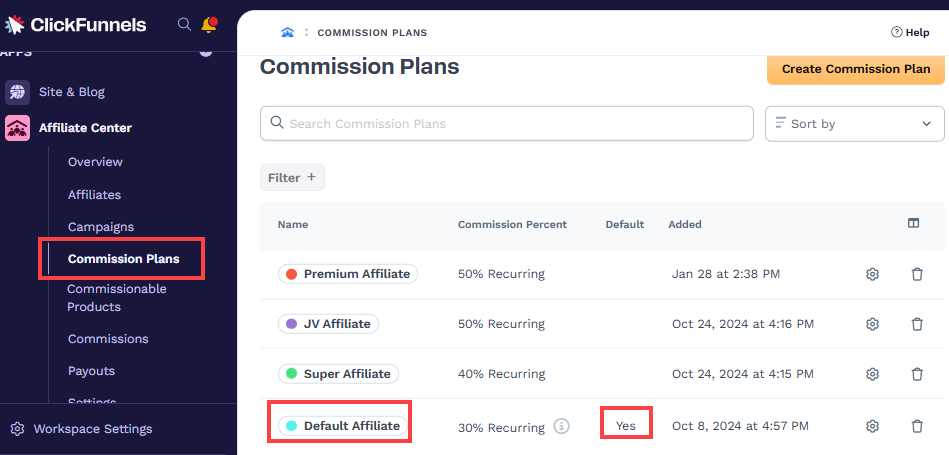
Default Commission Plan: Ensure a default commission plan is set up in the Affiliate Center app. This plan will be visible to all new affiliates and will determine the commission they earn for promoting your products.
Learn more about commission plans in the Affiliate Center - Creating and Managing Commission Plans article.
Campaign Visibility: Affiliates will only see campaigns in their affiliate area that include the default commission plan. Make sure you have campaigns set up with appropriate commission plans.
Learn more about creating and managing a campaign in the Affiliate Center - How to Create an Affiliate Campaign article.
Note:
It is recommended that you create a commission plan and ensure that at least one commission plan is set as the default in the Affiliate Center. This way, newly registered affiliates will automatically be assigned to the default commission plan if you don’t specify a different plan in the “Create Affiliate” step of your workflow.
How Affiliates Will Log In to Affiliate Dashboard
Affiliates must log in to their affiliate dashboard to track their progress, view commissions, and access promotional materials. Here’s how they can do that:
System-Generated Login URL: When system emails are enabled, newly registered affiliates will receive a Welcome Email and an Approval Email after their registration is approved. These emails contain the login URL to the affiliate area. The URL is generated using the appropriate merge tag
{{affiliates_dashboard_url}}in the email template, allowing affiliates to access their dashboard and start promoting products directly.Tips:
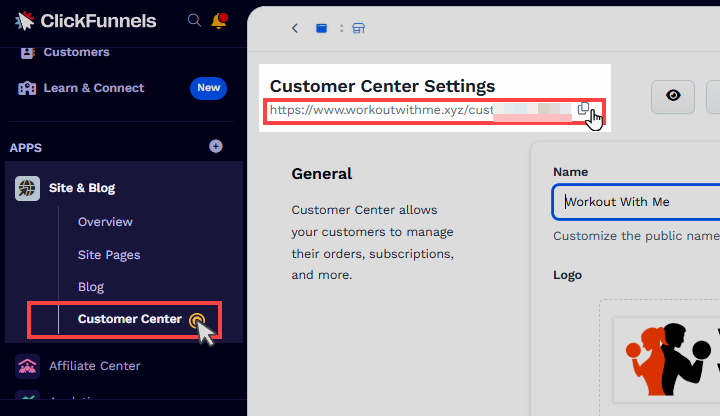
Encourage your affiliates to bookmark the login URL (Affiliate Dashboard URL) for quick access in the future. This will save them time and effort when logging in to the affiliate area.Alternative Login via Customer Center URL: You can also provide affiliates with the Customer Center URL. Access the Site & Blog app and select the Customer Center menu. Then, copy the Customer Center URL. Once they visit the Customer Center page, they can enter their email address and create a password. Afterward, they can access the Affiliate Center.
How to Register Teir 2 Affiliate
Tier 1 Affiliates can invite others to join the program directly from their Affiliate Area. When someone signs up using their unique campaign link, they will be added as a Tier 2 affiliate. To clarify the difference between Tier 1 and Tier 2 affiliates:
Tier 1 Affiliate: An individual who joins your affiliate program directly and earns commissions for their referrals.
Tier 2 Affiliate: An affiliate recruited by a Tier 1 affiliate through their unique campaign link. They are automatically linked to the referring affiliate.
Create an Affiliate Campaign for the Affiliate Registration Funnel
In ClickFunnels, you can allow Tier 1 affiliates to promote your affiliate registration funnel. When someone signs up using a Tier 1 affiliate's unique campaign link, they will automatically become a Tier 2 affiliate, linked to the referring affiliate. This setup allows commissions to be shared between Tier 1 and Tier 2 affiliates based on your commission plan.
To enable this structure, you need to create an Affiliate Campaign specifically for your Affiliate Registration Funnel. Follow these steps:
Access the Affiliate Center app and navigate to the Campaigns menu.
Click Create Campaign to set up a new campaign.
Enter the campaign name and other relevant details.
In the Funnel dropdown, select the Affiliate Registration Funnel (e.g.,
Workout With Me - Affilaite Sign Up) - this ensures that Tier 1 affiliates receive a campaign link with their unique affiliate code attached.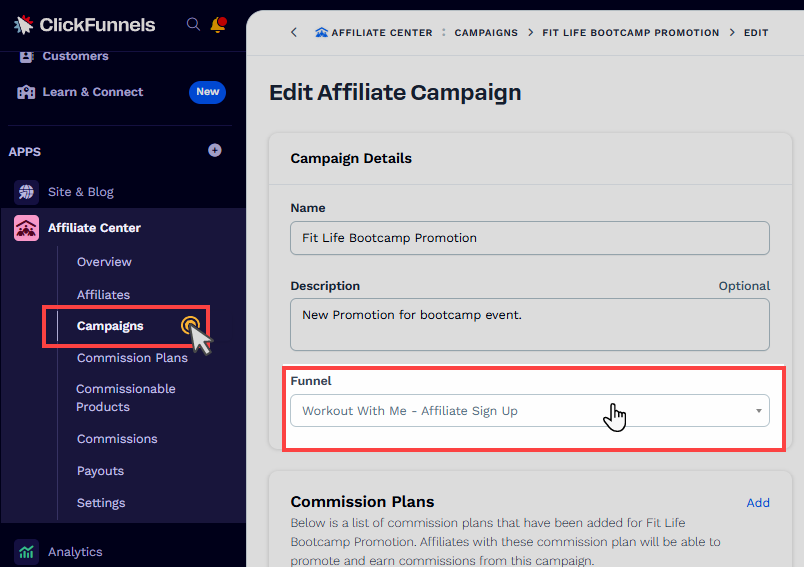
How a Tier 1 Affiliate Can Add a Tier 2 Affiliate
Once the campaign is set up, Tier 1 affiliates can invite others to join the affiliate program:
Advice your Tier 1 affiliate to Log in to the Affiliate Area.
Navigate to the Campaigns tab.
Copy the Campaign Link associated with the Affiliate Registration Funnel (e.g.,
Workout With Me - Affilaite Sign Up) - this is their Tier 1 affiliate link.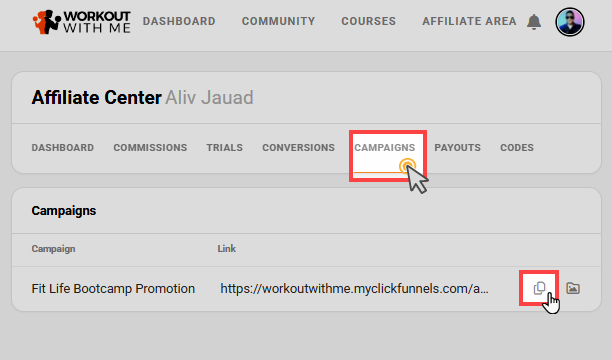
Share the link with potential affiliates.
When a person signs up using this Tier 1 affiliate link, they will be automatically registered as a Tier 2 affiliate, with the Tier 1 affiliate listed as their Parent affiliate in the Affiliate Center.
Important:
To ensure Tier 1 affiliates earn commissions on their referred Tier 2 affiliates' sales, you must properly configure your Tier 1 and Tier 2 commission plan. Learn more about setting up Tier 1 and Tier 2 commission structure in the article Affiliate Center - Understanding Tier 1 and Tier 2 Commission Plan.