Quick Actions allow you to create instant automations on your ClickFunnels pages. By implementing Quick Actions, you can instantly respond to user interactions, streamline your lead capture process, and personalize user experiences based on their actions. This article will guide you through the process of adding Quick Actions to site pages, theme pages, landing pages, and funnel pages in ClickFunnels.

Requirements
An active ClickFunnels account
The Automations app added to your workspace
An existing Page, such as a landing page, theme page, site page, or funnel page, is created within ClickFunnels workspace.
Accessing Different Page Types
Before adding Quick Actions, you need to access the appropriate page. Here’s how to navigate to different page types in ClickFunnels:
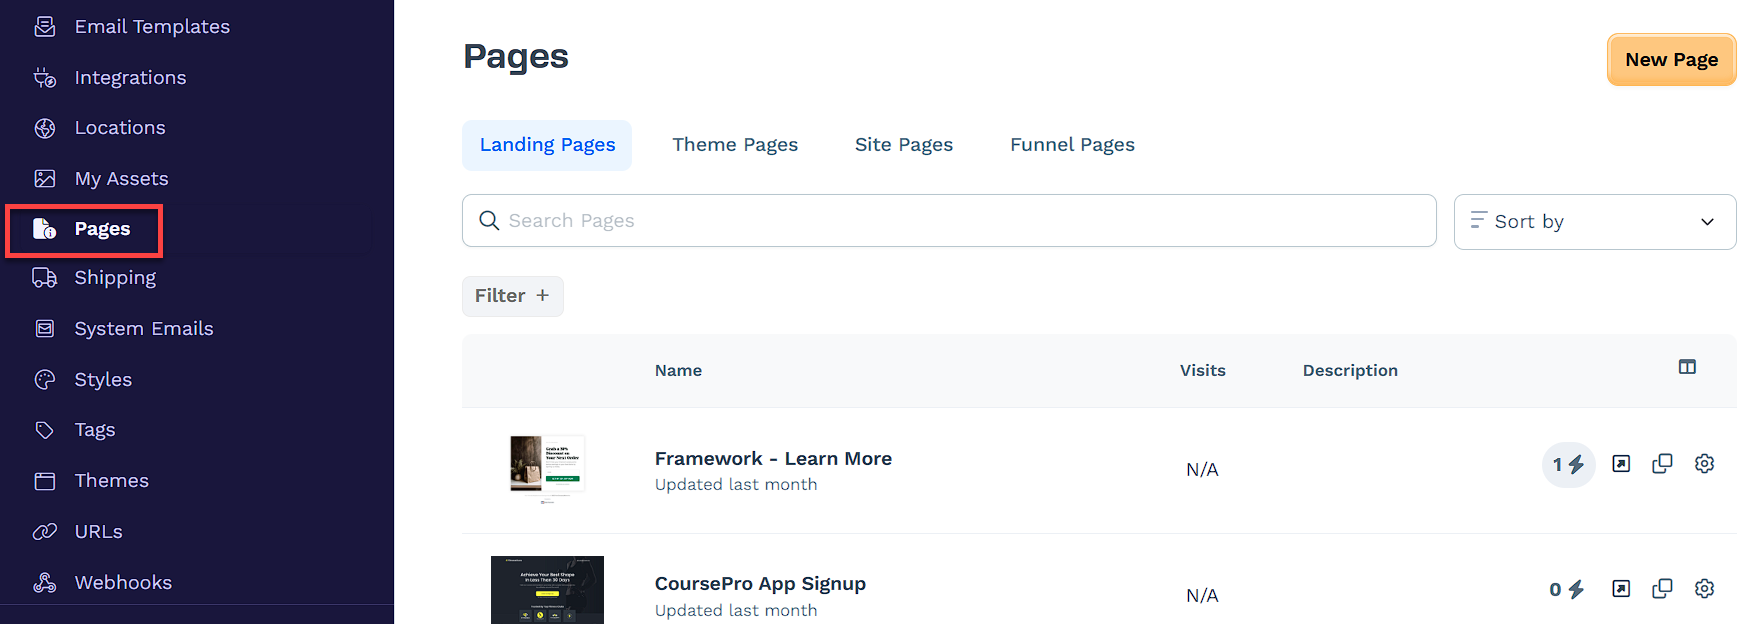
From the main dashboard, click on Workspace Settings in the bottom left sidebar.
In the Workspace Settings menu, select Pages.
You’ll see a list of all your pages, categorized by type:
Landing Pages
Theme Pages
Site Pages
Funnel Pages
Adding Quick Actions to Pages
Once you’ve located your desired page, click the lightning bolt (⚡) icon to open Quick Actions.

Select Add Quick Action from the popup.
Choose a trigger for your Quick Action:
“Opts-in on page”
“Views the page”
Select an effect that will occur when the trigger is activated.
Use the toggle switch to activate your Quick Action.

After activating a Quick Action, test it to ensure proper functionality. Simulate the trigger action (e.g., view the page or opt in) and verify that the intended effect occurs.
To learn more about effects and triggers, refer to the How to Manage Quick Actions article.
Managing Quick Actions
Changing the Trigger or Effect
Click the lightning bolt icon to locate the Quick Action you wish to update.
Click on the trigger or effect you want to change.
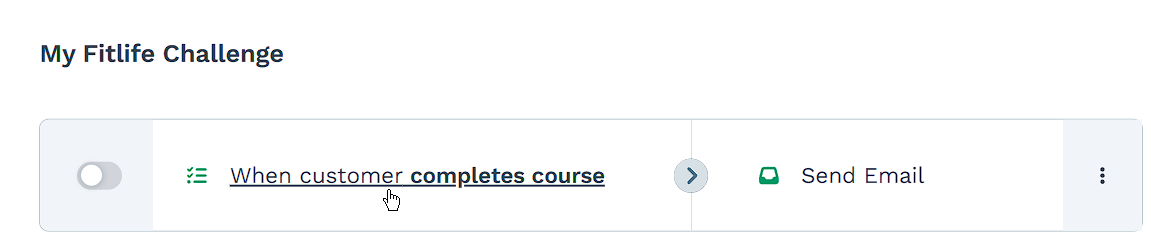
Make the necessary updates to the selected option.
Changing the Effect
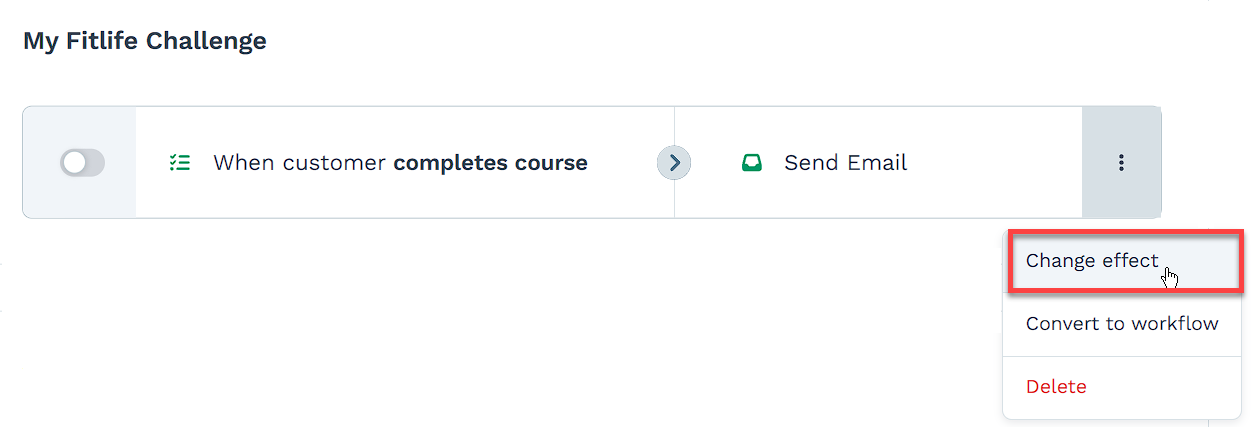
Click the lightning bolt icon again to locate the Quick Action you wish to edit.
Click on the three dots icon next to the selected effect.
From the dropdown menu, select Change effect.
Adding Multiple Quick Actions
Click the lightning bolt icon again.
Select Add Quick Action.
Set up the new trigger and effect.
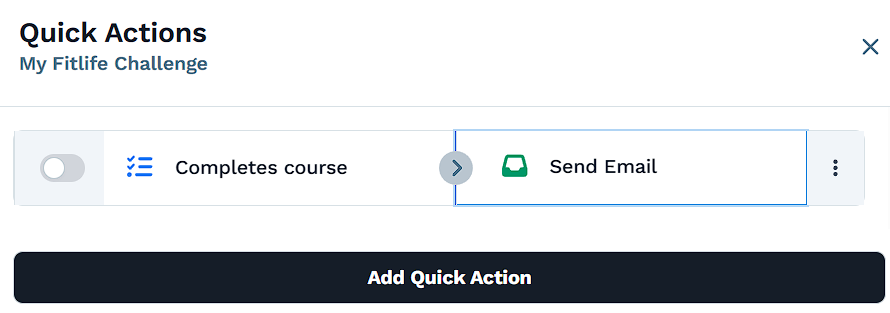
Repeat for each additional Quick Action you want to create.
Removing a Quick Action
Open Quick Actions by clicking the lightning bolt icon.
Hover over the Quick Action you want to remove.
Click the red cross (X) icon that appears on the right side.
