Emails are a great way to connect with your customers and keep them engaged. A well-designed email not only grabs attention but also makes your message clear and easy to understand. This article will show you how to use the email editor, so you can craft professional and engaging emails your customers will love, helping you build stronger relationships and improve your communication.
Requirements
An active ClickFunnels 2.0 account
A draft broadcast. Learn how to create broadcasts here.
Select an Email Template
On the Email page, find and click on the broadcast you want to design.
Click Edit Broadcast at the top right of the page.
Click Design Email to choose an email template. You can use the search bar or filter by category from the left menu.
To preview a template, hover over the thumbnail and click Preview.
Once you find a template you like, click Select template.
Alternatively, you can click Start from blank to design your email from scratch.
NOTE
If you click the Start from blank button, you’ll get a popup message asking for confirmation. Click Leave to proceed.
Using the Email Editor
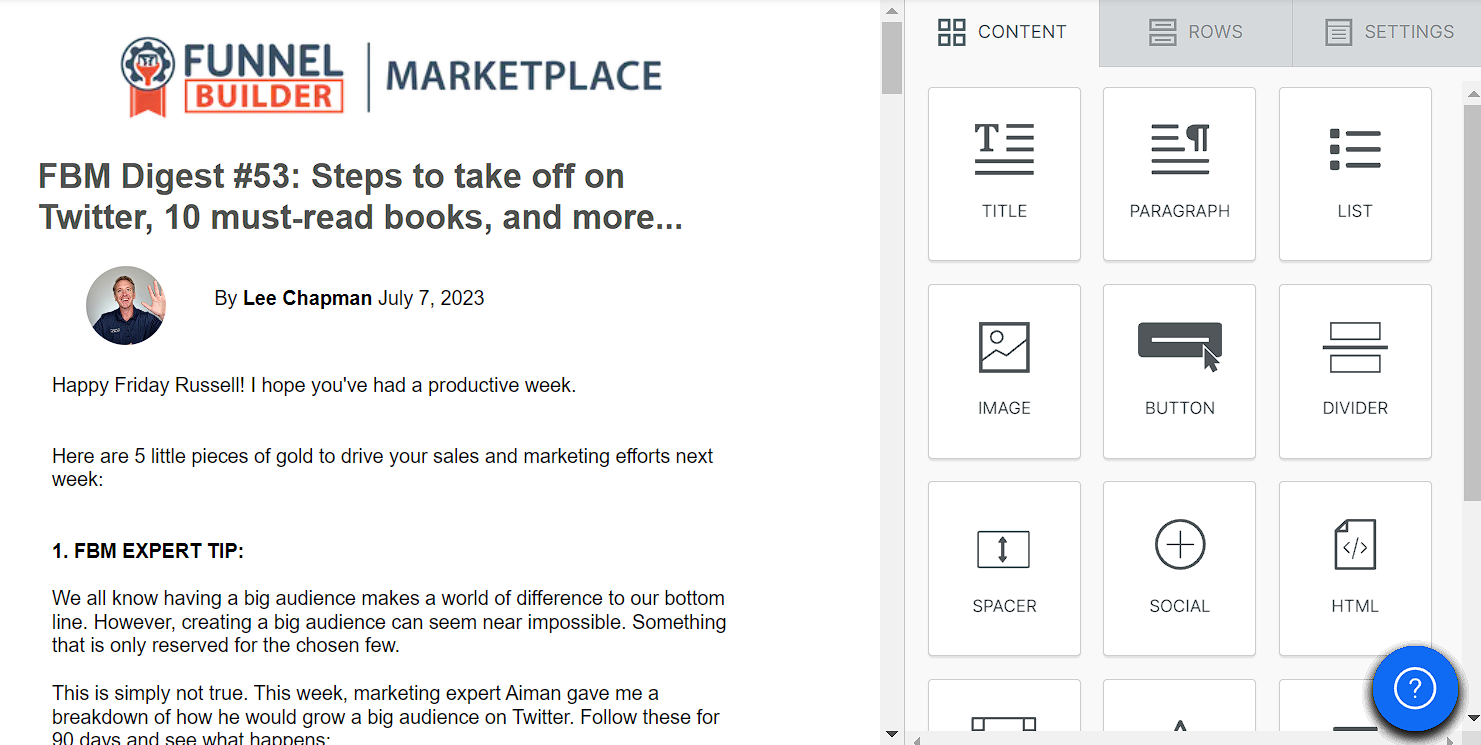
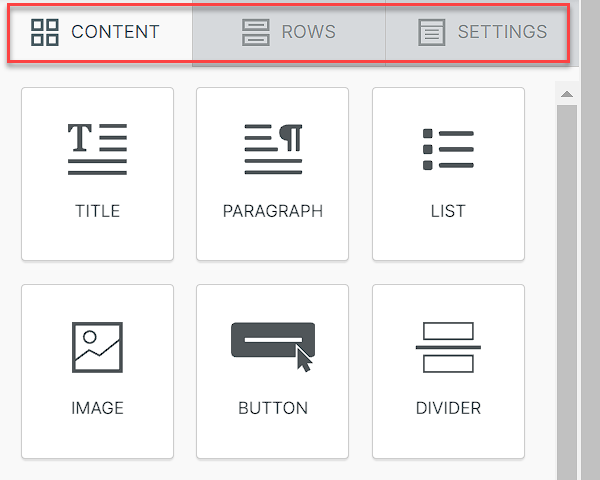
The ClickFunnels email editor is designed to be user-friendly, allowing you to create stunning email campaigns with ease. To start creating campaigns with the Email editor, you’ll use what are known as content Blocks, Rows, and Settings. These design tools are found in three divided menu parts in the main side menu:
Content Blocks: Drag and drop elements like text, images, buttons, and videos into your email. Customize each block to fit your brand.
Rows: Organize your content blocks. Rows help layout your email in an appealing way with different column setups.
Settings: Adjust the overall look of your email. Change background colors, padding, borders, and more to match your brand.
Adding Content Blocks
Drag and drop the content blocks you need into your email layout.
To rearrange the blocks, click on the one you want to move, drag it using the 4-way cursor, and place it where you want.

Customize each block by clicking on it and adjusting the Settings in the panel on the right. Please note that the settings for each content block can vary.
When you’re done, click Publish and exist in the top right corner to save your changes.
Adding Rows
To Add Rows, drag and drop a row from the side menu into your email layout.
To Add Blocks, drag and drop content blocks inside the row placeholders.
You can also Rearrange the rows by dragging and dropping them to your preferred position.
To edit a row Settings, click on the row to open the settings panel where you can customize its properties:
Click on the Delete icon to remove the row.
Click on the Duplicate icon to make a copy of the row.
Adjust Background Settings:
Choose a Row background color using the color palette.
Click on the color palette to choose a Content area background color.
Turn on the Row background image toggle to add an image as the background.
Adjust Borders:
Content area borders: You can adjust All sides by choosing the border style, size, and color or toggle on the More options toggle to customize each border separately.
Content area round corners: Change the size for All corners or toggle on the More options toggle to customize each corner separately.
Adjust Layout:
Stack on Mobile: Turn this On or Off to control stacking on mobile devices.
Stack Order on Mobile: Choose between Default or Reverse order for stacking on mobile.
Hide On: Select Off, Desktop, or Mobile to control visibility.
Insert Dynamic Content
Dynamic content lets you show different information to recipients based on specific conditions. When you add Dynamic Content to a specific piece of content, it will show only to the recipients who meet the conditions you set. Here’s how to use dynamic content in the ClickFunnels email editor.
In the email editor, click on the row where you want to add dynamic content.
Click Add condition to open the display conditions modal.
Fill in the Name and Description fields to clarify the purpose of the display condition.
In the Before and After fields, insert the conditional statements.
Click Confirm to save the condition. The row will now display content based on the specified condition.
To edit or remove a condition, click on the row and adjust the settings in the panel.
NOTE
Currently, you can only use contact merge tags to set up these conditions. This means that the conditions for displaying dynamic content can only be based on the information available in your contact merge tags, such as the recipient’s name, email, or other custom fields associated with their contact details.
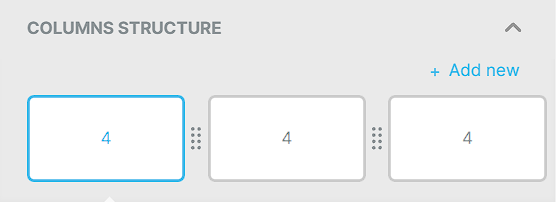
Customize Column Structure:
Customers can add new rows by clicking on the Add Row option.
They can also adjust column width by dragging the sides of the columns.
To adjust a specific column, select it to change:
Background Color: Click on the color palette to choose a background color.
Padding: Change the padding for All sides or toggle on the More options toggle to customize each side separately.
Borders: Adjust All sides by choosing the border style, size, and color or toggle on the More options toggle to customize each border separately.
When you’re done, click Publish and exist in the top right corner to save your changes.
Managing General Settings
Click on the Settings tab to access general options for the email.
Use the slider to adjust the Content Area Width.
Set the Content Area Alignment: Choose between Left or Center.
Choose a Background Color using the color palette.
Click on the color palette to choose a Content Area Background Color.
Select the Default Font from the drop-down menu.
Click on the color palette to choose a Link Color.
When you’re done, click Publish and exist in the top right corner to save your changes.