Order tags help you organize and categorize your orders within ClickFunnels. By assigning tags, you can easily filter, group, and manage orders based on specific criteria, such as promotions, customer preferences, or order statuses. This added layer of organization simplifies tracking and enhances your ability to analyze trends and improve workflows.
In this article, you’ll learn how to create, manage, and apply tags to orders to keep your operations running smoothly and efficiently.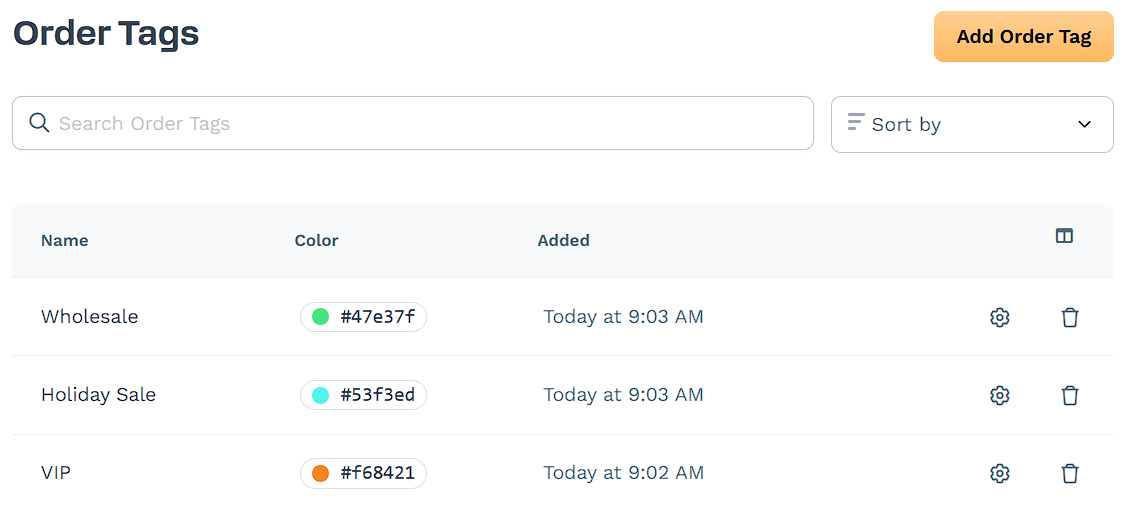
Requirements
An active ClickFunnels account
Adding a New Order Tag
Navigate to Workspace Settings in the sidebar menu, click Tags, and select Orders.
Click Add Order Tag in the upper-right corner of the Order Tags page.
Enter a unique name for the tag in the Name field (e.g., "VIP Customers" or "Shipped").
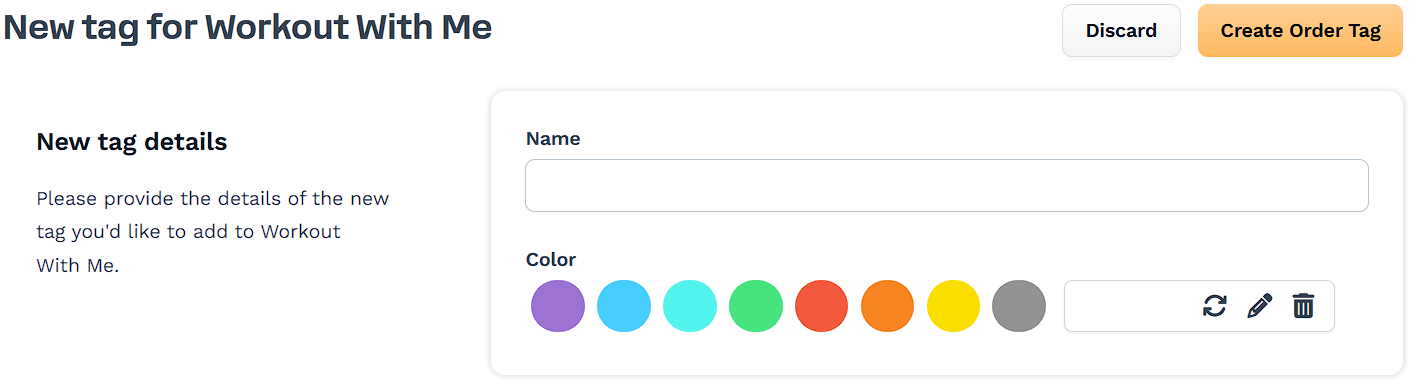
Select a color to visually distinguish the tag by clicking one of the available color options.
Click Create Order Tag to save the new tag.
Managing Order Tags
Once you’ve created order tags, you can manage them directly from the Order Tags page. This includes editing or deleting tags as needed to maintain an organized system. Follow the steps below to manage your tags effectively: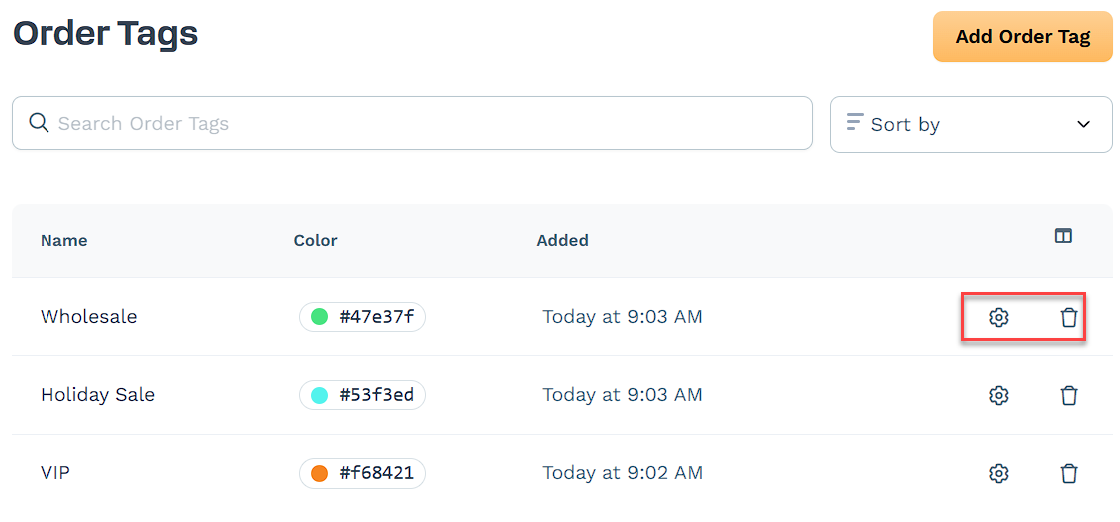
To Edit an Order Tag:
Locate the tag you want to edit on the Order Tags page.
Click the gear icon next to the tag.
In the edit window, make changes to the tag name or color.
Click Update Order Tag to update the tag.
To Delete an Order Tag:
Find the tag you wish to delete in the list.
Click the trash icon next to the tag.
Confirm the deletion in the pop-up window by clicking Proceed.
Adding Tags to Existing Orders
Navigate to Customers from the sidebar menu, then click Orders.
Locate the desired order from the list and click its Order Number to open the order details page.
In the Order Tags section, click Add.
Select one or more tags from the dropdown menu.
To remove an existing tag, click the "X" next to the tag name.
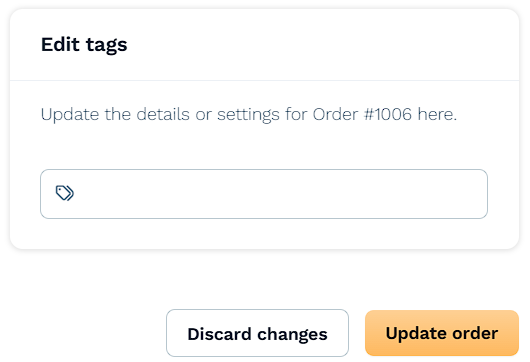
Click Update Order to save the changes.