Securing a custom domain is a vital step for establishing your online presence and brand identity. ClickFunnels simplifies this process by serving as a bridge to IONOS, a reputable third-party domain registrar. While ClickFunnels does not offer an internal domain registration service, it integrates with IONOS to facilitate domain purchases. When you initiate a domain purchase in ClickFunnels, you will be redirected to IONOS to complete the purchase. This article will guide you through each step of buying a new domain via ClickFunnels, using IONOS’s services to ensure a smooth and efficient experience.
Requirements
An active ClickFunnels account
Important:
ClickFunnels does not offer a domain registration internally.
Domains purchased through ClickFunnels are actually purchased and managed through IONOS.
The domain DNS records and other domain settings must be managed from within your IONOS account.
Warning:
We currently do not support Internationalized Domain Names (IDNs). Special characters are letters that are not in the English alphabet. Some examples of special characters are æ, ø, å, ö, ä, ü and é.
Domain names with trademarked phrases cannot be added or used in ClickFunnels. Click here to view restricted phrase list.
Step 1: Adding a Domain
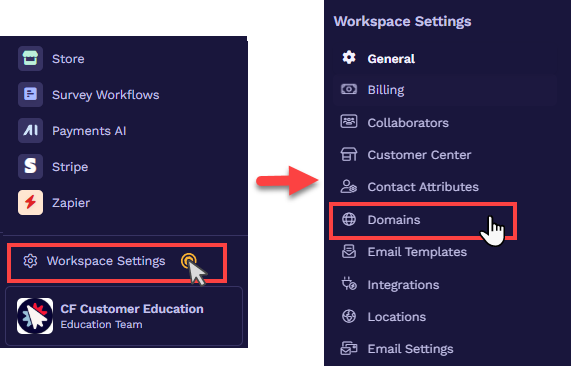
From the left sidebar menu, click Workspace Settings and then select Domains.
Click Add Domain.
In the open prompt, click Buy Domain.
The IONOS widget will show up.
Type the domain name (e.g.,
example.com) you wish to register in the text field and click the “Check” button to check availability in IONOS.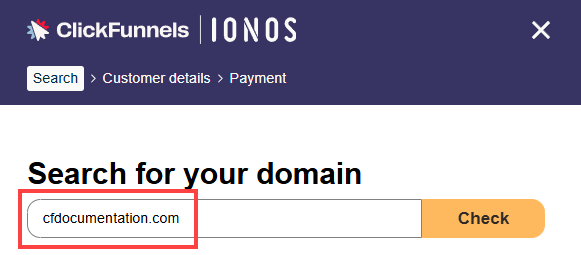
IONOS will analyze the domain's availability and present related domains you may consider adding.
Click ‘Add to basket’ to add the domain to the cart and click Continue.
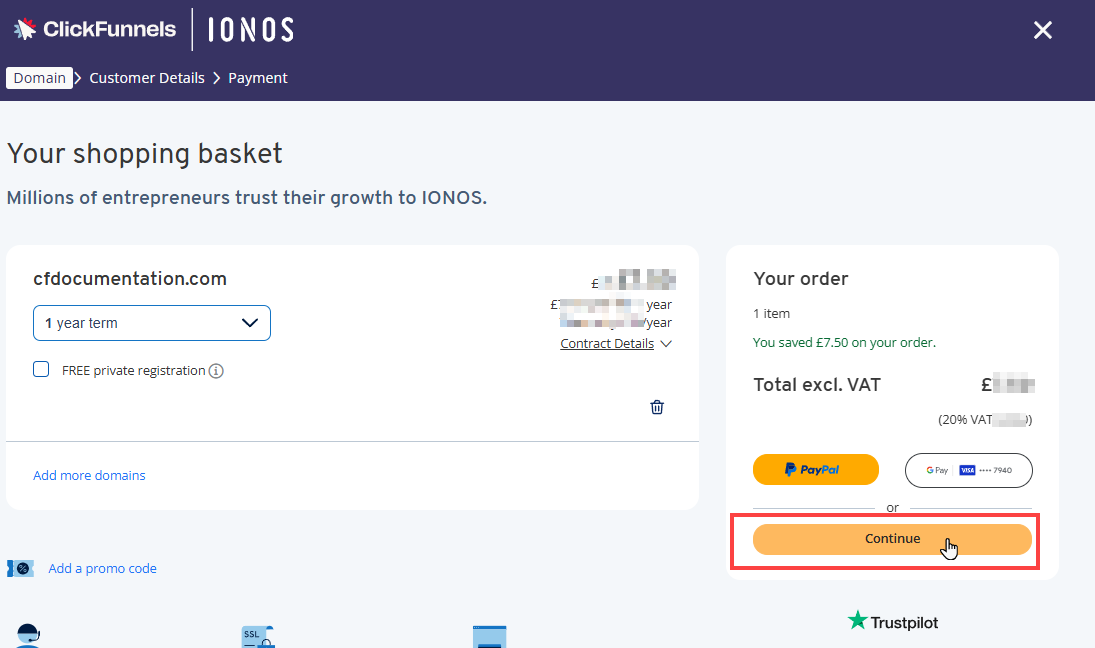
The domain will be automatically added to the IONOS checkout. Review your domain information, such as the domain name and billing period, and click the Continue button at the bottom of the checkout.
On the IONOS cart page, click Continue to confirm the order.
Enter the billing information and click Continue to proceed to the next step.
Please review the order details and terms and conditions on the payment page. Then, select a payment method (credit card, Apple Pay, PayPal, etc.) and accept the necessary terms and conditions to complete the order.
Once you have completed the checkout, click Finish to complete the steps. Then, check your email inbox to confirm your email address for the IONOS account verification.
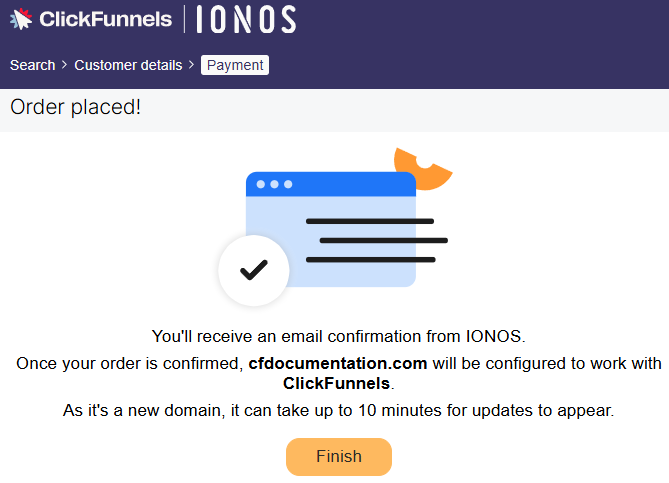
Upon clicking the Finish button, you will be redirected to the ClickFunnels domain page.
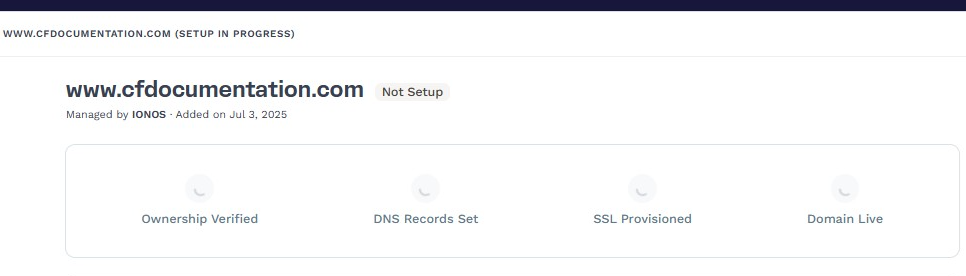
The new domain will appear in your ClickFunnels account with a status of “Not Setup.”
ClickFunnels now checks your domain's DNS configuration to ensure the DNS settings are set up correctly. At this point, the initial setup is finished; however, ClickFunnels will verify that the records are live in the DNS and begin the SSL deployment for the domain. In most cases, the records are validated quickly. However, DNS changes might take 24 to 48 hours to propagate completely worldwide.
Step 2: SSL and Domain Verification
After the DNS records have been successfully propagated and confirmed in ClickFunnels, the automatic addition of SSL certificates will begin.
During this stage, the domain status will display as Securing. No further action is required on your part; please allow a few moments for the SSL propagation to complete.
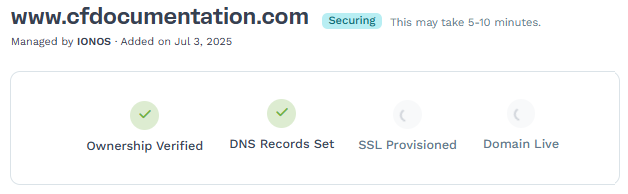
Note:
Allow 5-10 mins for SSL propagation. Occasionally, the securing process may take up to 48 hours to finish.
If any record cannot be verified, a red warning icon will appear next to it in the DNS records table. The SSL deployment will only proceed if the required DNS records (TXT for domain verification and CNAME for
www) are valid.You can click the Check Connection button to refresh the status of your records and confirm verification manually.
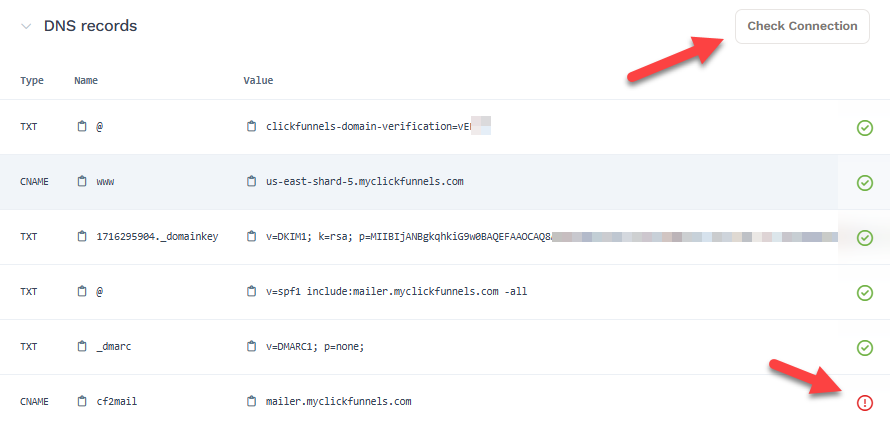
Note:
If the records do not verify after clicking Check Connection, please allow 5 - 10 minutes before clicking Check Connection again to verify the records. Once verified, the records status will display with a green checkmark. Occasionally, the verification of DNS records may take 24-48 hours.
Once all required records are verified and the SSL certificate is issued, the domain status will change to Connected. You may now utilize this domain for the Site and Blog app or Funnels.
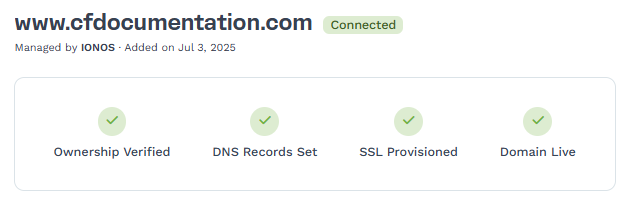
Congratulations! You now know how to connect an existing domain in ClickFunnels.
Domain Usage
Once your domain is connected, you can assign it to your ClickFunnels site or one or more funnels. This allows you to publish pages using your custom domain.
The Domain Usage section shows where your domain is currently being used. You’ll be able to view: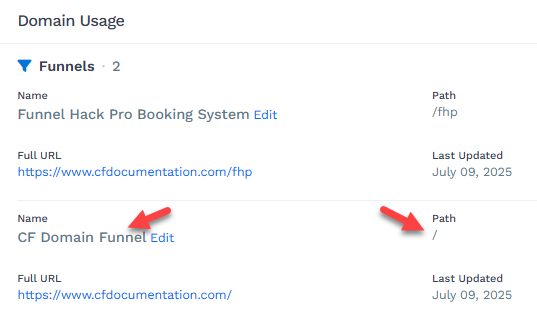
Funnels that are using the domain, along with their assigned paths (e.g.,
/or/fhp)Whether the domain is connected to a site
Quick links to edit or manage those funnel paths
If your domain has not yet been assigned, you’ll see options to:
Assign to Site
Go to Funnels
Clicking either button will direct you to the appropriate settings page where you can attach the domain to your desired destination.
Helpful Resources:
Connecting a Domain to the Workspace Site
After successfully integrating your domain with your workspace, follow these steps to connect it to your site:
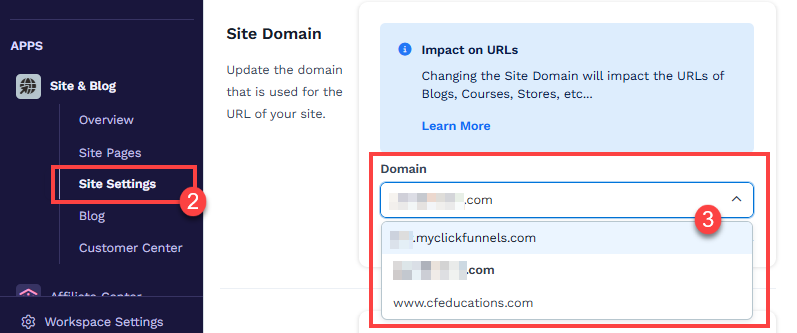
From your workspace, click on the Site & Blog app in the left-hand menu.
Select Site Settings.
Scroll to the Site Domain section and choose the domain you wish to use for your site in the Domain field.
Click the Update site button to save your changes.
Important:
The domain connected to the Site & Blog app is used for Courses, Store, Blog, Customer Center, Landing Pages, and Community. These features must share the same domain connected to the Site & Blog settings.
Connecting a Domain to a Funnel
Click on Funnels from the left navigation menu.
Identify a funnel you wish to associate with your domain and click the Gear
⚙️ icon to access the funnel’s settings.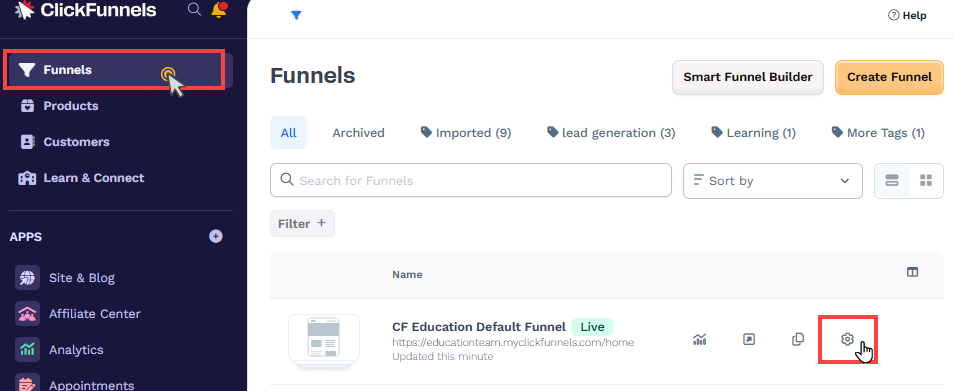
In the Domain field, select the desired domain from the dropdown menu.
Enter the desired path in the Funnel Path URL field, such as
/webinar,/blog, or/about. To set this funnel as the domain’s default page, enter a single/character.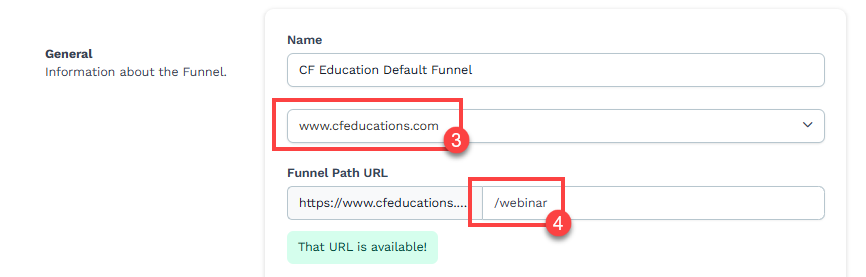
Learn more about setting a funnel as a domain default page in the article, Domains - How To Set a Funnel as the Domain Default Page.
Click Update Funnel to save changes.
Congratulations! Your domain is now connected to the funnel. When the domain is visited, the first page of your funnel will be displayed.
Domain FAQs
I already have a website. Can I connect the same domain with ClickFunnels?
No, a domain or subdomain can only be used with one platform at a time. For example, if your domain is connected to Shopify, it cannot be used with ClickFunnels or vice versa.
Do I have to purchase SSL?
No, ClickFunnels will generate and verify SSL during the domain setup process. You do not need to purchase SSL separately.
How many funnels can I connect with one Domain?
There is no limit to the number of funnels you can connect to a single domain.
Can I create custom emails associated with the domain in ClickFunnels?
Yes, during the domain setup process, ClickFunnels will prompt you to add email DNS records, allowing you to create custom emails within your workspace. Learn more here.