A streamlined appointment booking system is a game-changer for any business. ClickFunnels Appointments empowers you to create different event types, manage your availability, and eliminate the back-and-forth of scheduling emails. But once your event type is configured, how do you make it accessible to potential clients? This article will guide you through the two key methods for publishing your ClickFunnels Appointments: sharing the event link and embedding the booking form.
Requirements
An active ClickFunnels account
An Event Type created in the Appointments app
Option 1: Using the Calendar Element in Funnels
ClickFunnels offers a dedicated Calendar element that simplifies adding a booking form to your funnel. In this method, you assign an Event Type to a funnel step and use the Calendar element in the editor, automatically displaying the booking form.
Step 1: Attach the Appointment Event Type in the Funnel Step
Navigate to the funnel step where you want to use the appointment event type.
Click the three-dot icon on the funnel step (such as an Opt-in page), and select Manage Event Types.
.png "glaU58_HyTPbtAkXYvdx5YVmm-daT7HcEQ(1).png")
In the sidebar, click Attach Event and select the event you want to link to this funnel step. Once you've done this, click Update.
Step 2: Add the Calendar Element in the Page Editor
After attaching the event, navigate to the page editor for the selected funnel step.
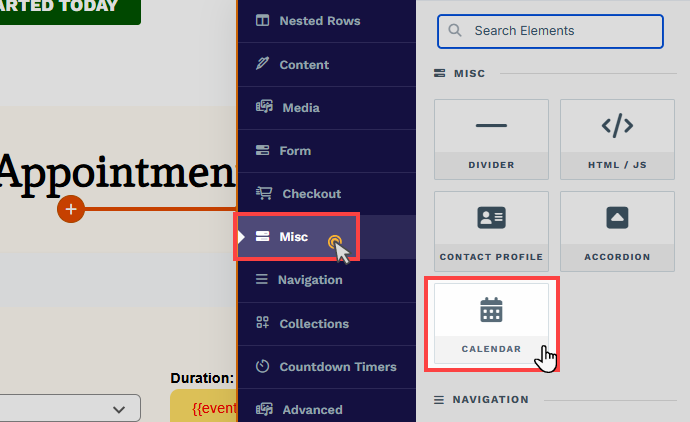
Click the orange + Plus or Add New Element icon to insert a new element.
From the Misc (Miscellaneous) category, select Calendar widget. Once added, the form will automatically display for the selected event type.
Click Save to ensure your changes are applied.
Important:
If your Appointment Event Type requires payment, the Calendar widget can not process payments during the booking. For paid events, consider using Option 2 (embedding the form) or Option 3 (sharing the direct event link).
When using the Calendar element in a funnel, after booking, users will automatically be redirected to the next funnel step. The “After Booking” settings defined in the Event Type will not take priority. If you prefer not to show the next funnel step after booking, consider publishing your event using Option 2 or Option 3.
Option 2: Embedding the Booking Form
ClickFunnels Appointments allows you to embed the booking form directly into your funnel, website or landing pages. This eliminates the need for clients to navigate away from your site, creating a seamless booking experience.
Embedding in ClickFunnels Editor
Navigate to the Appointments app.
Select Event Types.
From the list of event types, select the Event Type you want to publish.
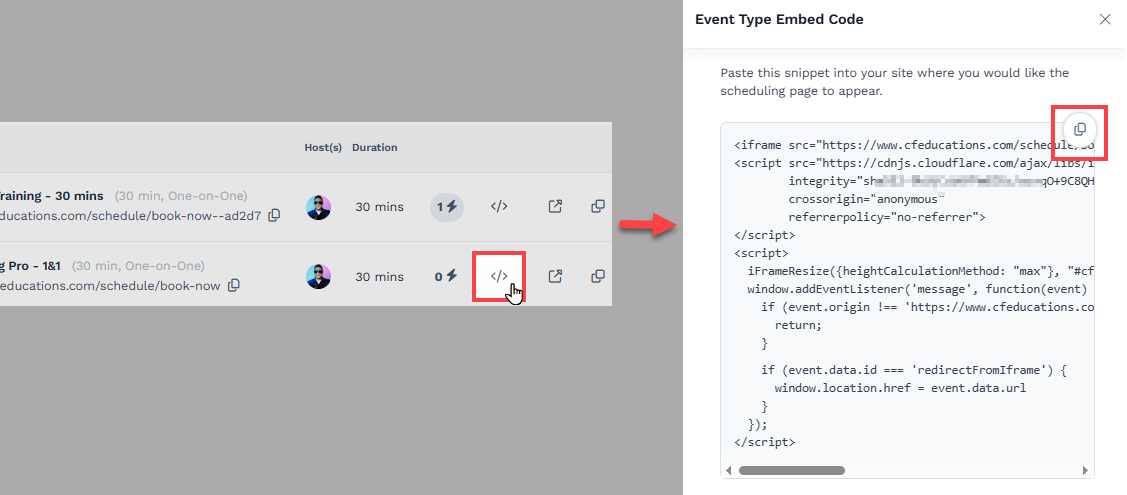
Click the Embed Code (</>) icon to copy the code.
Access a page within your ClickFunnels workspace and open it using the page editor.
Add a new element and select HTML / JS.

Paste the embed code into the HTML / JS element within the page editor to display the booking form.
Embedding on an External Site
From the list of Event Types, click on the one you want to publish.
Click the Embed Code (</>) icon to copy the code.
Integrate into Your Website:
Open your website’s HTML code editor.
Paste the embed code into the desired location on your web page.
Save and publish your website. Your clients can now book appointments directly from your site.
Option 3: Sharing the Event Link
Think of the event link as your digital invitation. It allows potential clients to view your availability and schedule appointments directly on their terms. Here’s how to find and share your event link:
Navigate to the Appointments app.
From the list of event types, select the Event Type you want to publish.
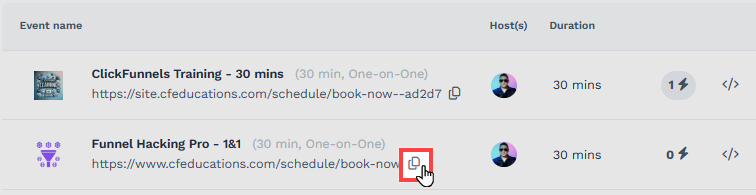
ClickFunnels provides a Unique URL for each event type directly under the event name. To share this link, click the Copy icon to copy the URL to your clipboard.
Paste this link across various platforms to reach your target audience.