Customizing the Customer Center in ClickFunnels allows you to create a personalized and branded experience for your customers. When you click the Customize button in the Customer Center settings, the page editor opens. By using the page editor, you can add various sections, rows, and elements, giving you the flexibility to create a layout that suits your brand. In this article, you will learn how to customize the Customer Center in the page editor.
Requirements
An active ClickFunnels account
Customizing Customer Center in the Page Editor
From the left-hand menu, click on the Site & Blog app.
Select Customer Center to open the Customer Center settings.
Scroll to the Customization section.
Ensure the Custom “Theme” Dashboard is toggled on.
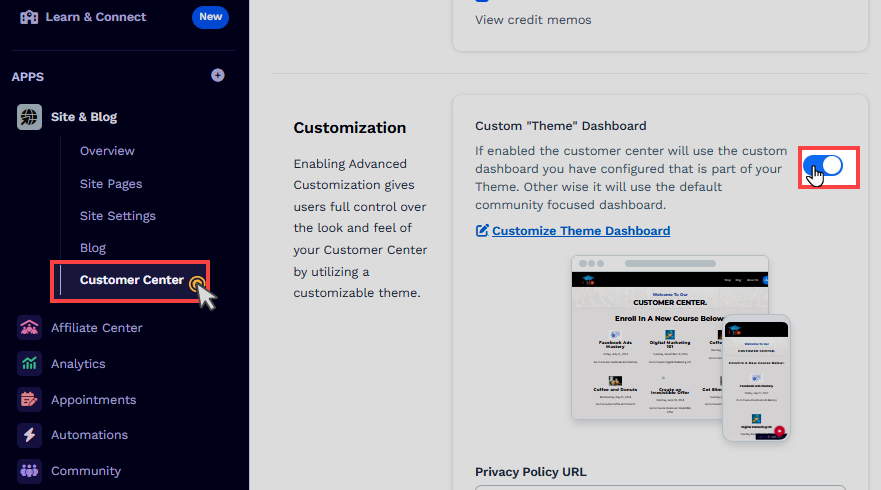
Click Update Customer Center to save settings.
Saving the customer center will unlock the Customize button.
Click the Customize button.

The page editor will open, where you can customize your Customer Center.
Using Sections and Rows
Sections and Rows are the fundamental building blocks of your Customer Center. They help organize your content and structure the layout efficiently. Here’s how to use them:
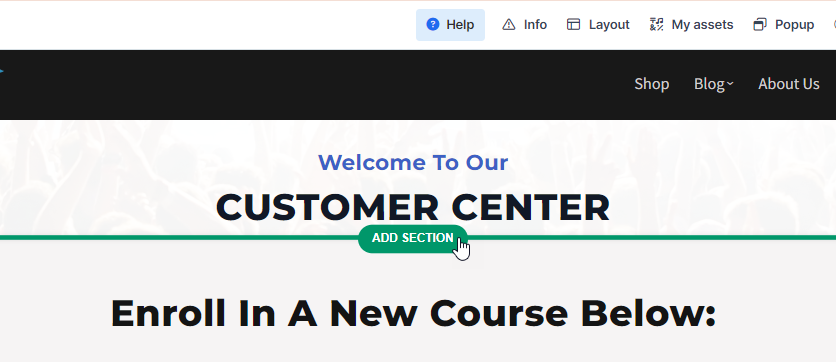
Sections: Large green containers that hold rows. You can add multiple sections to your page, and each section can contain several rows.
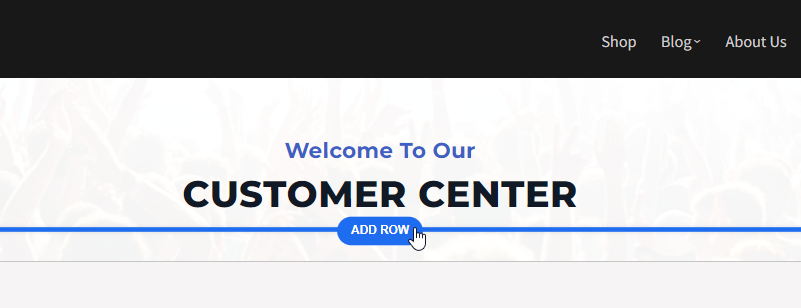
Rows: Blue containers that hold columns and elements. Each row can include multiple columns and elements, allowing for flexible and dynamic content arrangement.
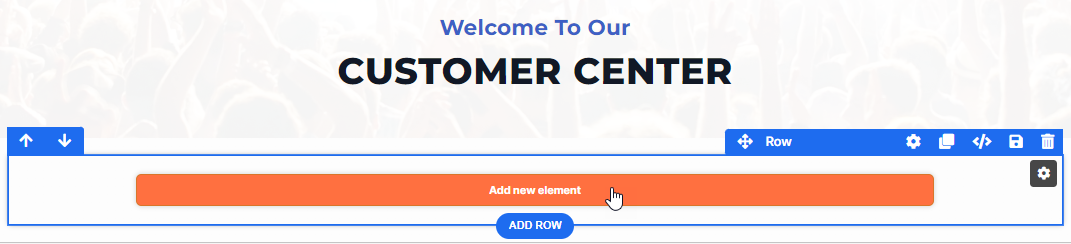
Adding Elements
Elements are the individual components you add to your rows. ClickFunnels offers a variety of elements to enhance your Customer Center. Here are some key elements within the COLLECTIONS category that you should consider:
Note:
The elements highlighted here are just a few examples from the extensive elements library available in ClickFunnels. The potential for customizing your Customer Center with various elements is vast and can be tailored to fit your specific business needs and design preferences.
Collections Element:
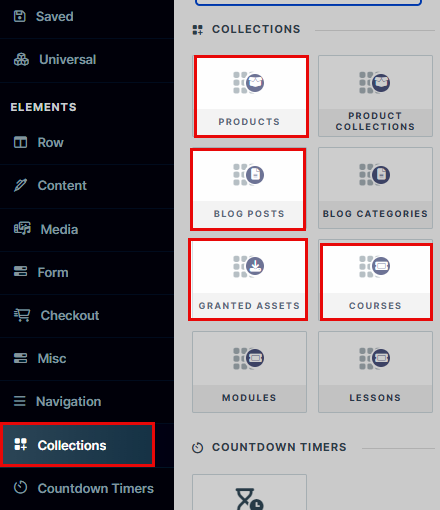
Courses Element: The Courses element displays the courses available to your users, allowing them to browse and enroll in new courses directly from the Customer Center. This element is ideal for showcasing educational content or training programs, making courses easily accessible to your customers.
Granted Assets Element: The Granted Assets element displays digital downloads available to users, such as eBooks, PDFs, videos, or any other digital resources you provide. This element helps provide users with easy access to downloadable resources, perfect for distributing supplementary materials or exclusive content.
Products Element: The Products element showcases your product offerings within the Customer Center, allowing users to view product details and make purchases directly. This element is essential for e-commerce businesses or any service provider with a catalog of products, as it effectively displays your products to customers.
Blog Posts Element: The Blog Posts element displays your latest blog posts, allowing users to read and engage with your content directly from the Customer Center. This element is perfect for businesses that regularly update their blog with valuable information and insights.
Contact Profile Element:
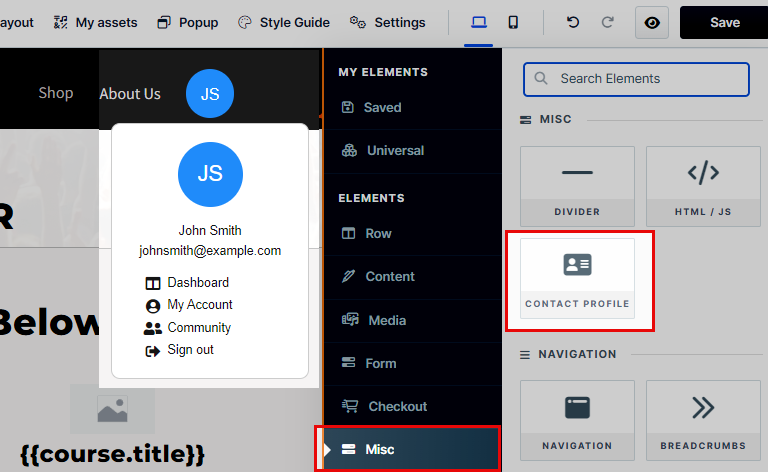
A special element that automatically generates the contact’s profile when they log in.
Displays personalized information for each user.
Saving and Previewing Your Customizations
After making your customizations, remember to save your changes. You can preview the Customer Center to see how it looks to your customers. This step ensures that everything is set up correctly and provides a seamless user experience.

Using the Dynamic Customer Center Default Page
The Customer Center dynamically displays content based on the user’s access permissions, ensuring that customers are presented with the most relevant content upon logging in:
Customers with access to the Community will see the Community page as the default view.
If a customer does not have access to the Community but does have access to Courses, the Courses page will appear first.
When customers have access to both Community and Courses, the Community page will load by default.
To enable this dynamic display, ensure the Custom “Theme” Dashboard feature is toggled off in the Customer Center settings. The system will then automatically determine which page is most appropriate to show based on each customer’s permissions.