 Dashboard
 Site & Funnels
 Products
 Orders
 Contacts
 Analytics
 Marketing
 Sales
Sales Settings
 Apps
Apps Payments
 MessageHub
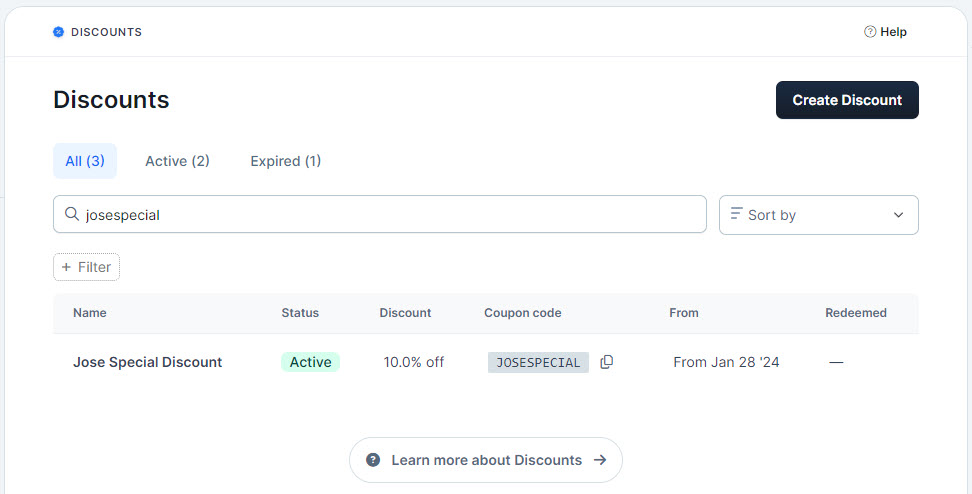
This article will explain How to Manage Discounts from the Discounts App. Discounts allow you to set coupons for your customers that can be applied automatically to checkout forms. This is a great marketing tool that can invite customers to purchase from your checkout pages at a discounted price.
You must add the Discounts App to your workspace to follow these steps.
Table of Contents
- Requirements
- How to Access Discounts
- How to Create a Discount
- How to Edit a Discount
- How to Set a Discount as Expired
- How to Enable a Discount from a Checkout Element
- Additional Information
Requirements
- An active ClickFunnels 2.0 account
- Discounts App
How to Access Discounts
-
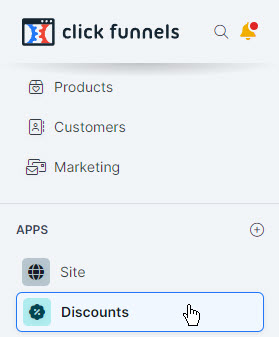
Click on Discounts from the main menu to the left of the page.
-
This will display the Discounts Overview page.
How to Create a Discount
-
Click on the Create Discount button at the top-right section of your page. This will take you to the New Discount page.
- Type in the Discount name.
- Set a Coupon code name.
- Select a Discount Type from the radio buttons available: Percentage, Fixed amount.
- Based on the type of discount you selected in the previous step, set the value of the discount.
- Click on Create Discount to confirm the changes.
How to Edit a Discount
-
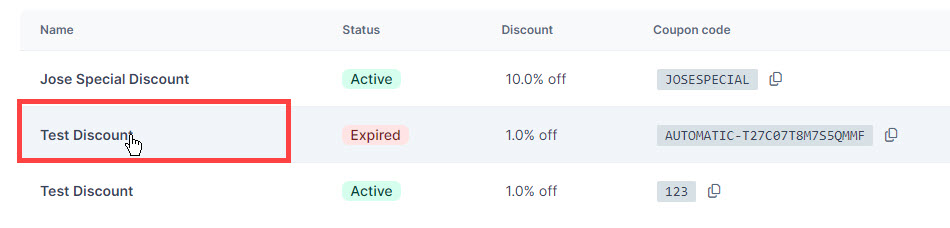
Click on the title of the Discount you want to edit.
- Change the desired values from the Edit page.
- Click on Update discount.
How to Set a Discount as Expired
-
Click on the title of the Discount you want to edit.
- Locate the Status section to the right of your page.
-
Click on Expire Discount. This will open a new confirmation pop-up.

- Click on Proceed to confirm the changes.
How to Enable a Discount from a Checkout Element
-
Open the funnel page that contains the Checkout element.
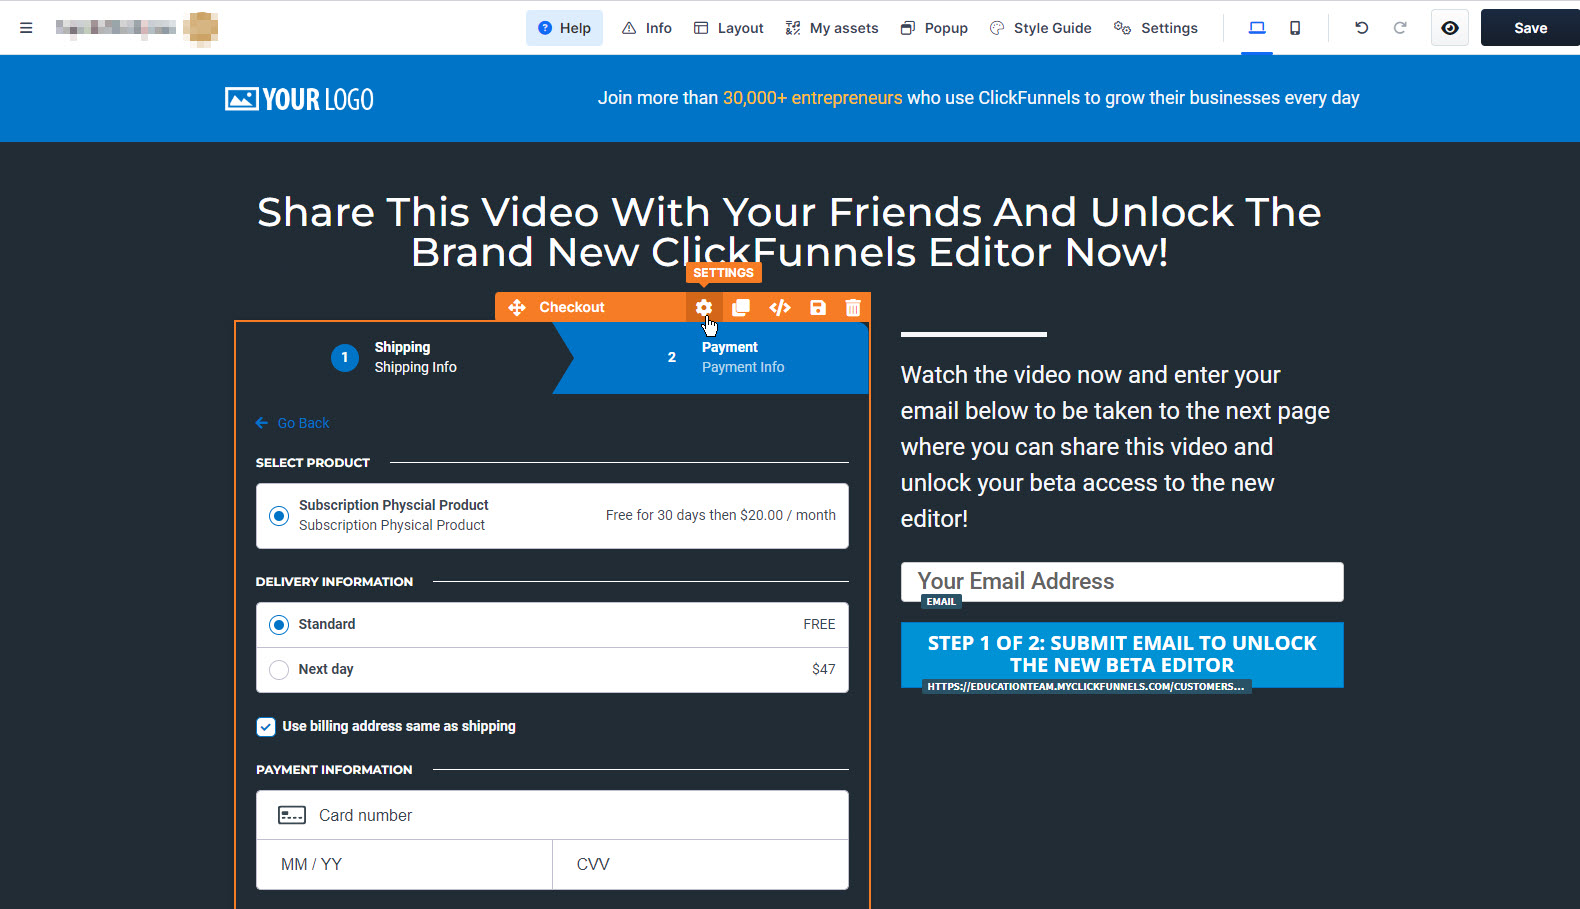
- Hover over the Checkout elements and click on Settings.
- Click under the Checkout Order Summary component.
- Switch the toggle to Enabled.
- Based on the type of discount you selected in the previous step, set the value of the discount.
- Click the Save button at the top-right corner of your screen.
Additional Information
Was this article helpful?
That’s Great!
Thank you for your feedback
Sorry! We couldn't be helpful
Thank you for your feedback
Feedback sent
We appreciate your effort and will try to fix the article