 Dashboard
 Site & Funnels
 Products
 Orders
 Contacts
 Analytics
 Marketing
 Sales
Sales Settings
 Apps
Apps Payments
 MessageHub
In this article, we will explain the process of integrating Disqus into your ClickFunnels 2.0 account, enabling website owners to boost visitor engagement and encourage discussions, ultimately enhancing interaction on their websites.
Requirements:
- An active ClickFunnels 2.0 account
- A Disqus account
TABLE OF CONTENTS
- Getting Your Disqus Universal Codes:
- Adding Disqus Custom Codes to ClickFunnels 2.0:
- Related Links and Article:
Getting Your Disqus Universal Codes:
- Click this link to log in or create a Disqus account.
- Set up Disqus, then proceed to Create a new site. Contact Disqus Support if you have any questions about Creating a new site.
- Disqus displays a process flow that prompts you to select your plan in step 1.
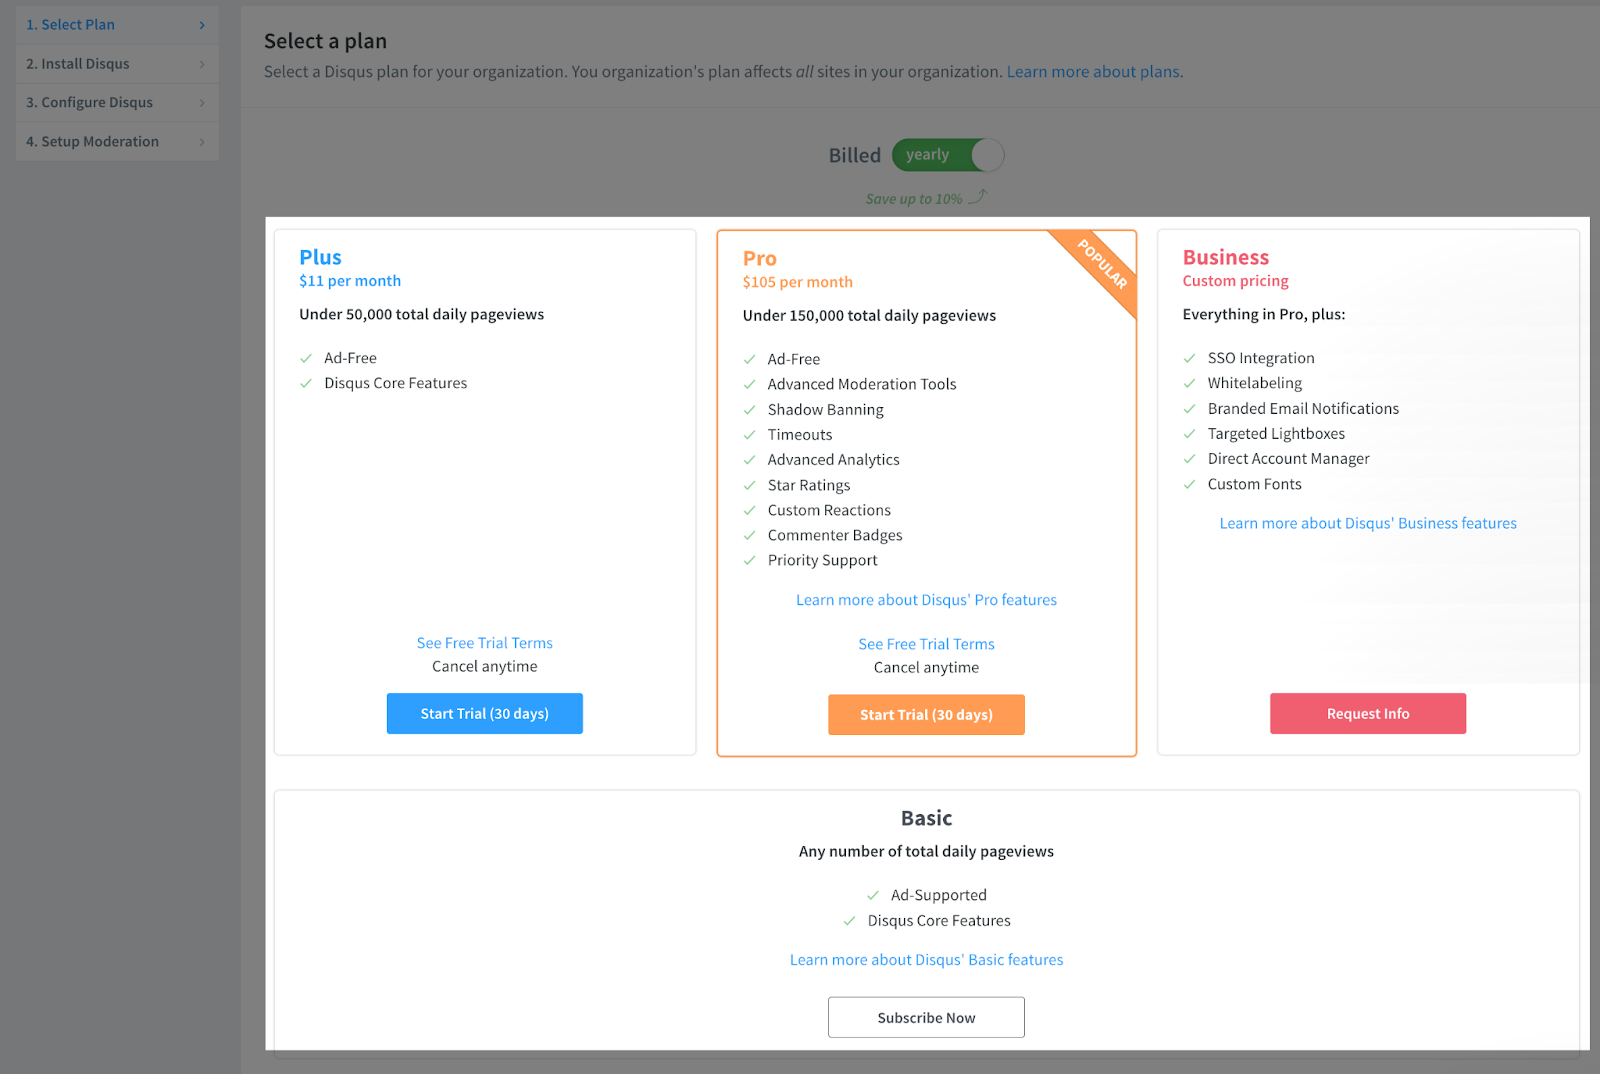
- Select “I don’t see my platform listed, install manually with universal codes” in step 2.

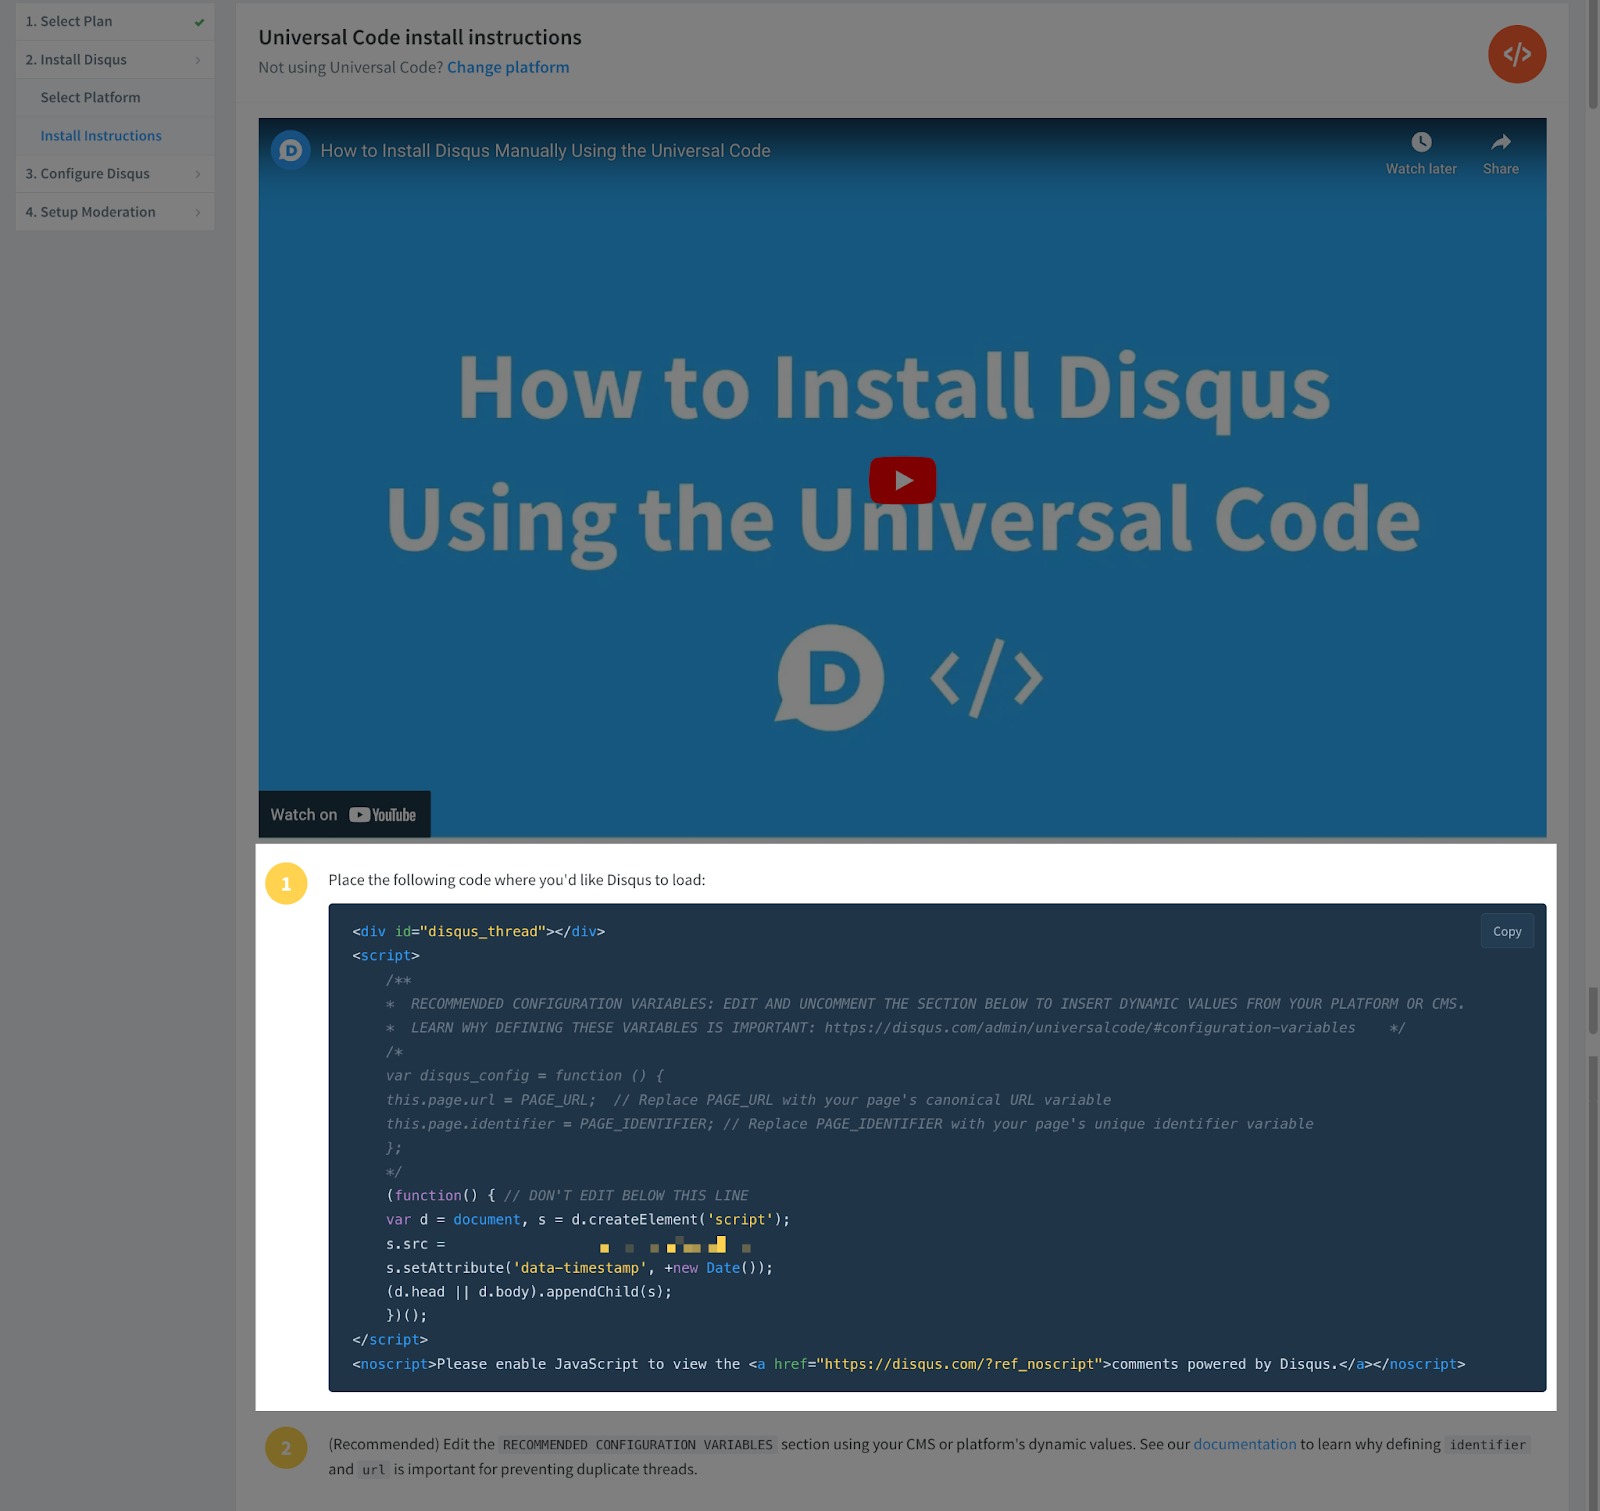
- Retrieve your Disqus Universal Codes.
Important Note: Please contact Disqus Support if you have questions about Universal Codes.
- Configure Disqus to your needs, then click the Save button.
Important Note: Ensure that “website name” and “website URL” fields are filled out.

Important Note: Website URL is found under Site: Overview of your ClickFunnels 2.0 account.

- Set up the comment and moderation settings to your preferences by selecting one of the options, then click the Complete Setup button to finish the setup process.

Adding Disqus Custom Codes to ClickFunnels 2.0:
This article will demonstrate the integration of Disqus on blog posts, using the {post.id} liquid syntax as an example. The {post.id} liquid syntax is responsible for creating distinct Disqus comment threads for each individual blog post, preventing all blog posts from sharing a single Disqus comment thread.
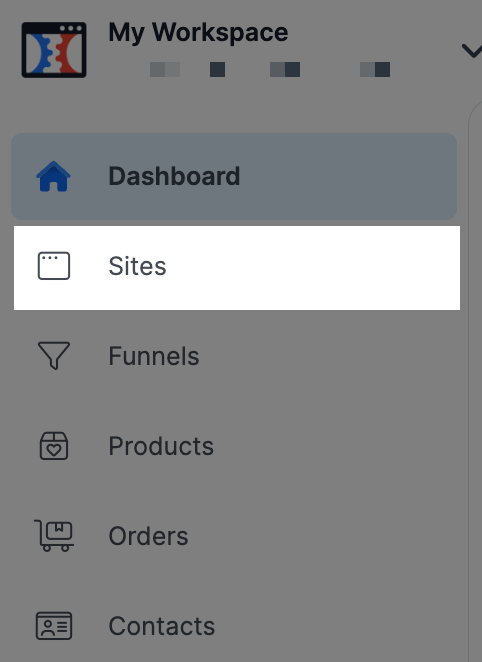
- Click Sites from the left-hand menu.
- Click the Customize button.

- Click Blog Post from the left-hand menu.

- Then, click Code at the top of the screen.

- Click Footer in the custom code area.
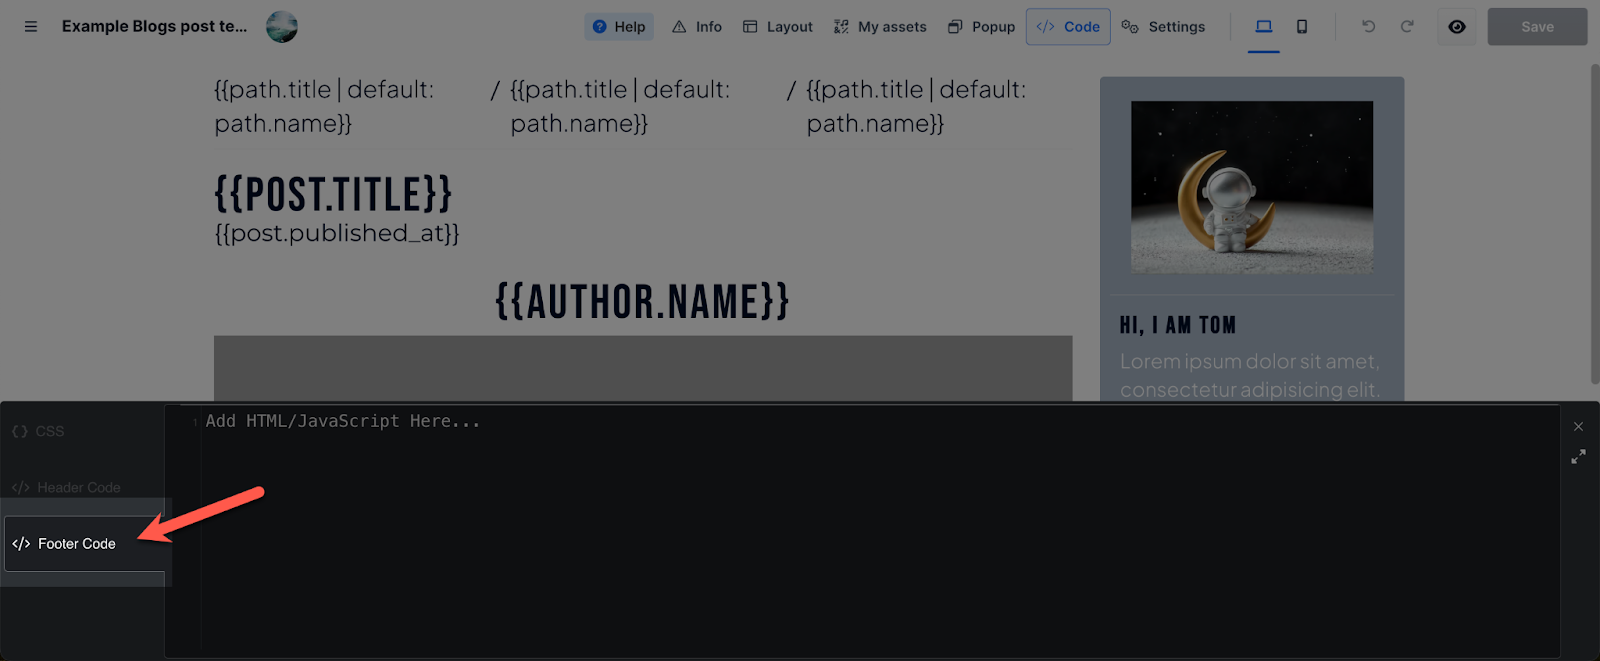
- Edit the Disqus’ Universal Code and type location.protocol + '//' + location.host + location.pathname; next to page.url, then '{{post.id}}' next to page.identifier.

Important Note: If already available, replace PAGE_URL with your page's canonical URL variable and replace PAGE_IDENTIFIER with your page's unique identifier variable.
- Lastly, insert an element on the editor with an ID disqus_thread which is going to be replaced by Disqus. In this article, we added the sub-headling element, then inserted disqus_thread in the CSS ID Selector of the element.

- Click the Save button at the top-right corner to save your changes.

- Click the “eye” icon on the left of the save button to view your saved changes.

Related Links and Article:
Was this article helpful?
That’s Great!
Thank you for your feedback
Sorry! We couldn't be helpful
Thank you for your feedback
Feedback sent
We appreciate your effort and will try to fix the article