This article will review the API Chat Inbox Configuration. This option helps you to connect MessageHub and an unsupported App to create a Chat Inbox.
 You must first connect Zapier to your ClickFunnels 2.0 account to accomplish this. Then, you will be able to create a Chat inbox for any app that Zapier supports.
Requirements:
An active ClickFunnels 2.0 account
A Zapier account
Important Note: Before you get started with MessageHub, you'll need to:
Configure your Marketing Settings
Buy or Configure a Custom Domain
Add an Email Address on a Custom Domain and Set up DKIM
Connect Zapier and ClickFunnels 2.0:
Click here to learn how to connect Zapier and ClickFunnels 2.0
Create your API Chat Inbox:
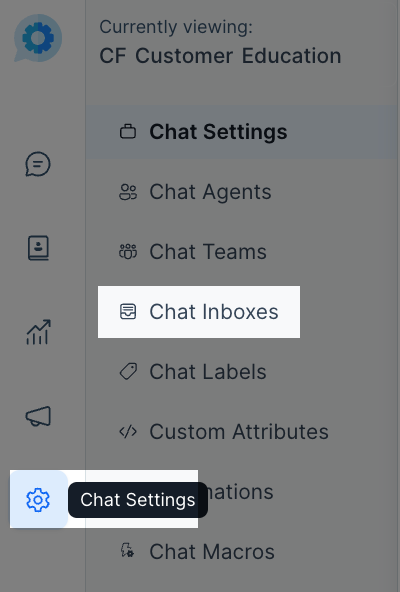
From the left side menu, click on Chat Settings, then Chat Inboxes.
Select the API option.

Complete this information:

Add a Name for your Channel.
Add your Webhook URL from Zapier.
Click here to find more information about Webhooks in Zapier.
Important Note: If you still have questions about this topic, please contact Zapier support.
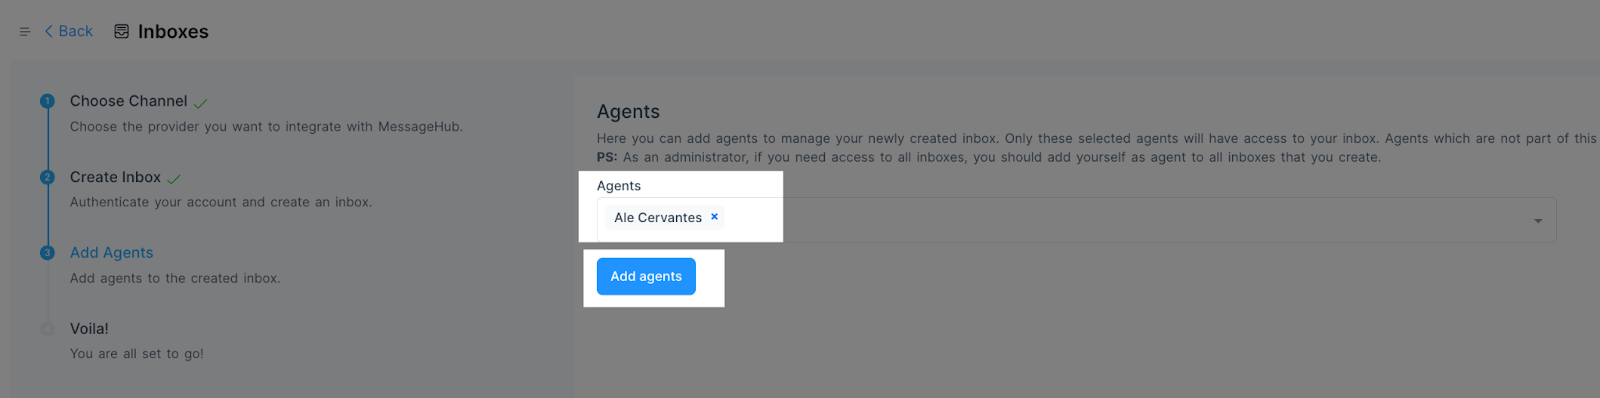
Select the Agents with access to this inbox and click on Add Agents.
You have successfully created your API Chat Inbox.