This article will provide the information you need to start tracking events with a Facebook Business account and the Facebook CAPI. Doing so allows you to monitor and analyze key performance indicators for your Workspace (Site, Funnels, etc.), providing invaluable insights into your business and online effectiveness.
Requirements
An active ClickFunnels 2.0 account
A Facebook Business account
Walkthrough
To use the Facebook CAPI with your ClickFunnels Workspace, you must have a Facebook Business account. If you do not already have a Facebook Business account, please refer to the official website to learn more.
Important Note: You must have full control of the Business Account that owns the Facebook Dataset.
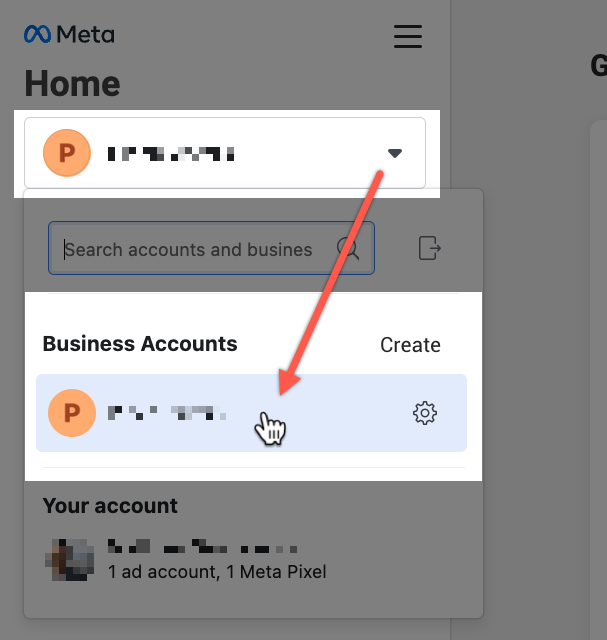
Create your Facebook Business account at business.facebook.com and log in to the Home page, ensuring you have the correct Business Account selected.
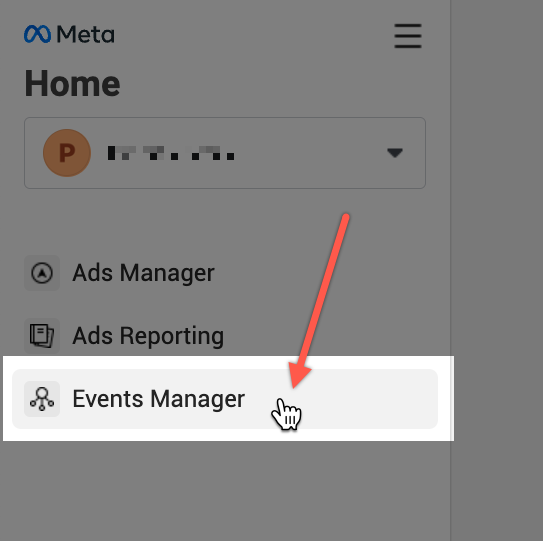
Open the Events Manager for the associated Business account.
Click “Connect Data Sources” from the left navigation menu to start creating a new Dataset (“Pixel”).
Important Note: The following instructions for creating a Dataset are included for convenience. If you need further assistance with this process, please contact Meta support.

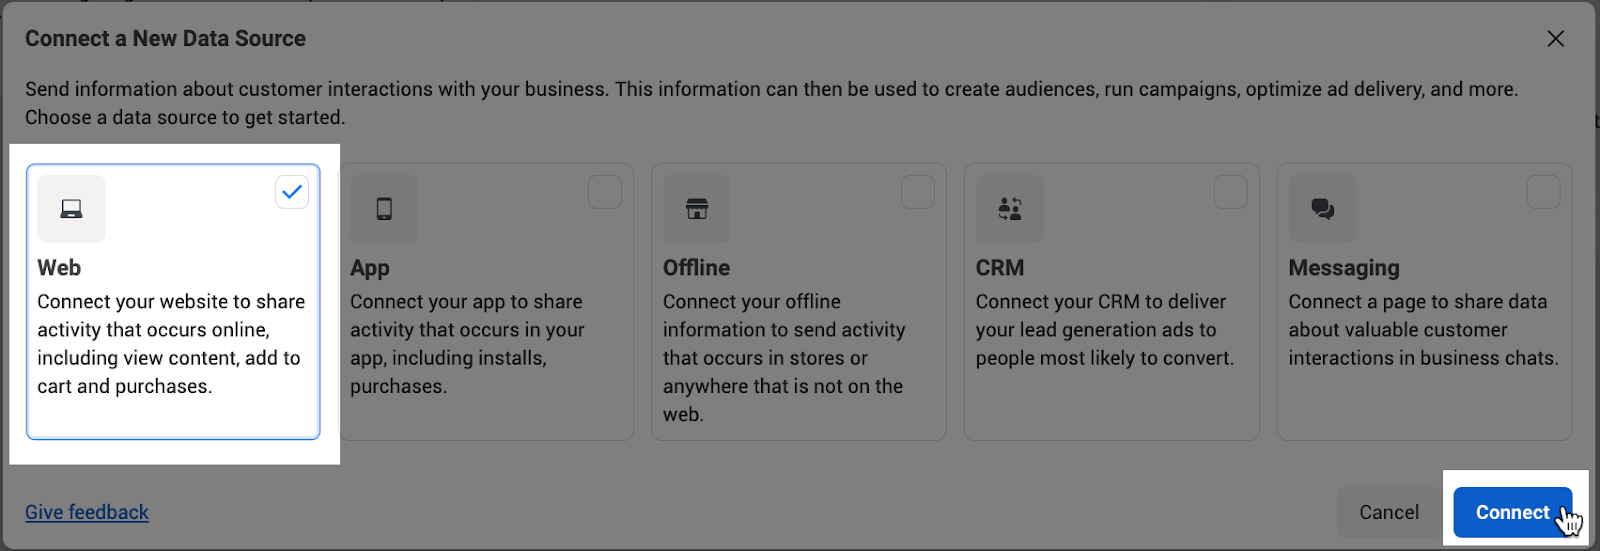
Select “Web” as the data source, then click “Connect”.
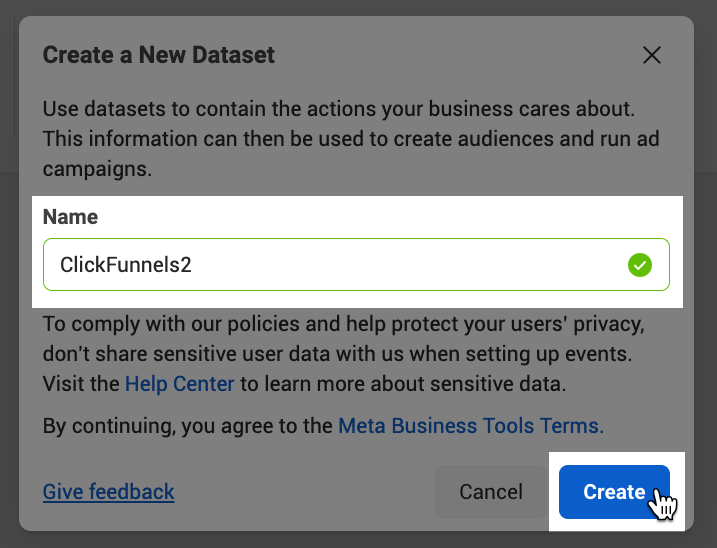
Enter a name for the new Dataset, then click “Create”.
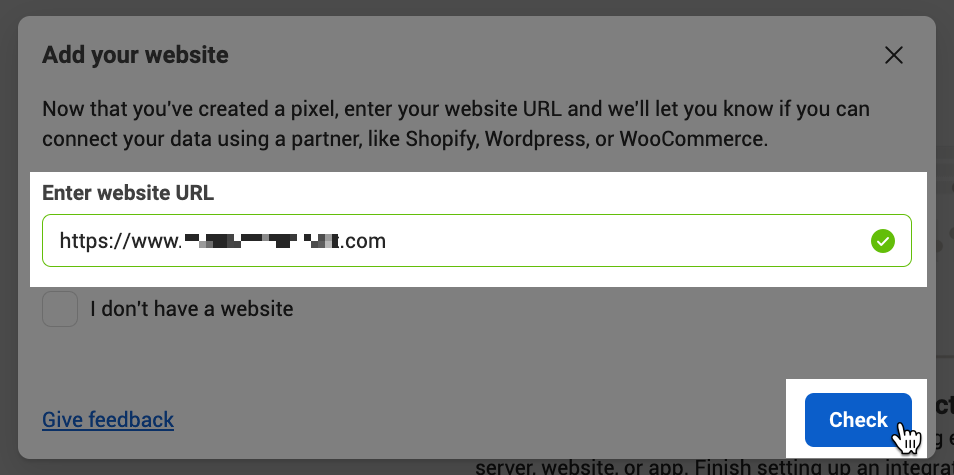
Enter your website URL, click “Check”, then click “Next”.
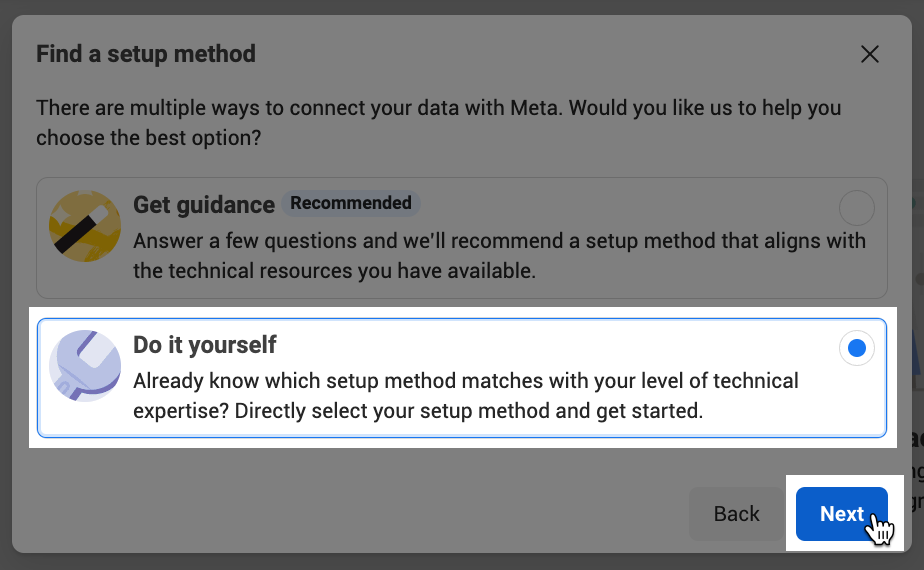
Select the “Do it yourself” setup method, then click “Next”.
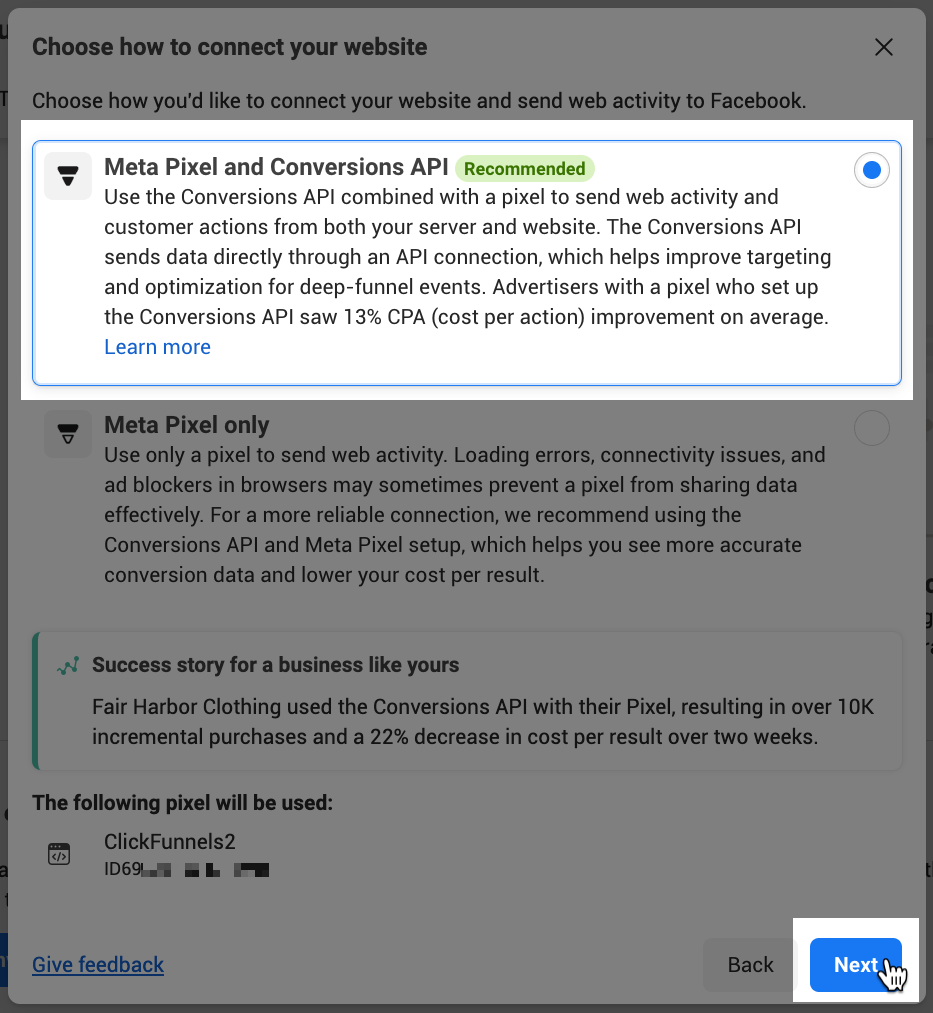
Select “Meta Pixel and Conversions API” as the connection option, then click “Next”.
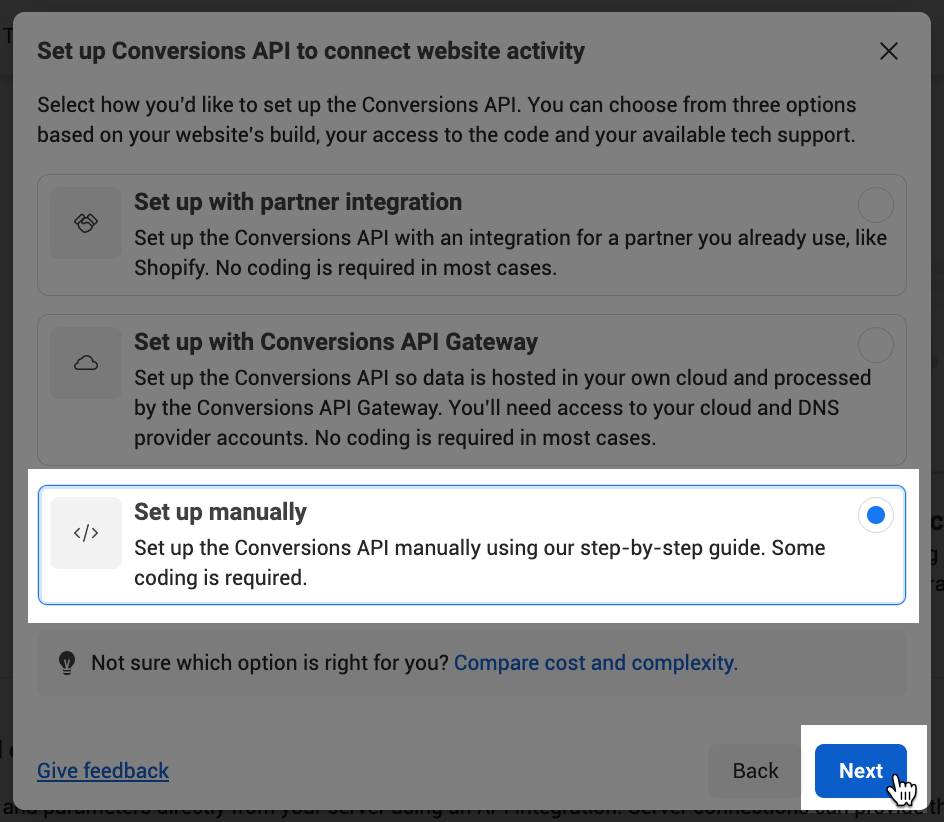
Select “Set up manually” to create the Dataset and continue to configure the Dataset’s Events.
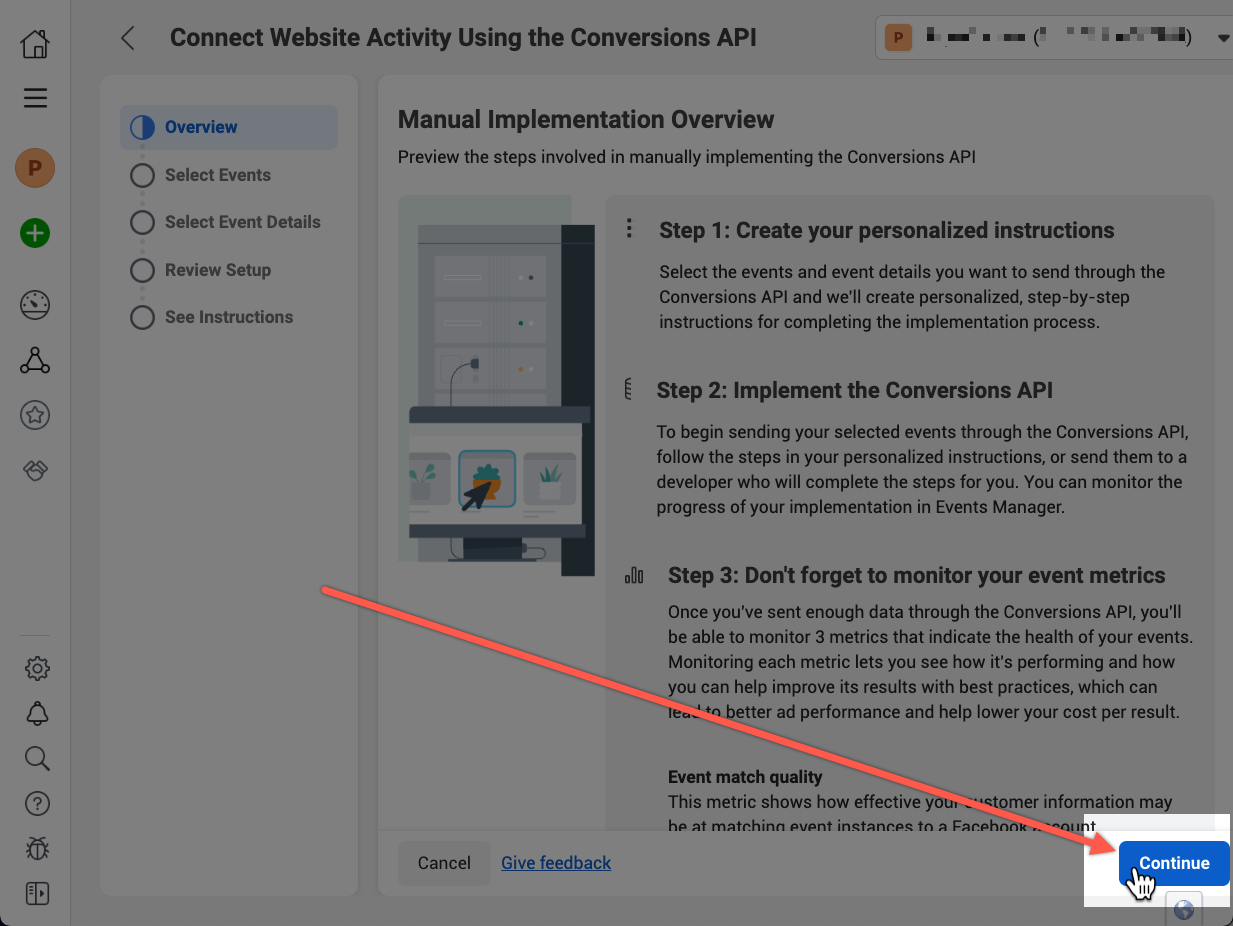
Click “Continue” on the “Overview” step.
Select the Events you wish to track, then click “Continue”. The following are recommended, at a minimum:
View Content
Purchase
Subscribe
Start Trial
.png "image(27).png")
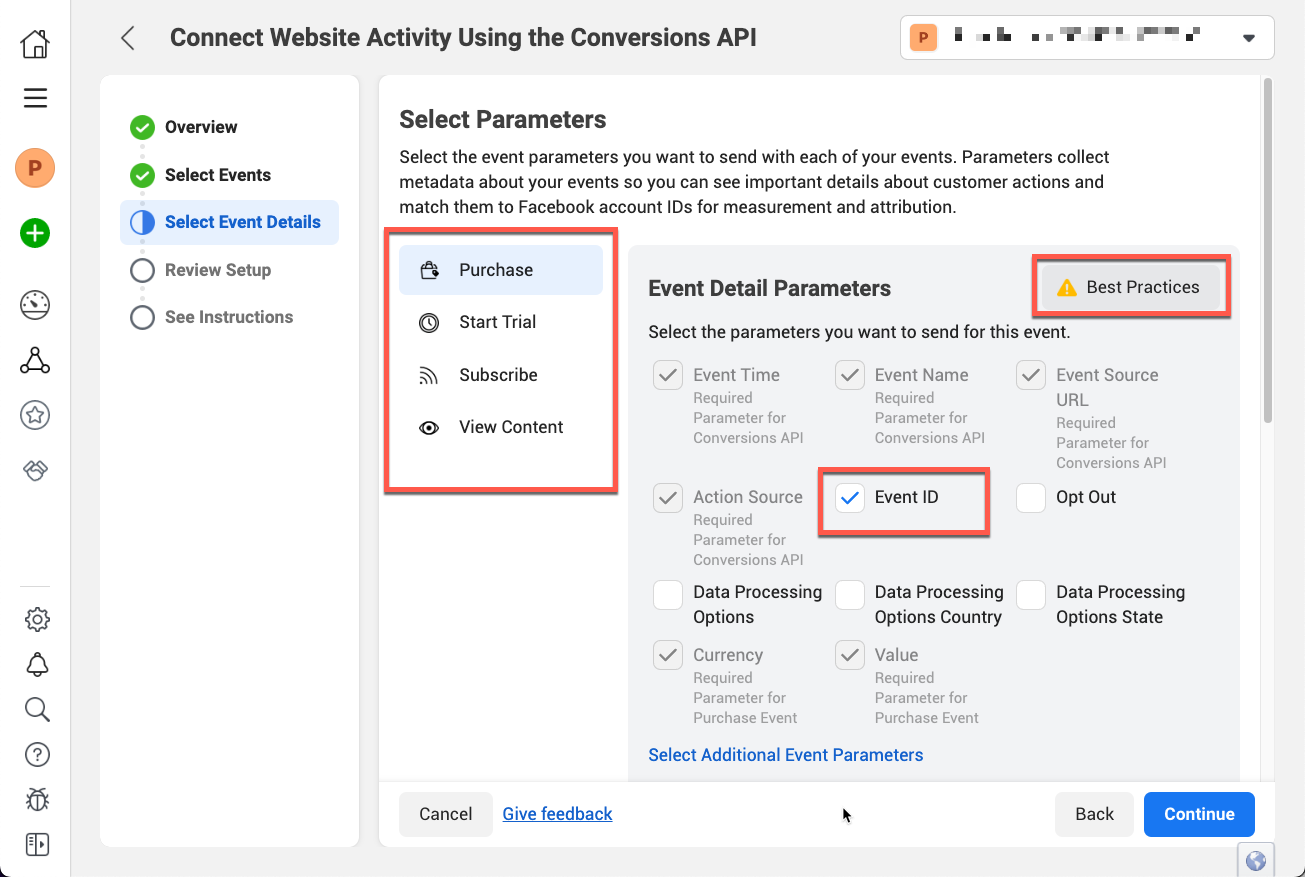
Select the Event Details and additional Parameters to collect for Events, then click “Continue.” It is recommended to follow the “Best Practices” and select the following, at a minimum:
Event ID
Email
Phone
Client IP Address
Important Note: The Event Detail Parameters must be selected for each event individually. Please be sure you select each event and check the desired parameters before continuing.

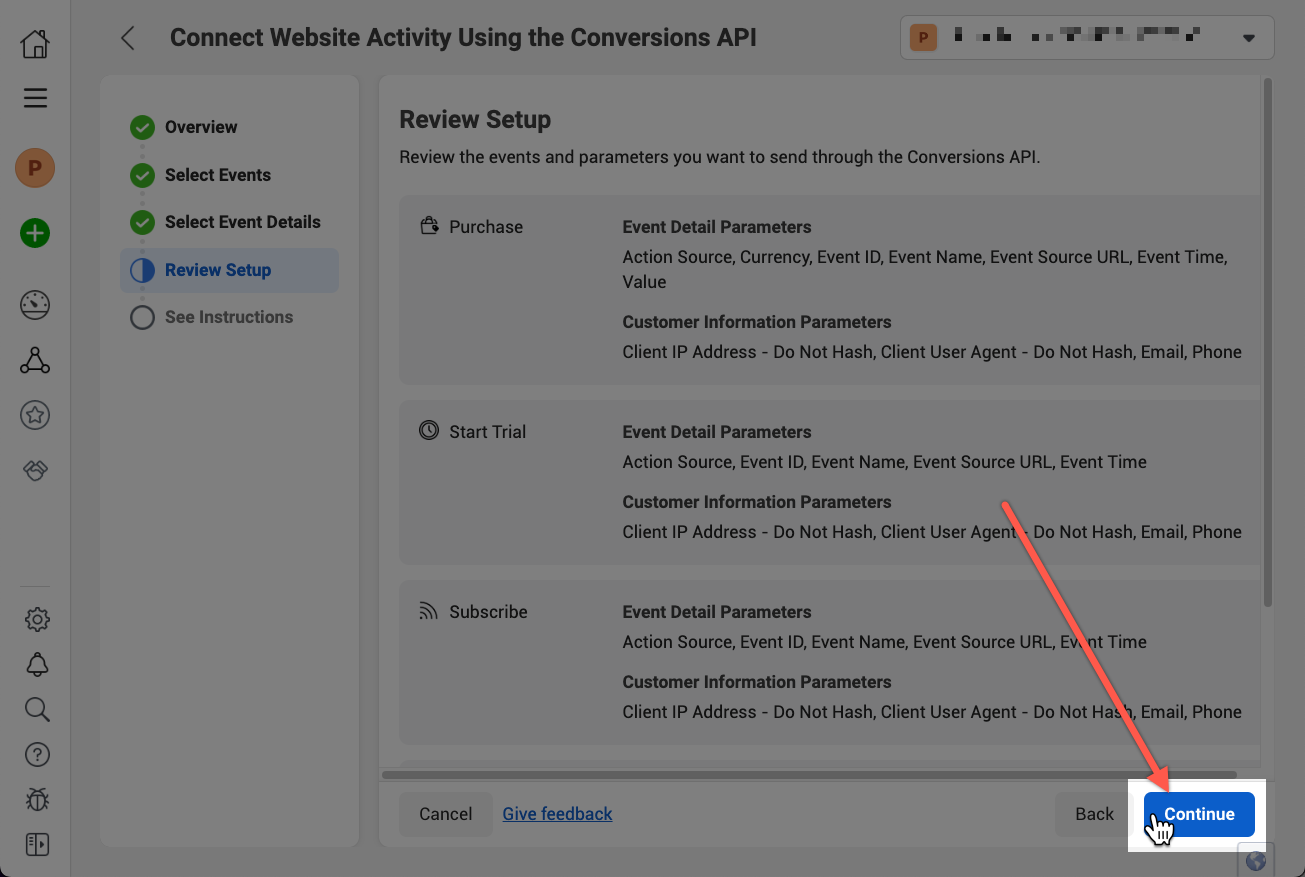
Click “Continue” on the “Review Setup” step.
Click “Finish” on the final step.

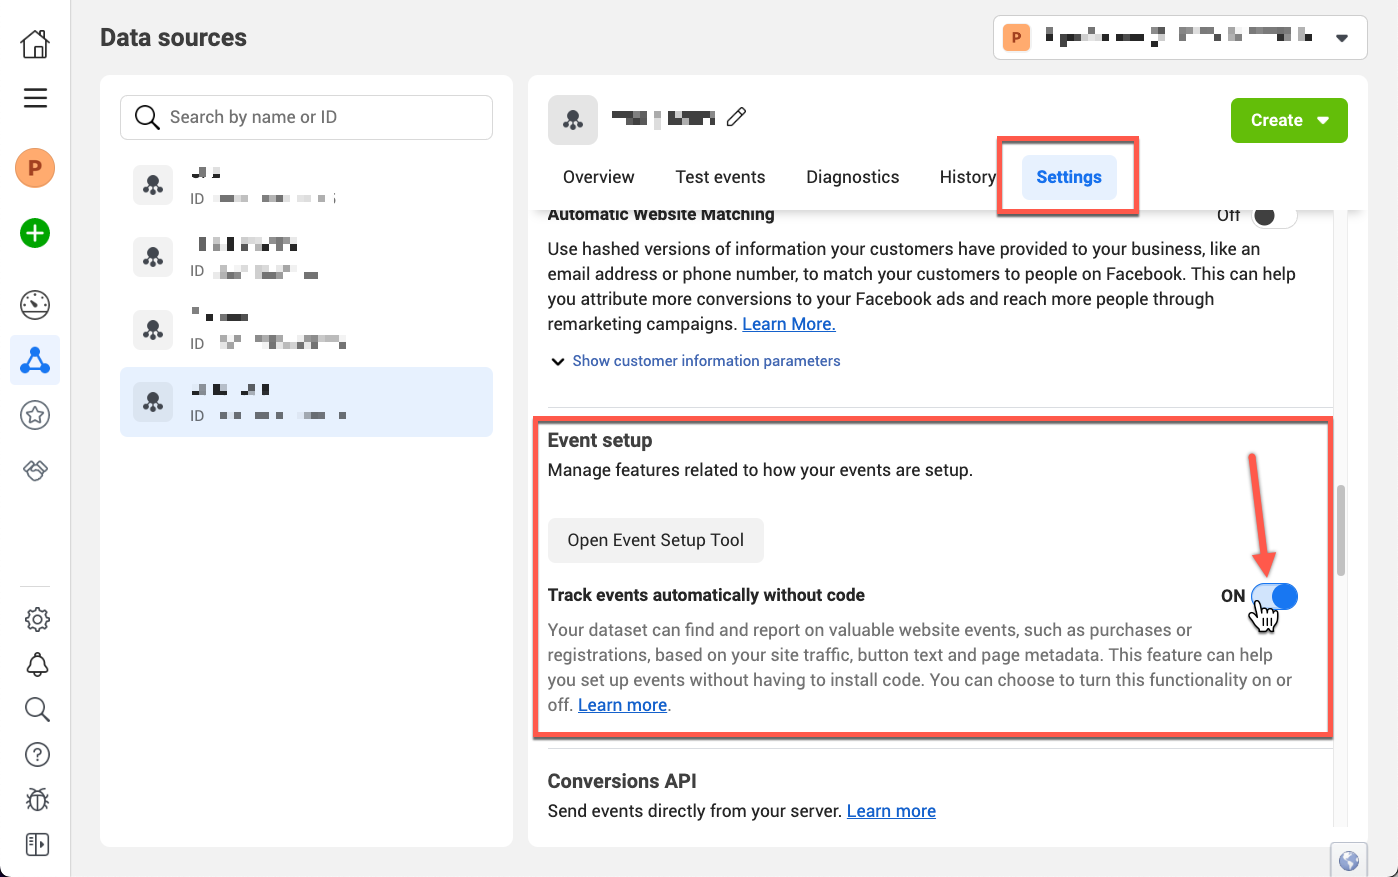
Optionally, enable the “Track Automatically Without Code” setting to help track additional events and details automatically.
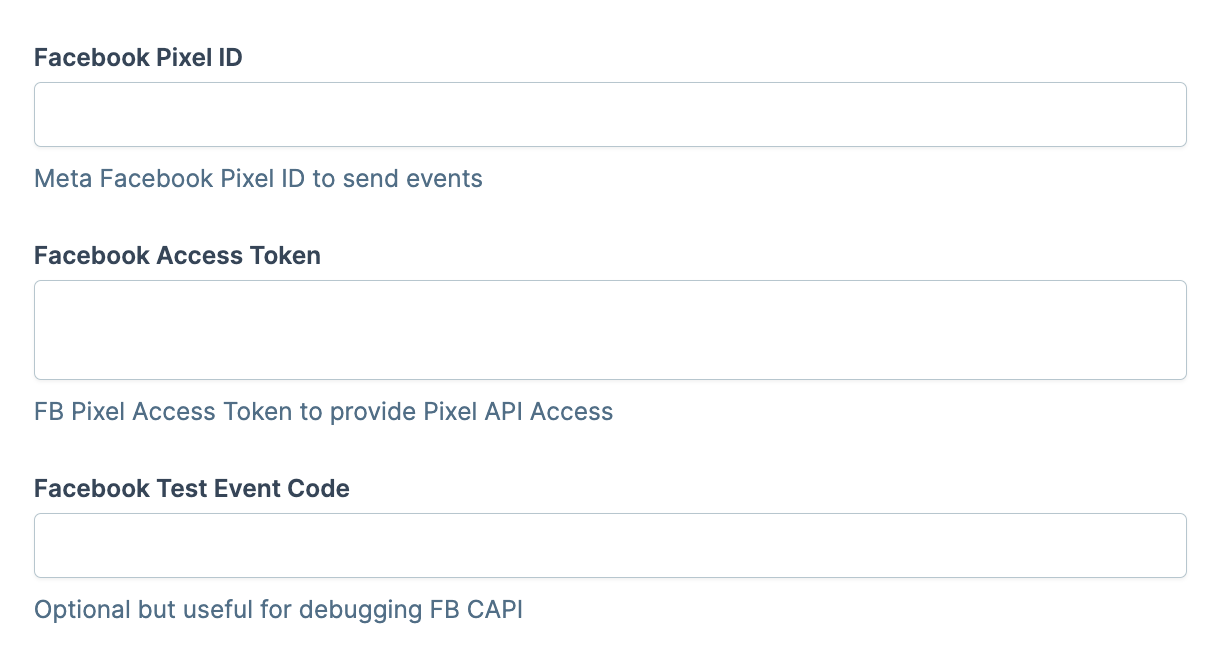
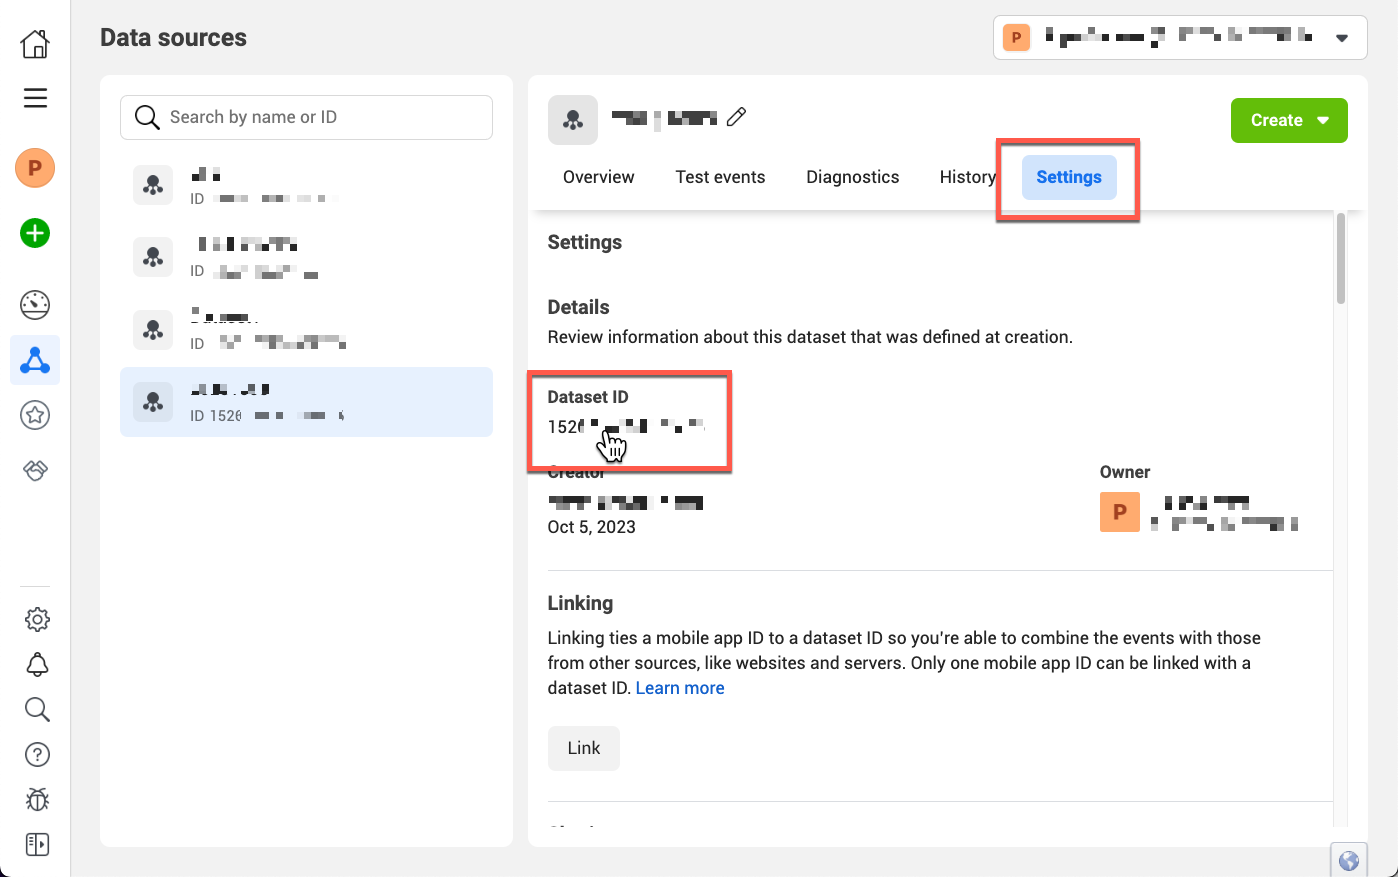
Copy the Dataset ID to the “Facebook Pixel ID” field of your ClickFunnels 2.0 Site Settings.
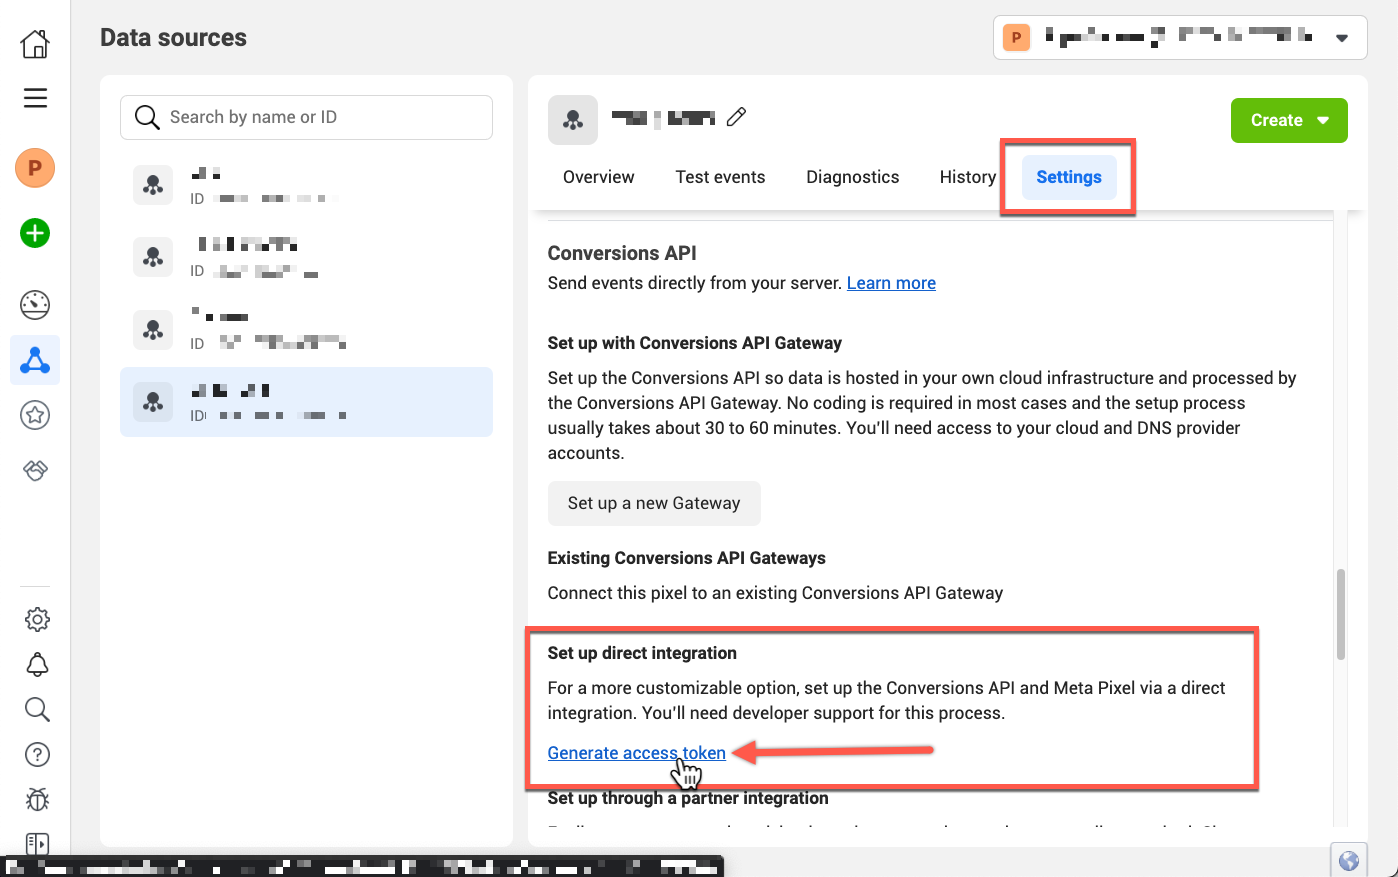
Generate a Conversion API Access Token and copy it into the “Facebook Access Token” field of your ClickFunnels 2.0 Site Settings.
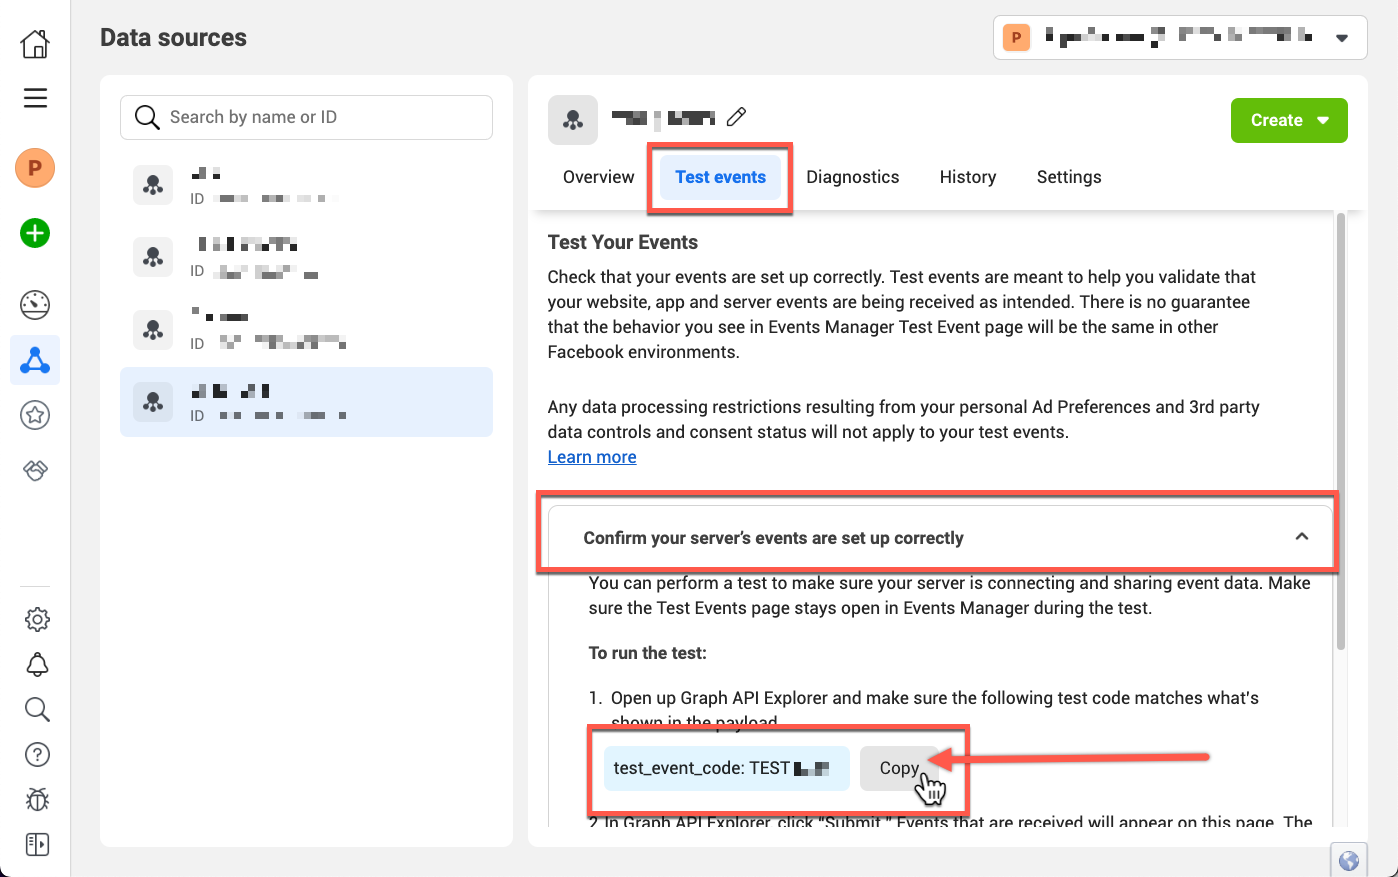
Optionally, copy the Test Event Code to the “Facebook Test Event Code” field of your ClickFunnels 2.0 Site Settings.