A countdown event in ClickFunnels works like a virtual ticking clock you can add to your funnel steps to create urgency and motivate action. In this article, we’ll show you how to manage events in a funnel step, including how to create new events or attach existing ones directly from the Funnel builder.
.png "image(82).png")
Requirements
An active ClickFunnels account
A funnel created to your workspace
A countdown event created in the Countdown Funnels app
How to Attach a Countdown Calendar Event in a Funnel Step
Step 1: Choose the Countdown Calendar Event
Click on Funnels from the left navigation menu.
Select the funnel you want to add a step to and open the Funnel Workflow Editor.
Click the Three Dots next to the page name in the Funnel Workflow Editor for more options.
Select Manage Calendar Events to open the attached calendar events sidebar.
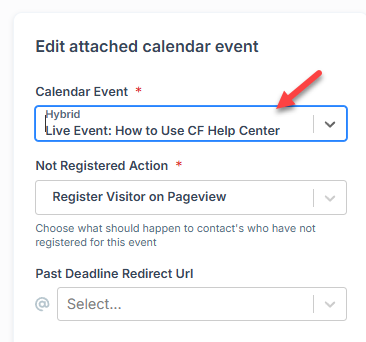
In the Edit attached calendar event section, Select an existing event from the dropdown. click Calendar Event to open the dropdown menu.
If you have not created any countdown calendar event yet, you can create a new one from here by clicking on Create a New Calendar Event option.
In the popup window, fill in the details for your new countdown event:
Enter the event Name.
Choose the event type: One Time, Recurring, or Hybrid. Each type comes with specific settings.
Optionally, set the Allow Reregistration After Days value to allow users to restart the flow as new registrants after a certain number of days.
Click Create Countdown Event to save your event.
Step 2: Set Not Registered Action
Decide what should happen to contacts who have not registered for the event. Choose from: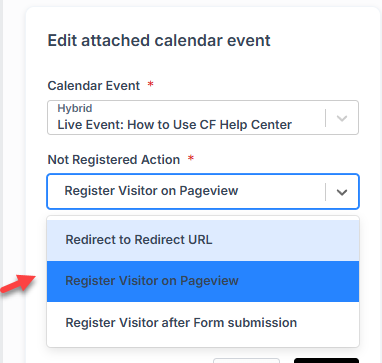
Redirect to Another URL: Redirect non-registrants to a different page. You can select an existing page or paste a specific URL.
Register Visitor on Pageview: Automatically register visitors for the event when they land on the page.
Register Visitor after Form Submission: Register visitors for the event when they submit an Opt-in form.
Step 3: Set Past Deadline Redirect URL
This feature redirects customers to a different page if they attempt to access an event or content after the specified deadline has passed. This ensures that users who miss the deadline are guided to a relevant page, such as an information page or an alternative event registration.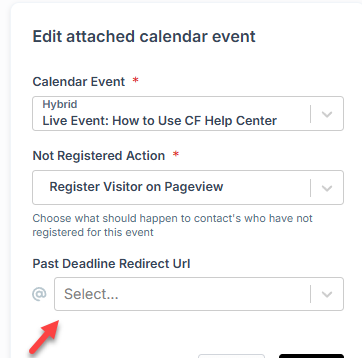
After completing these three steps, Click Attach at the bottom of the sidebar to add the event to your funnel.