This article will go over to the ClickFunnels Product Settings. The details you provide for a product affect the way that the product is displayed to customers, make it easier for you to organize your products, and help customers find the product.
By tailoring Product settings, you can streamline your customers’ shopping experience and maximize your sales potential. In this article, we’ll dive into how tweaking these settings can personalize your product, boosting convenience, efficiency, and overall satisfaction. .png)
Requirements
An active ClickFunnels account
Product Information
The product information section is where you can add the product’s name, description, and images.
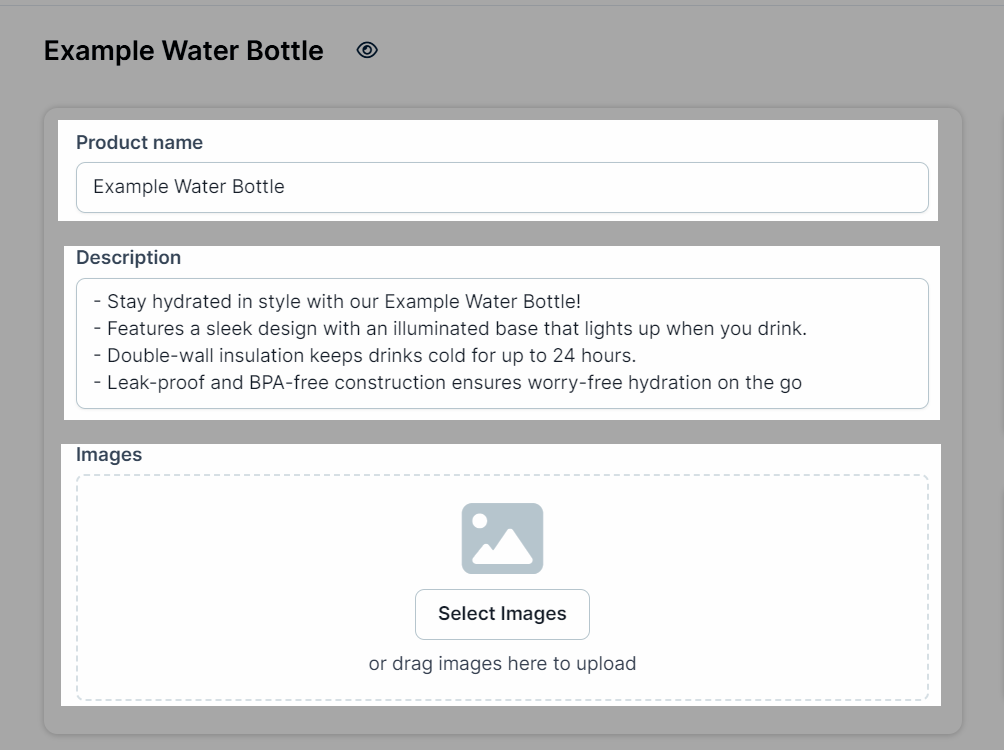
Name: Add a product name.
Description (optional): Add product description.
Images (optional): Upload product images from the image gallery. You can add multiple images of the product.
Pricing
In the Pricing section, you’ll discover the settings to manage your product’s pricing. Here, you can add prices, which directly impact your profits per sale. Use the options available to adjust the price, include sales tax, and control the visibility of the price on the checkout page. Additionally, you can add multiple prices for different selling channels. Use the Pricing section to handle pricing and tax settings for your product effectively.
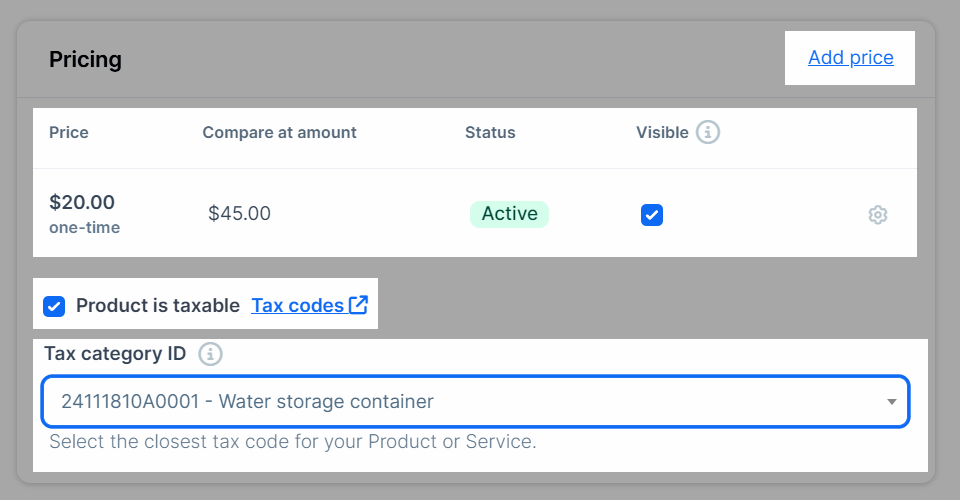
Add Price: Click on the Add Price link to introduce various price variants for your product.
Price Table: All added prices will be showcased in the price table. The table comprises options such as Price, Compare at amount, Status, Visible, and a Price Settings Icon.
Product is taxable: Toggle the checkbox to indicate whether the product is taxable or not. For further details on applicable tax codes, click the Tax Codes hyperlink to visit TaxJar’s website.
Tax Category ID: Once you’ve determined the product category and located the tax category ID, select the ID from the Tax Category ID dropdown.
Learn more in the Products - How to Manage Pricing and Products - Product Settings - Taxes article.
Inventory & Shipping
If your product type is a physical product, then the Inventory and Shipping section empowers you to oversee inventory and fulfillment. Utilize this section to manage product quantity, shipping location, product weight, and product origin.
SKU: A unique identifier for the product, used internally to track inventory.
.png)
Fulfillment required: When you check the Fulfillment Required box, additional inventory management options become available. These options are essential for managing physical products that require shipping or stock tracking. Here's what gets enabled:
.png)
Manage Locations
Add or edit the warehouse or fulfillment center where the product is stored. For more information, refer to our How to Create and Manage Locations article.
Quantity Tracking Options
Track Quantity: Enables detailed inventory management.
Displays stock levels for each location.
Updates inventory automatically as purchases are made.
Unlocks the Continue Selling When Out of Stock option (see below).
Don’t Track Quantity: Disables stock tracking, which is useful for unlimited or digital products.
Continue Selling When Out of Stock
This option appears only if Track Quantity is selected.
When enabled, it allows customers to purchase the product even if the stock reaches zero.
Ideal for pre-orders, backorders, or products that you plan to restock soon.
Inventory Location Details
Displays inventory details for each fulfillment location, including:
Committed Quantity: Units allocated to pending orders.
Available Quantity: Units remaining for new sales.
This is a physical product: Enabling this checkbox lets you declare the product’s Weight and Country of manufacture.
.png)
Purchase Actions
In the Purchase Action section, you can specify the actions that occur once someone completes the purchase of this product. You can distribute digital assets, grant access to a course, and provide access to a community. Clicking the adjacent plus icon, you can open an associated widget to choose these actions.

Learn more in the Products - How to Manage Product Purchase Actions article.
Variants
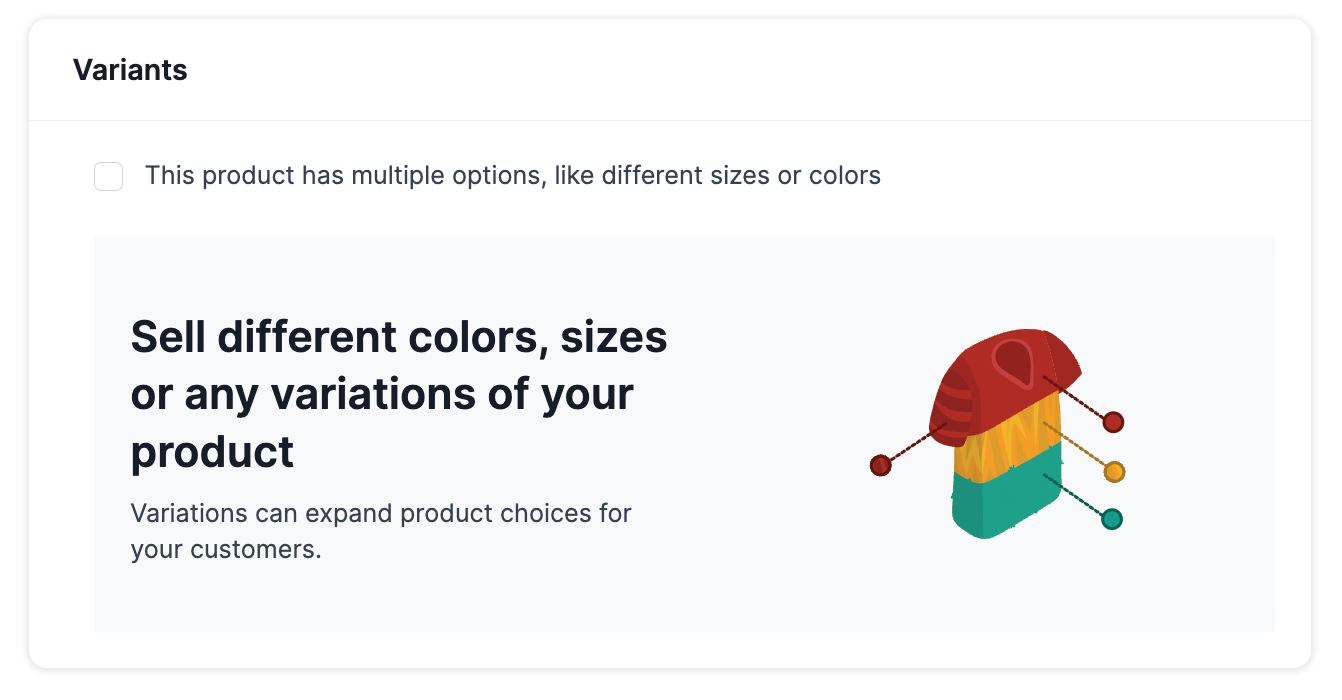
In the Variant section, you can include various product versions, such as different sizes or colors. For instance, if you’re selling T-shirts, you might offer choices for size and color. For example, sizes could include small, medium, and large, while colors could be blue and green. Utilize the variant section to establish different versions of the product.
Learn more in the Products - How to Manage Product Variants article.
SEO & sharing
The SEO & Sharing section allows you to provide meta-information about the product, such as the title, description, current path, and social share image.
It’s important to understand that this section is distinct from the product information section, where you enter the name, description, and product images. For example, while the product’s name, description, and images are intended to showcase the item within your funnel, the SEO title, description, and sharing image may differ to attract customers from social channels. Properly adjusting the SEO meta-information of the product can help you reach a more targeted audience. Use this section to fine-tune the SEO and Sharing settings.
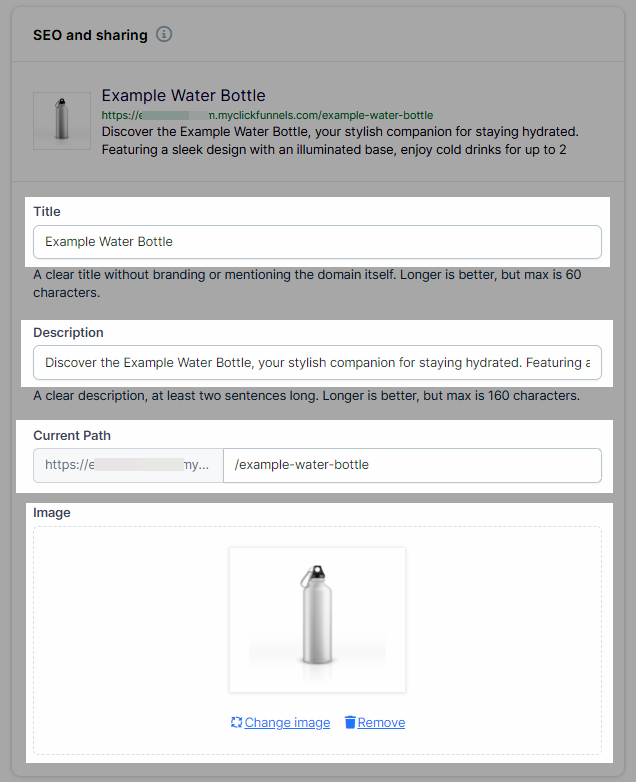
SEO page title: The SEO title of the product’s page.
SEO page description: The SEO description of the product’s page.
Current path: The URL path of the product’s page.
Image: The SEO image of the product page. There can be only one SEO image of the product.
Sales Channel Visibility
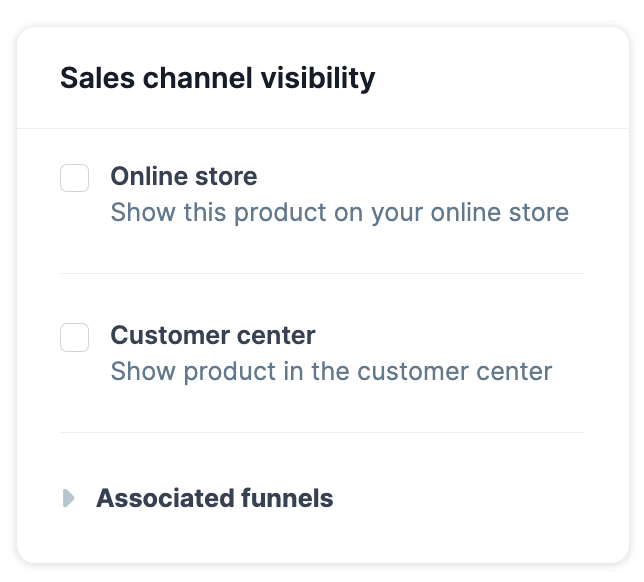
The Sales Channel Visibility section provides options to select whether your product will be visible in the online store and the customer center. You can also see which funnels already include this product.
Important
Products marked as visible will be included in the sitemap, making them accessible for indexing by search engines.
Organizations
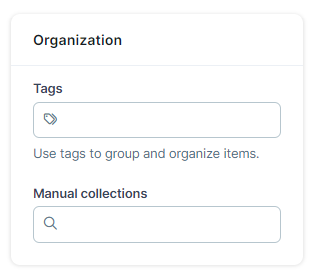
The Organization section enables you to categorize products into groups, simplifying the process of organizing them according to your preferences. You can assign tags in the tags input field to multiple products, and within the products tab, you can search for products by their “Product Tags” names.
Advanced settings
In the Advanced settings section, you can configure advanced options for your product, such as adjusting the default store product page template, configuring redirects to the product page, and managing live mode settings.
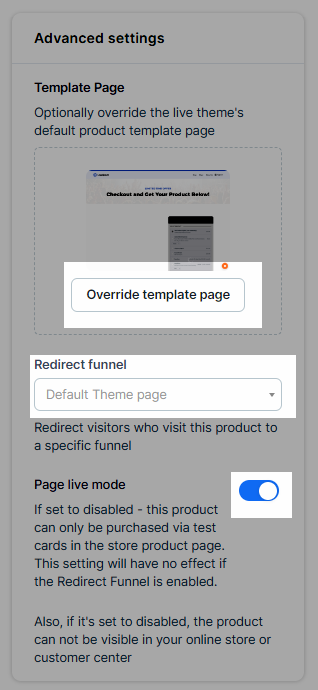
Override template page: This setting will allow you to change the theme product page template.
Redirect funnel: Choose a funnel to redirect visitors from the product page. Instead of landing on the store product page, they’ll start at the first step of the selected funnel.
Page live mode: Activate this setting to make the product visible in the store, allowing purchases only with real card information. When the toggle is off, the product remains hidden from the store but can still be accessed via the product page URL for testing purposes. During testing, test card credentials automatically appear at the top of the page.