In ClickFunnels, you can easily customize your course settings to fit your needs. This article will walk you through updating various aspects, such as the course title, description, URL, availability dates, and more. These tweaks can help you create a better learning experience for your students.
Requirements
An active ClickFunnels account
A course created in the Courses app
Access Course Settings
To access course settings, follow either of the options below:
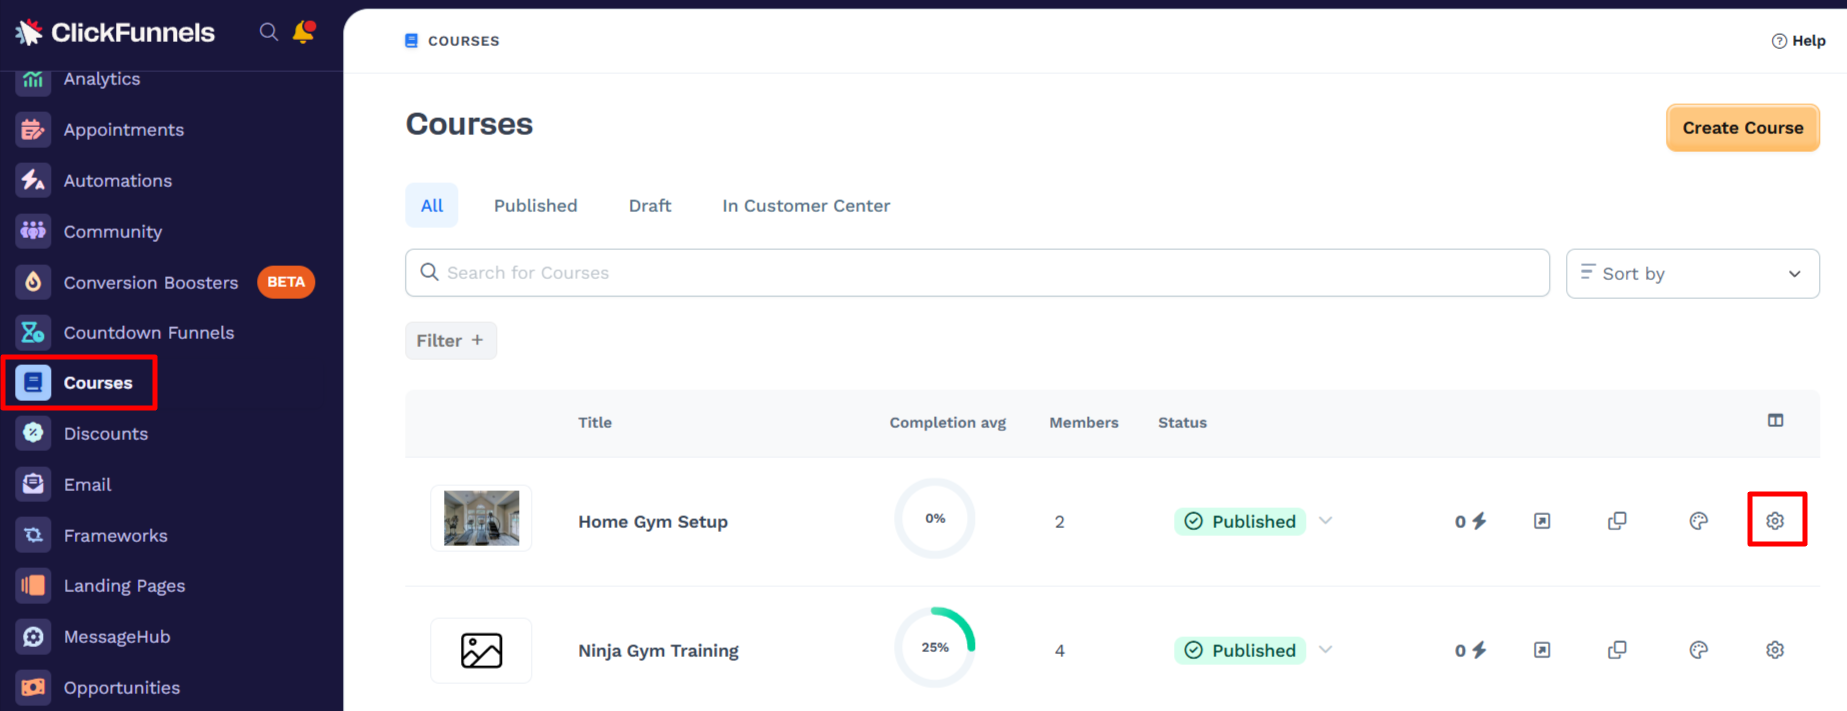
Option 1: From the Courses List
Navigate to the Courses page using the left-hand sidebar.
Locate the course you want to edit.
Scroll right if needed to reveal the Settings ⚙️ icon.
Click the Settings icon to open the Course Settings panel.
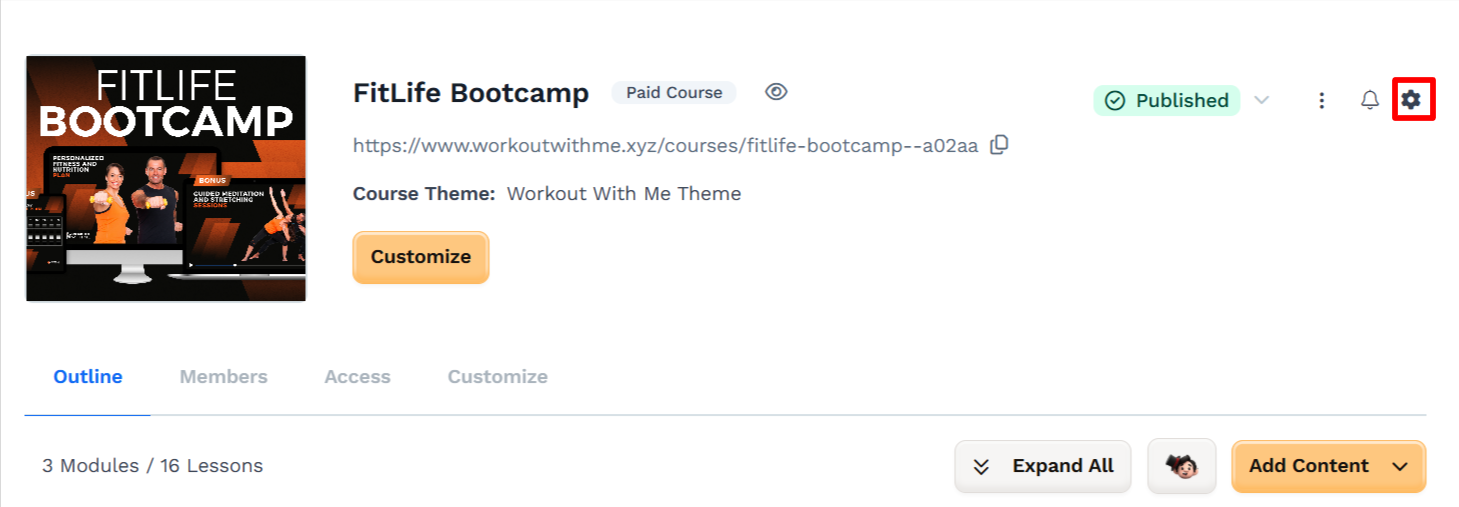
Option 2: From the Course Overview
Click the course title to open the course overview page.
Click the Settings ⚙️ icon in the top-right corner of the course header.
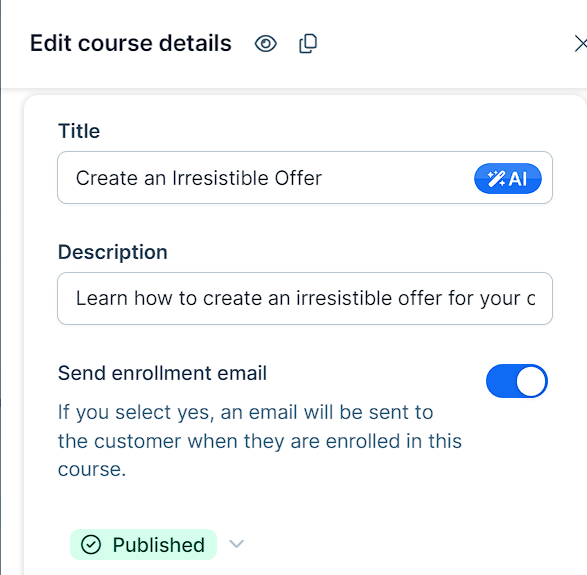
Edit Course Details
Enter a course Title.

Write a course Description to display on pages and emails.
Toggle Send enrollment email to send an email to students when they enroll. For more information on system emails, refer to How to Manage Course Emails.
Set the course status to Draft while you work on it, and switch to Published when it’s ready.
Add a URL Path to create a unique link for your course.
IMPORTANT
Only the Site domain can be used for courses. While you can connect multiple domains to your ClickFunnels account, courses are restricted to the site domain. For more information, check these articles:
Select a Theme to set the look of your course pages.
Upload a Course Image to help your course stand out when students are browsing.
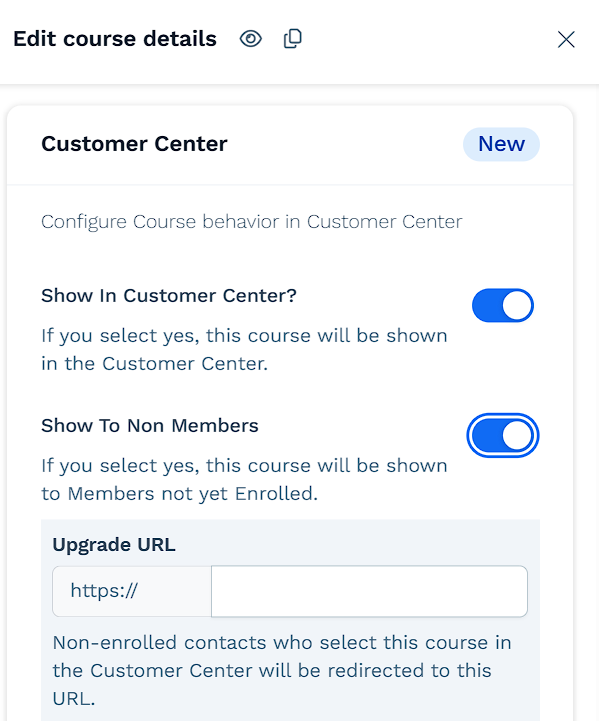
Customer Center Settings
In this section, you can configure how your courses behave inside the customer center. This includes customizing various options to enhance the user experience and ensure your course runs smoothly. We’ll cover these settings in the following points:
Show In Customer Center: Enable this setting to display your course in the Customer Center.
Show To Non-Members: Toggle this on to make the course visible to members who haven’t enrolled yet. When you turn this option on, an Upgrade URL field will appear where you can enter the link to the funnel or product page that sells access to the course. The course will be displayed in the Courses tab inside the Customer Center.
Enable Lesson Comments?: Turn this on to allow comments on all lessons within the course in the Customer Center.
IMPORTANT
The Enable Lesson Comments setting cannot be edited when Advanced Customization is enabled in the Customize tab. To learn more about how customization modes affect course settings and layout options, refer to How to Customize the Course Theme.
Redirect To Full Course: Use this setting to redirect users to the full course view when they visit the course in the Customer Center.
Generate Completion Certificates: If enabled, when someone completes the course in the Customer Center, it will generate a completion certificate to view or download. For setup instructions, see How to Enable and Manage Course Completion Certificates.
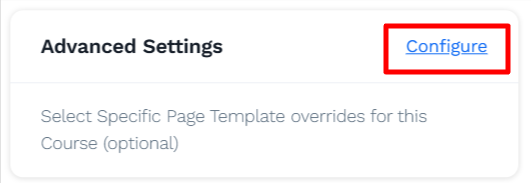
Advanced Settings
To access and manage advanced customization options for your course, click the Configure link in the Advanced Settings panel.
Once opened, you can modify the following options:
Style: Open the drop-down menu to select a style guide for your course, customizing its color palette and fonts.
Course Home Templates: Choose a specific page as your Course Home template instead of the default theme template.
Module Lessons Templates: Choose a specific page to use as the template for your modules.
Lesson Page Templates: Select a custom template for your lesson.
NOTE
These settings will override the previously selected theme.
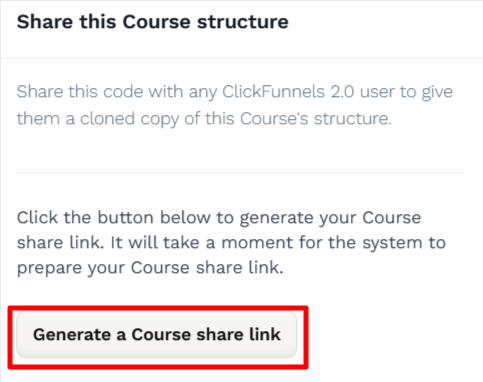
Share This Course Structure
This setting allows you to share the structure of your course with other ClickFunnels users. By clicking the Generate a Course share link button, you can create a unique code that others can use to clone your course’s structure.
Once generated, you can share the link with others, enabling them to replicate your course setup effortlessly.
Steps to Share Your Course Structure:
Scroll down to the Share this Course structure section.
Click the Generate a Course share link button.
In the Share this Course modal that appears:
Check the Public Course Title.
(Optional) Set the Reshare option to Yes if you want others to be able to share your course after duplicating it.
(Optional) Use the automatically generated Affiliate Code.
(Optional) Enter the Public Affiliate Name.

Click Generate a Course share link again.
Once generated, you’ll see a Share Course link field with a unique URL.
Click the Copy button next to the URL to copy it to your clipboard.
IMPORTANT
If you make changes to your course, you may need to click the Republish your Course button to update the share link.
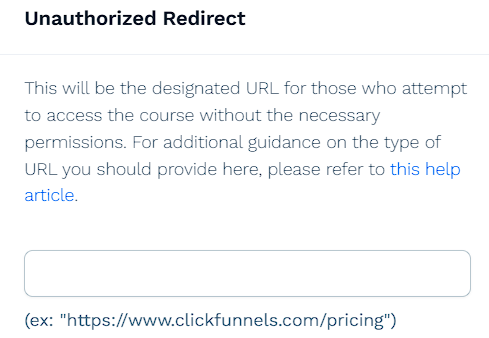
Unauthorized Redirect
Unauthorized Redirect protects your course content by redirecting users without proper permissions to a specified URL. Use this setting to enter a URL for anyone who tries to access the course without permission. If someone without access attempts to view your course, they will be redirected to this URL.
Follow these steps to set it up:
Find the Unauthorized Redirect section.
Enter the URL where you want to send unauthorized users.
Click Update course to save your changes.
Tips for choosing a redirect URL:
Use your pricing page to encourage sign-ups
Create a custom error page explaining access requirements
Redirect to your homepage or course catalog