 Dashboard
 Site & Funnels
 Products
 Orders
 Contacts
 Analytics
 Marketing
 Sales
Sales Settings
 Apps
Apps Payments
 MessageHub
Locations in ClickFunnels help you manage where your products are shipped from. By setting up multiple locations, you can assign warehouses, fulfillment centers, or store addresses to ensure accurate shipping rates and fulfillment. This is particularly useful if you ship products from more than one location.
This article will guide you through the steps to create and manage your locations in ClickFunnels.
Table of Contents
- Requirements
- Understanding Locations in ClickFunnels
- Creating a New Location
- Managing Locations
- Related Articles
Requirements
- An active ClickFunnels account
Understanding Locations in ClickFunnels
Locations in ClickFunnels allow you to define warehouses, stores, or fulfillment centers from which your products are shipped. This ensures that when a customer checks out, the system uses the correct location for shipping cost calculations and fulfillment.
For example, if you have multiple warehouses, you can add them as separate locations in ClickFunnels. This helps ensure that shipping rates are calculated based on the specific location and makes it easier to track where products are shipped from.
Creating a New Location
- Navigate to Workspace Settings from the left-hand menu.
- Select Locations from the list of options.
- On the Locations page, click Create location on the right side of the screen.
- Enter a Location Name.
- In the Location Address section, fill in the necessary details:
- Name (e.g., warehouse name)
- Address, and City
- Country, State/Province, and Postal Code
- Enter the Contact Details (Email address and Phone number) for the location.
- Check the box for Use this location to calculate live rates at checkout if you want this location used for live rate calculations.
- Click Create location to save.
Managing Locations
Once a location is created, you can easily manage it from the Locations tab.
Edit a Location
- Navigate to the Locations page.
- Find the location you want to edit and click the Settings ⚙ icon next to it.
- Update any details as needed, such as the address or contact information.
- Click Update location to save the changes.
Archiving or Deleting a Location
- On the Locations page, click the location you wish to archive or delete.
- To archive, click the Archive button at the bottom of the page. This will move the location to the Archived tab, where it can be restored later if needed.
-
To delete a location, click the Trash ? icon and confirm by clicking Proceed.
You cannot delete a location if it has fulfilled orders, contains inventory, or is used for live rates calculation.
Restoring an Archived Location
If you need to restore a location that was previously archived:
- Navigate to the Locations page.
- Click on the Archived tab to view archived locations.
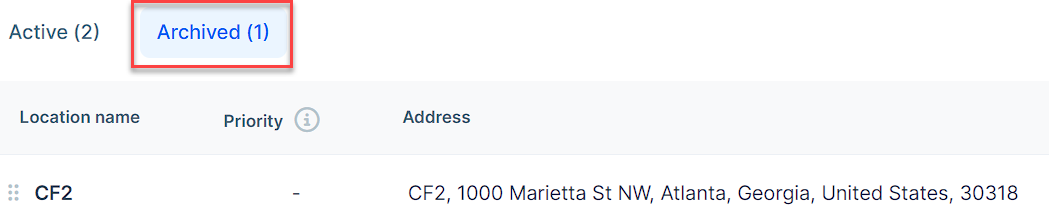
- Find the location you wish to restore and click the Restore button at the bottom of the page.
- The location will be moved back to the Active locations tab and will be available for use again in your shipping settings.
Related Articles
Was this article helpful?
That’s Great!
Thank you for your feedback
Sorry! We couldn't be helpful
Thank you for your feedback
Feedback sent
We appreciate your effort and will try to fix the article