In ClickFunnels, system emails for your affiliate program are designed to streamline communication without the need to create complex workflows or automation. These emails are automatically triggered when an affiliate registers, is approved or earns a commission. Using system emails saves time and ensures consistent communication with your affiliates. This article will guide you through the process of customizing these emails to better suit your affiliate program’s needs.
Requirements
An active ClickFunnels account
Accessing System Emails
To access and customize system emails in ClickFunnels, follow these steps:
Navigate to Workspace Settings on the left-hand menu.
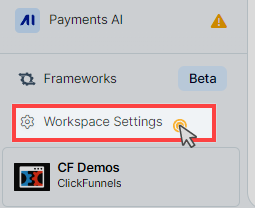
Select System Emails under the Workspace Settings menu.
By default, the Affiliates tab is selected. If not, select the Affiliates tab to view system email for affiliates.
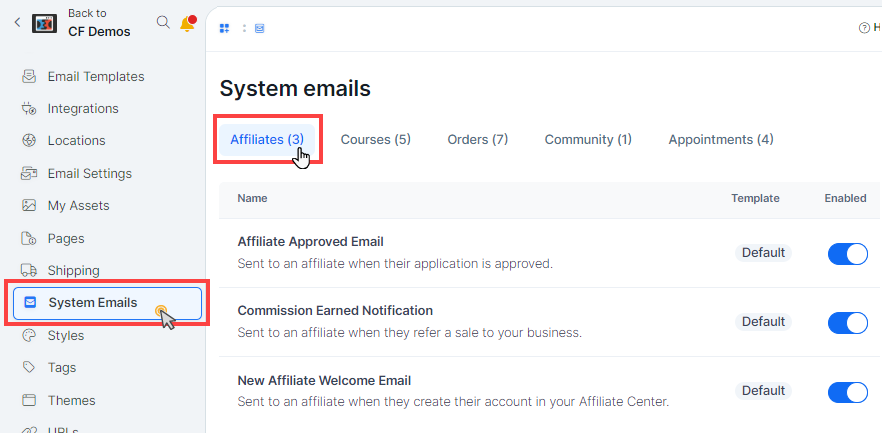
Available System Emails for Affiliates
Under the Affiliates tab, there are three key system emails available for customization:
Affiliate Approved Email: Sent to an affiliate when their application is approved.
Commission Earned Notification: Sent to an affiliate when they refer a sale to your business.
New Affiliate Welcome Email: Sent to an affiliate when they create their account in your Affiliate Center.
These system emails for affiliates are turned on by default in the workspace, which uses predefined content provided by ClickFunnels.
Customizing System Emails for Affiliates
To customize the content of system emails for your affiliates, follow these steps:
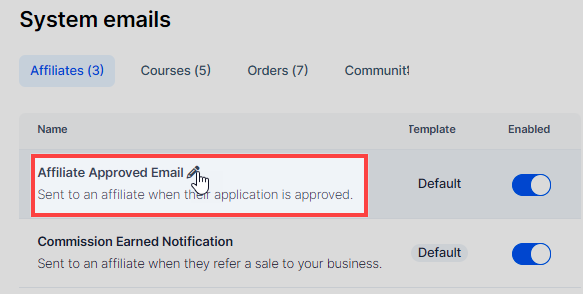
Access the Email Template: Click on the email's name (e.g., “Affiliate Approved Email”) to access the email settings page.
Modify the Subject Line: You can change the email subject line in the Subject field. To personalize the subject, you may use merge tags. Click on the blue Merge Tags link to insert available merge tags, such as
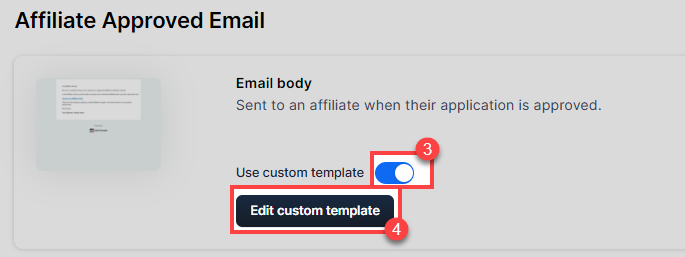
{{brand_name}}.Enable Custom Template: If you wish to modify the default email content, toggle on the Use Custom Template option. This enables you to customize the email template instead of using the default content provided by ClickFunnels.
Edit the Email Content: Click the Edit Custom Template button to open the email editor. Here, you can design your email according to your preference by adding text, images, buttons, and more.
Insert Merge Tags for Dynamic Content: To add dynamic content specific to affiliates, click on Merge Tagsin the email editor and select the desired tags. For example:
Use
{{brand_name}}to insert your brand name.Use
{{affiliates_dashboard_url}}to generate the affiliate area URL.Use
{{affiliate.name}}to personalize the email with the affiliate’s name.
Reset to Default Content: If you have customized the email but want to revert to the original default content, simply click Reset Email to Default. This action will discard all changes and restore the default system email content.
Learn more about system emails in the How to Customize and Manage System Emails in ClickFunnels article.
Enabling/Disabling System Emails
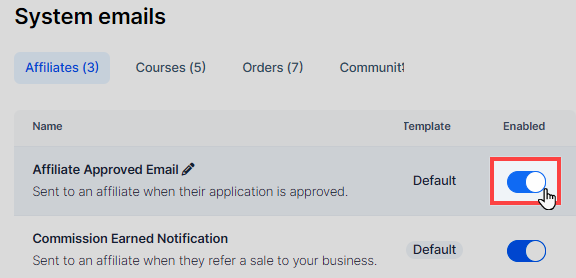
You can control which system emails are sent to your affiliates by enabling or disabling them. To manage a specific system email, use the Enabled toggle switch next to each email option. When the toggle is set to Blue, the email is enabled and will be sent automatically when triggered by an event, such as an affiliate registration, approval, or commission earned. When the toggle is set to Gray, the email is disabled and will not be sent.
