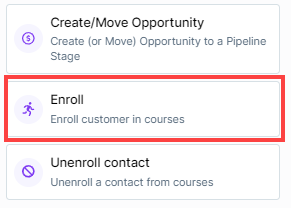
The “Enroll” step in ClickFunnels workflows allows you to automatically enroll contacts in a course, specific course module, or submodule. This is particularly useful for onboarding new customers, upselling additional courses, or granting access to exclusive content as part of your marketing automation strategy. In this article, you are going to learn how to configure the “Enroll” step and use it to streamline your educational offerings.
Requirements
An active ClickFunnels account.
The desired course or module is published in your account.
Adding the “Enroll” Step to Your Workflow
Open Your Workflow:
From your ClickFunnels dashboard, navigate to the Automations » Workflows menu.
Open an existing workflow or create a new one.
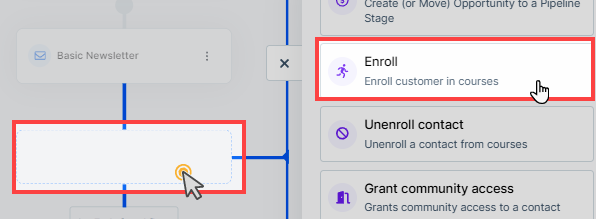
Add the “Enroll” Step:
Click on the Plus Icon (+) in your workflow editor.
In the right-hand panel, select the “Enroll” option under the “Internal” category.
Configuring the “Enroll” Step
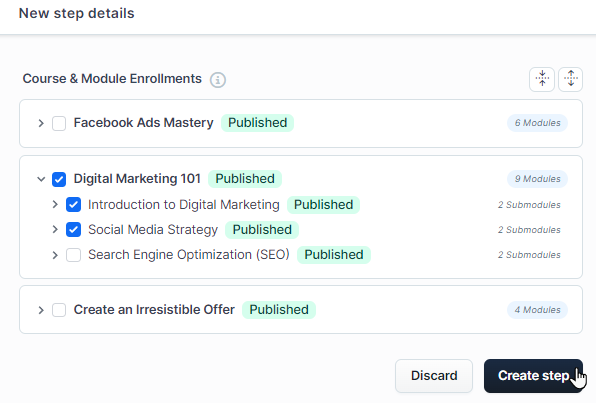
Select Courses and Modules:
When adding the “Enroll” step, a dialog box will appear where you can select which course or module to enroll the contact in.
Expand the course categories and check the box next to the specific course, module, or submodule to enroll the contact.
Save the Step:
After selecting the desired course or module, click Create Step to save the enrollment action in the workflow.
Viewing Enrollment Notifications
When a contact is enrolled in a course or module through the “Enroll” step in your workflow, they will automatically receive a system email notification informing them about their enrollment. This email provides details about the course or module they have been enrolled in and includes a link to access the content.
Here is an example of the enrollment email a contact might receive:
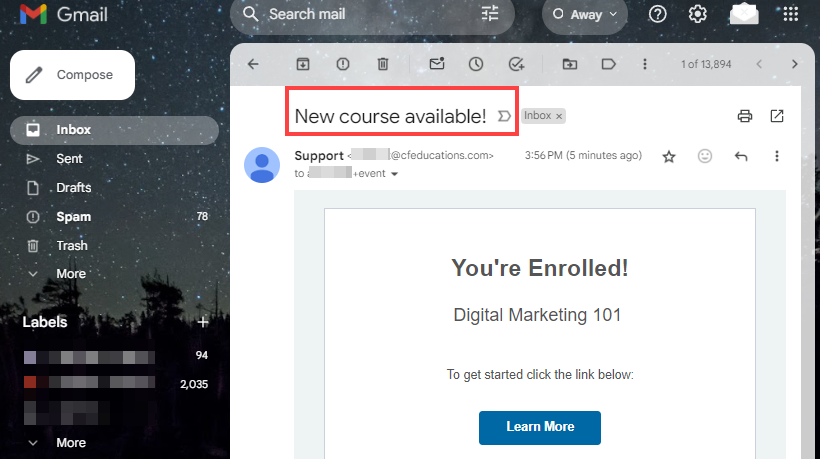
Clicking the “Learn More” button in this email will take them directly to the customer center, where they can view and start the course.
Modifying Enrollment Email Notifications
If you wish to customize the content of these enrollment emails, you can do so through the System Emails settings in ClickFunnels. To modify the course enrollment emails:
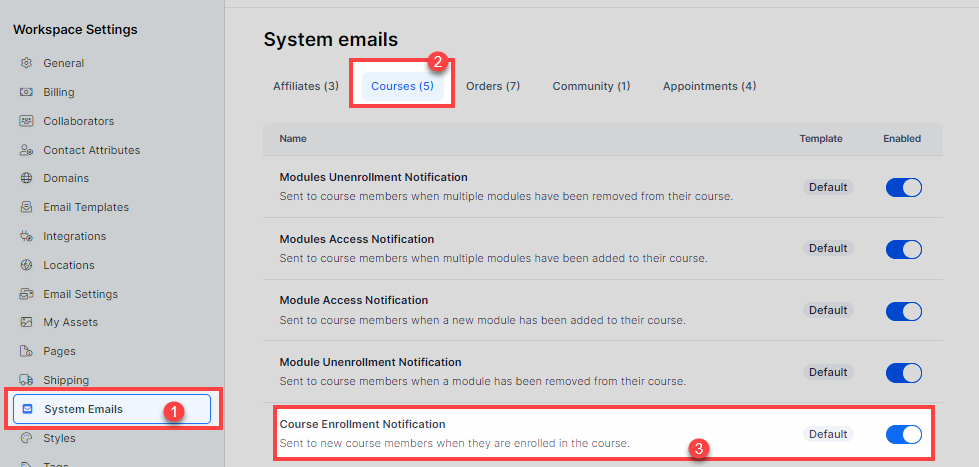
From your ClickFunnels dashboard, navigate to Workspace Settings and select System Emails.
Select the Courses tab.
Under Course Enrollment Notification, you can modify the email template as needed.
To learn more about how to customize and manage system emails in ClickFunnels, please refer to our article How to Customize and Manage System Emails in ClickFunnels