The “Store Collection” page in ClickFunnels allows you to present a specific collection of products in an organized and visually appealing manner, enhancing the shopping experience. In this article, you will learn how to customize the Store Collection Page using the Product Collections Element and other advanced elements.
IMPORTANT
Product collections are exclusively available for sale in the ClickFunnels store. They cannot be added as individual products within a funnel.
Requirements
An active ClickFunnels account
Ensure that each product included in the “Product Collection” is set to be visible in the Online Store.
Overview of Store Collection Page
The “Store Collection” Page displays the individual products within a specific collection when a customer clicks on a collection from the storefront. This page serves as a hub where customers can browse and purchase products within a collection.
Example:
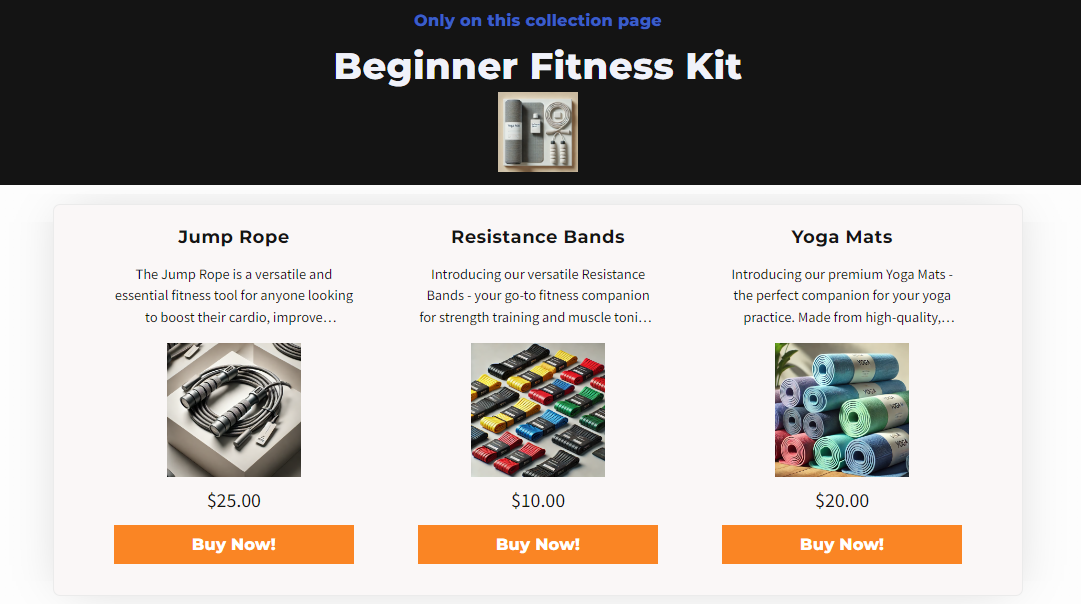
For instance, if you have a collection named Beginner Fitness Kit and a customer clicks on that collection, the Store Collection page will showcase the products within that collection, such as Jump Rope, Resistance Bands, and Yoga Mats.
Build a Dynamic Layout with the “Products” Element
To start customizing the “Store Collection” Page, follow these steps:
In the left-side navigation menu, click the Store app and select Overview.
Click Customize Store to access the Store Theme Editor.
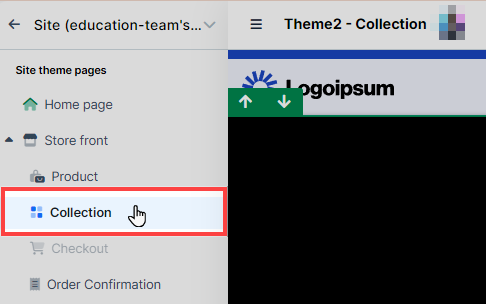
In the Store Theme Editor, select the Collection menu to edit the “Store Collection” page.
Inside the editor, add a Section, then add a Row within that section. Click the orange + Plus or “Add New Element” button inside the row to insert a new element.
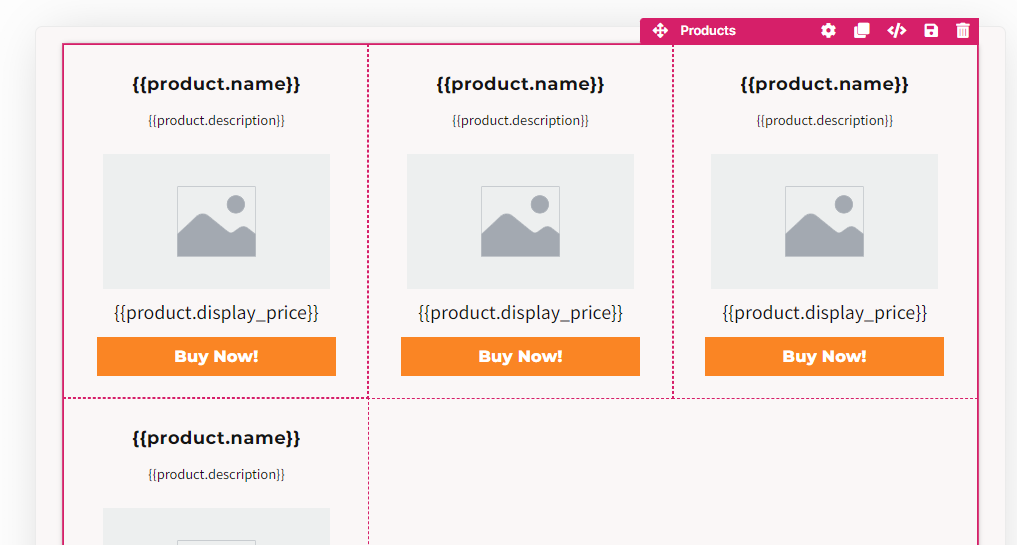
From the elements menu on the right, select the Products collection type element. This element acts as a container for your product collection.

After adding the “Products” element, you will be prompted to select how many columns you want to add inside the container. The standard is one column, but you can choose more columns based on your design preferences.
Add Dynamic Advanced “Product” Elements in the Container
Once you have added a “Products” element and a row inside the container, the system will highlight the advanced individual elements for the products. These elements include Name, Description, Image, Price, and Links. Here’s how to add and customize these elements:
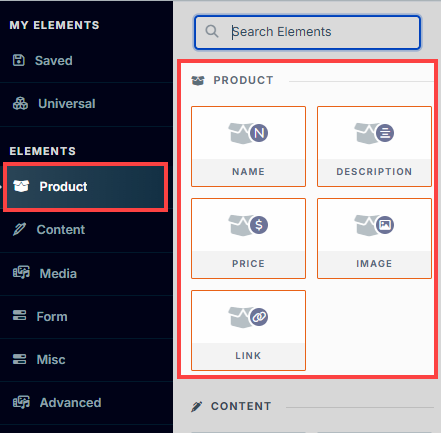
Name: Add a Name element to display the name of each product in the collection.
Description: Add a Description element to display the description of each product in the collection.
Image: Add an Image element to showcase the main image of each product in the collection.
Price: Add a Price element to display the price of each product in the collection.
Links: Add a Link element to provide a call-to-action button such as “Buy Now” or “Add To Cart”. Once clicked, the system will redirect them to the product checkout page to complete the purchase.
After inserting these individual elements, you can go to each element’s settings to customize the design and layout according to your preferences. Adjust colors, fonts, and sizes to match your store’s theme and ensure a cohesive look.
Incorporate Product Collections Advanced Elements
To further enhance the “Store Collection” Page, you can incorporate the “Product Collections Advanced Elements”. These elements allow you to add dynamic content such as the collection name, image, and description based on the specific collection clicked by the customer from the storefront. Follow the steps below:
Add a new Section and a Row where you want to display the dynamic collection information.
Click the orange + Plus or “Add New Element” button inside the row to add a new element.
From the elements menu on the right, click on the Advanced** menu and then scroll down to the Product Collections section.
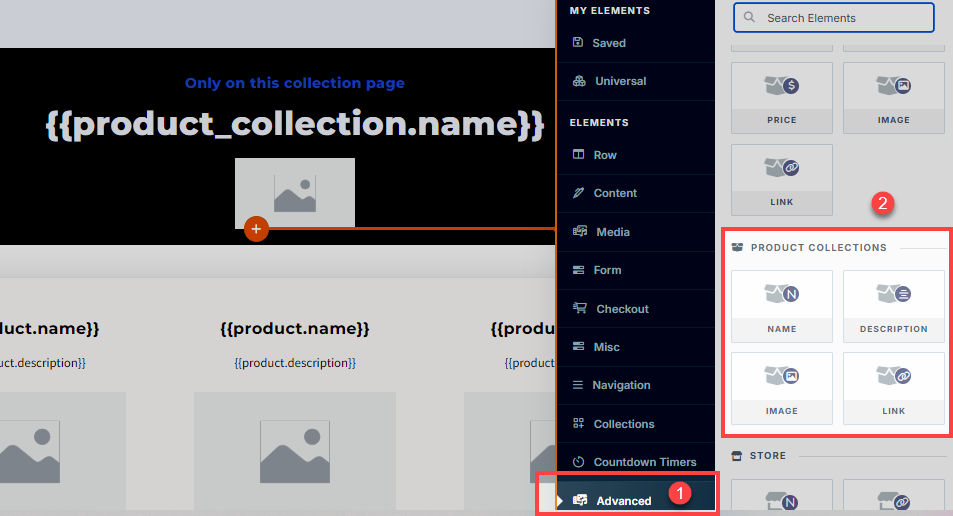
Add the following elements as needed:
NOTE
The “Product Collections” advanced elements should be added outside of the “Products” container. Simply add a “Section” and a “Row”, then directly place the advanced elements inside the “Row”. There is no need for a “Collection” container type element.
Name: Display the name of the collection.
Description: Provide a brief overview of the collection.
Image: Showcase the main image of the collection.
Link: Add a call-to-action button related to the collection.
IMPORTANT
Be aware that the “Product Collections - Link” element will dynamically populate the URL of the current store collection page link that visitors are already on, which could result in a navigation loop. To prevent this issue, it is recommended to avoid using this element on the store collection page.