This article provides a step-by-step guide on how to cancel your ClickFunnels account. It’s important to know that canceling your account will deactivate any active funnels and remove access to the platform’s features, so ensuring you have backed up or transferred necessary data before cancellation is recommended. After you complete the cancellation process, your subscription will end and you will no longer be billed. No additional charges will be applied to your account going forward.

IMPORTANT
If you have any funds in Payments AI, we recommend that you retrieve your funds from Payments AI first, then cancel your ClickFunnels account afterward.
You will not be able to log in to your Payments AI account once you cancel your ClickFunnels subscription. For the Payments AI closing process, follow this article here or contact their support directly at support@payments.ai .
Cancel your customer’s subscription purchases if you wish to stop charging them before canceling your ClickFunnels account. Otherwise, they will continue to be charged.
Requirements
An active ClickFunnels account
How to Cancel Your Account
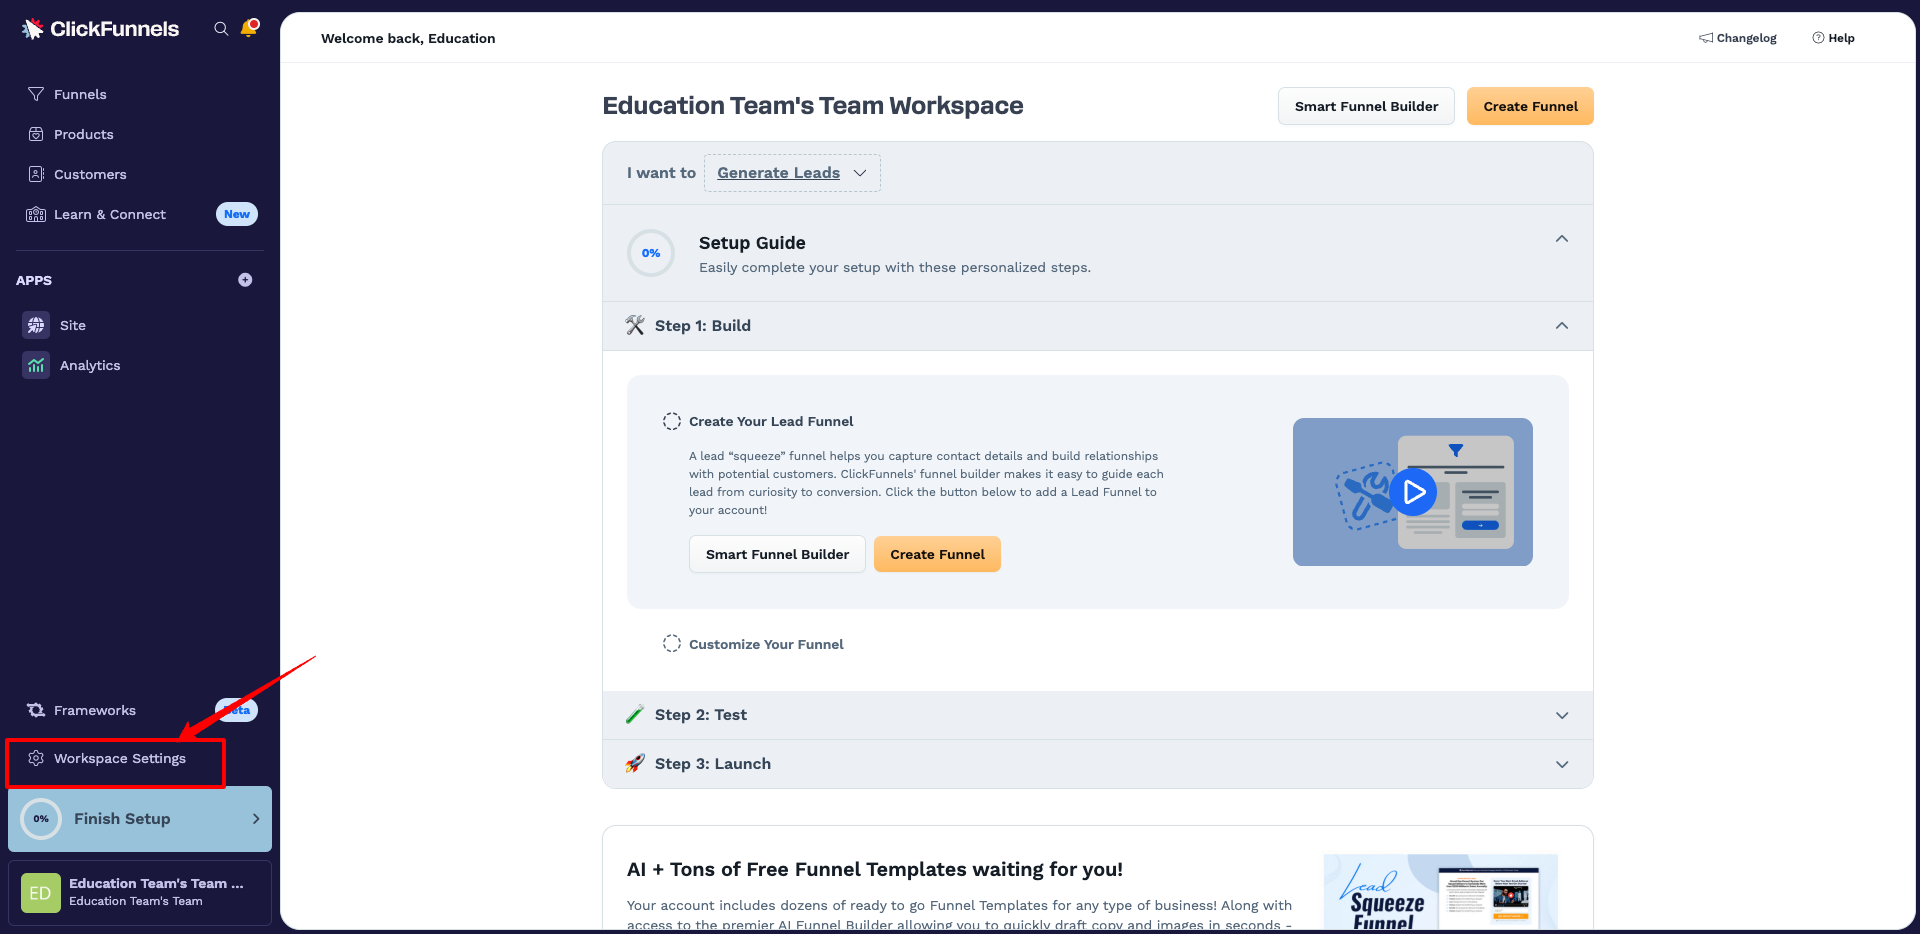
Click Workspace Settings at the bottom of the left navigation menu to open your ClickFunnels Workspace Settings.
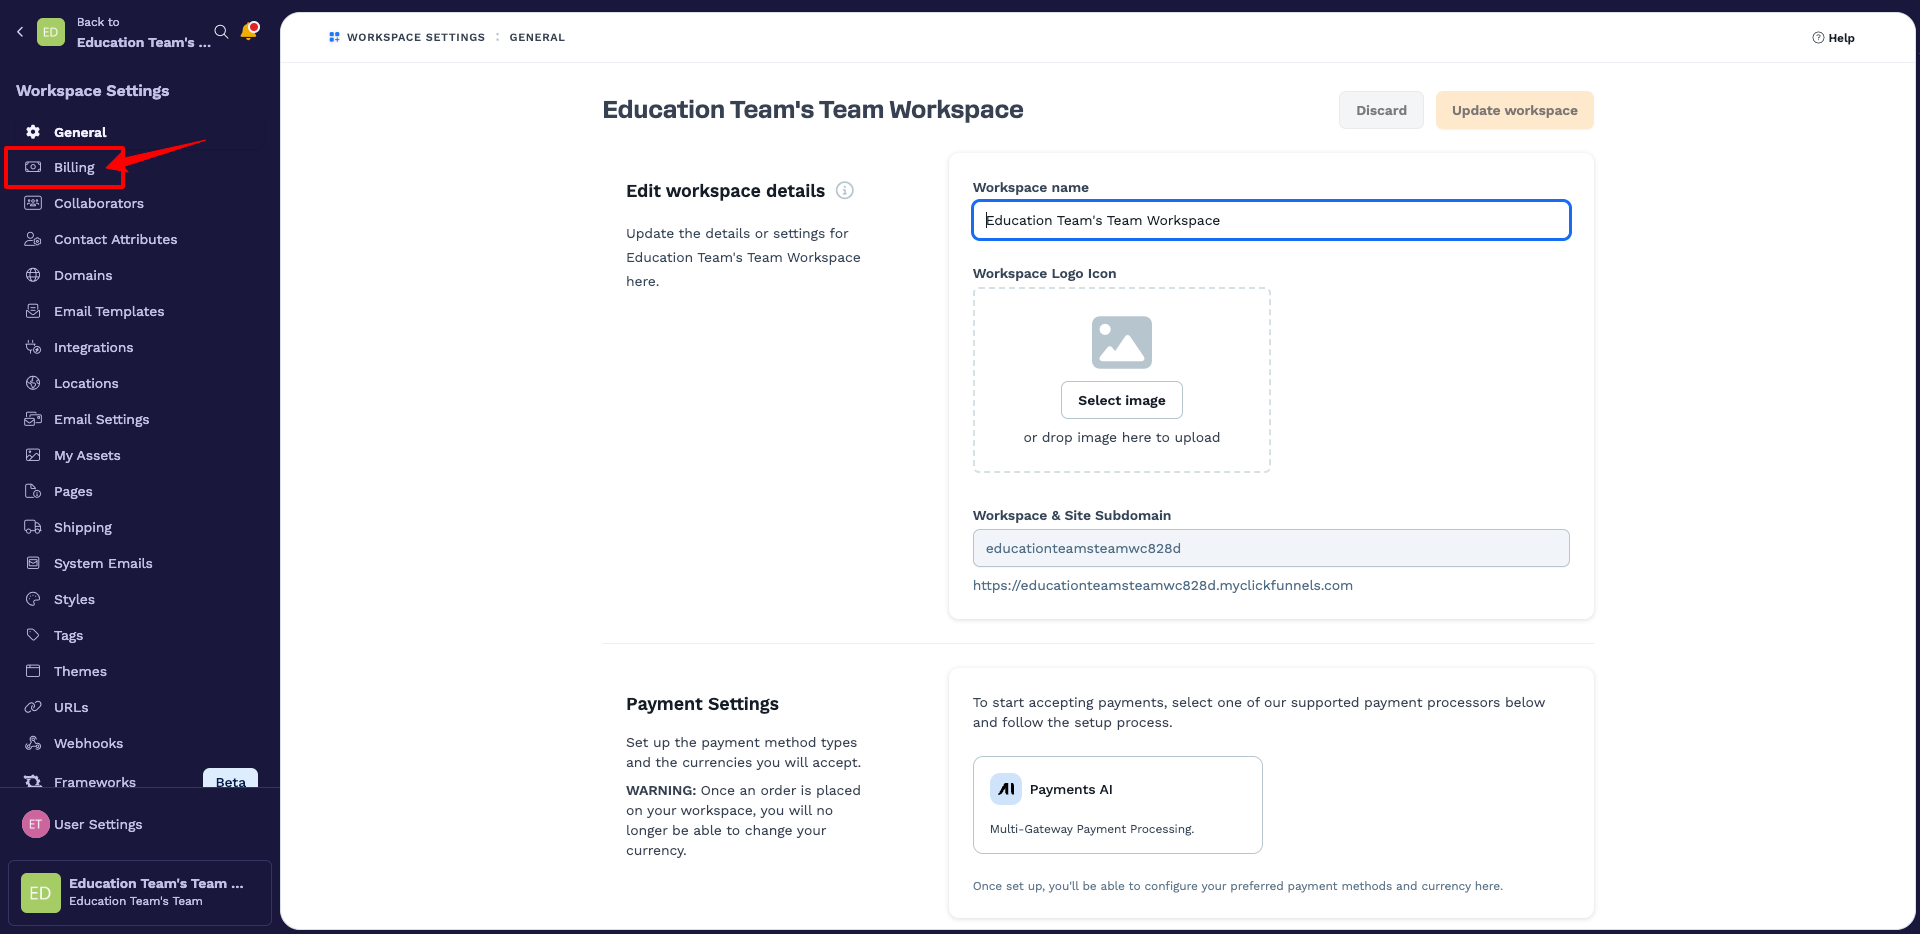
Select Billing from the sub-menu. This will open your profile in the ClickFunnels Customer Center in a new tab.
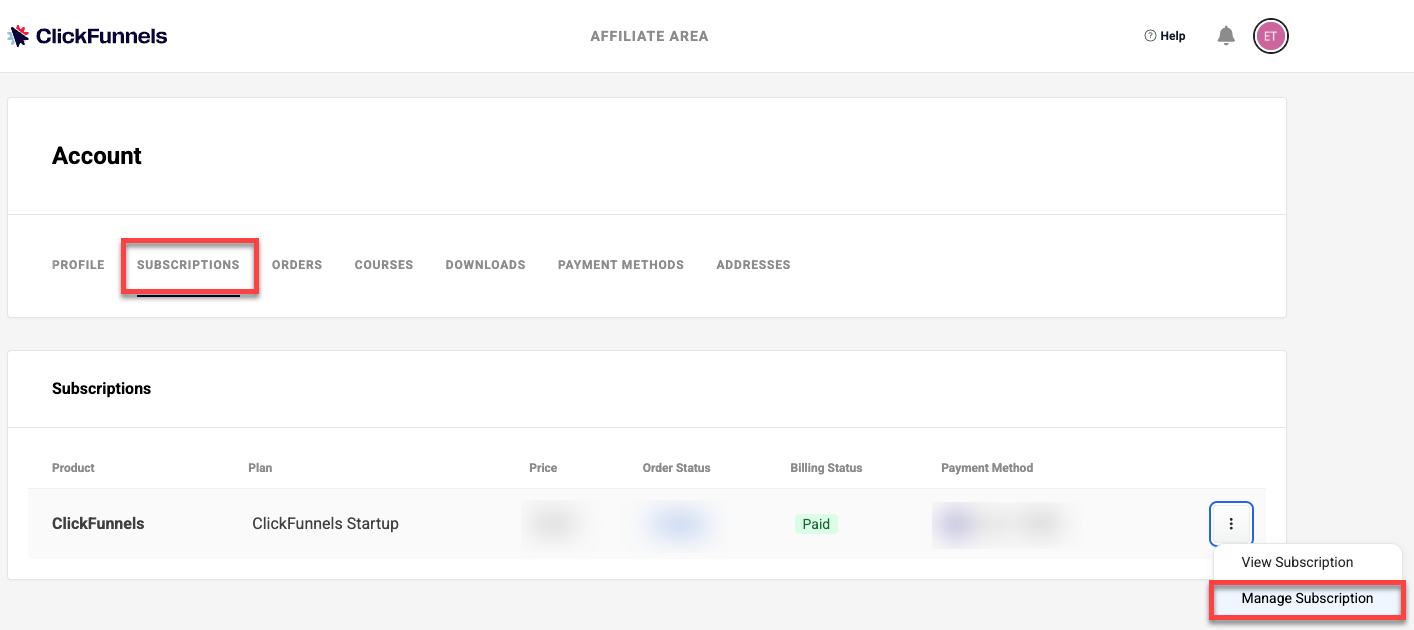
In the Subscriptions tab, find the plan you want to cancel under Subscriptions.
Click the three-dot icon to the right of the plan to open a drop-down menu.
Select Manage Subscription from the drop-down menu to access the Subscription Pricing Plans page.
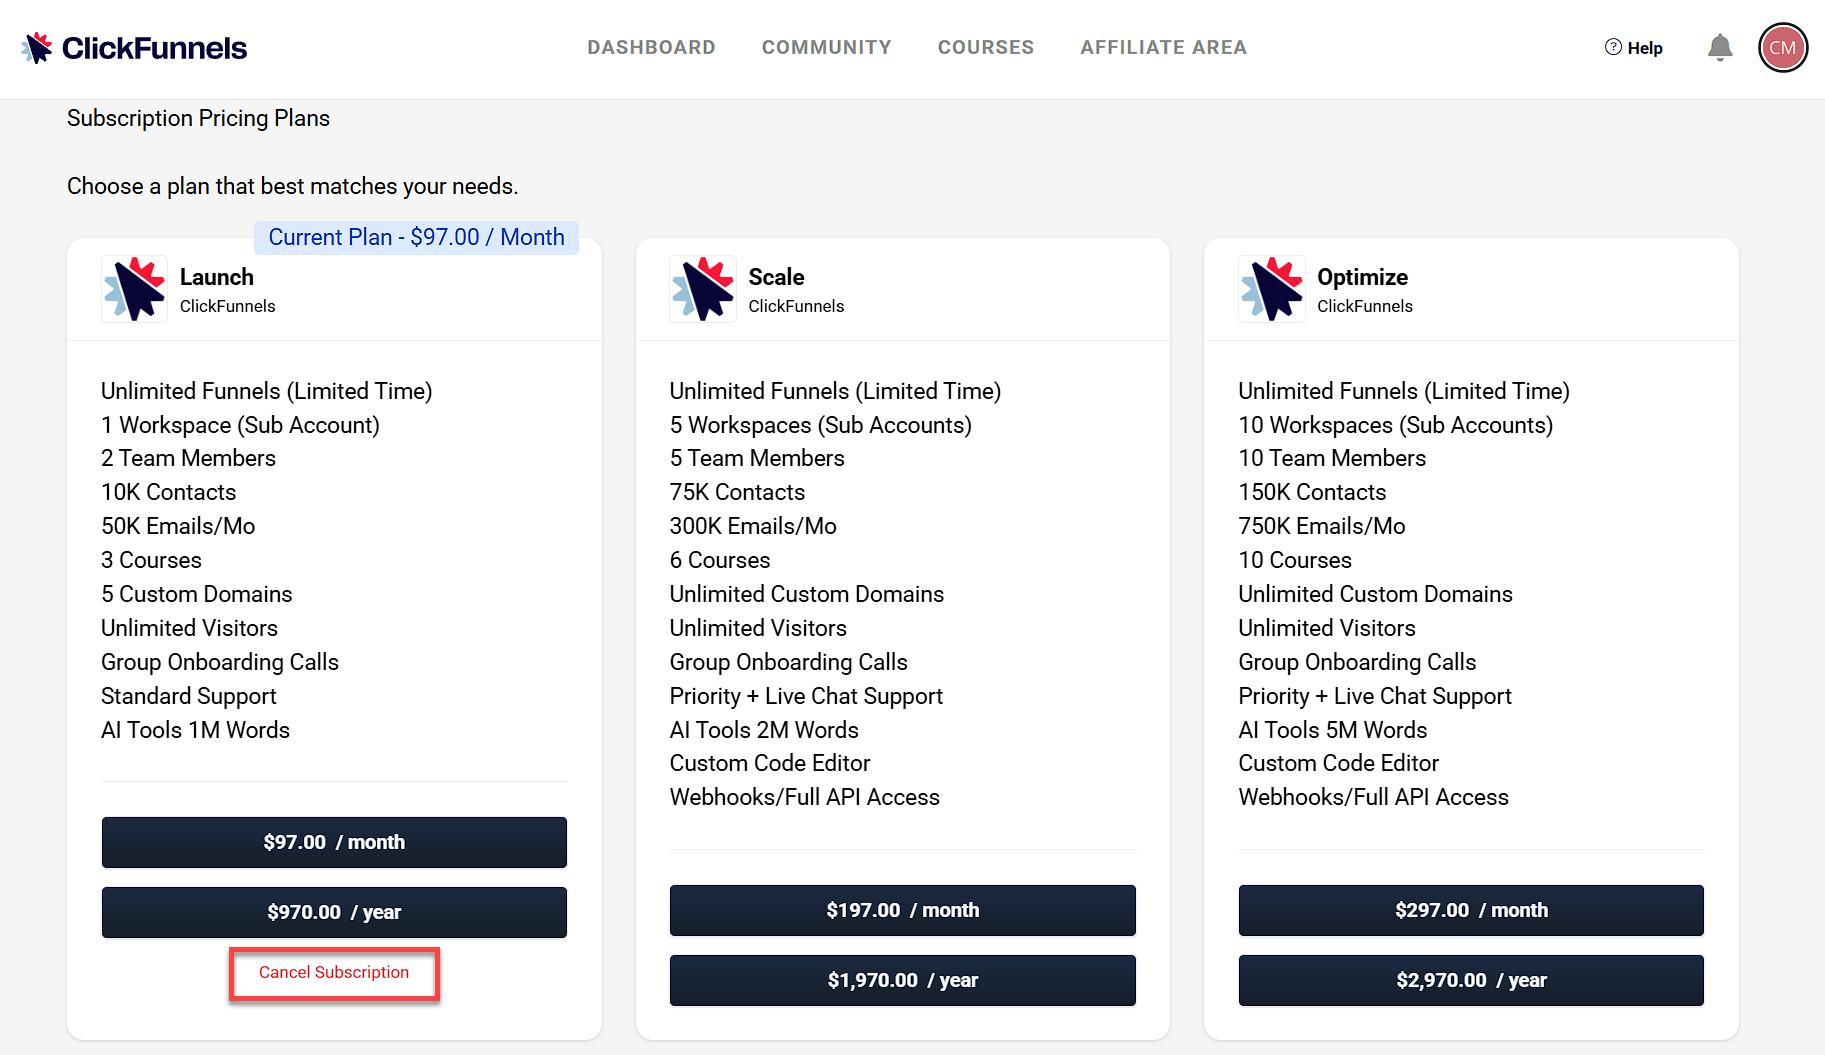
Click Cancel Subscription under your current plan to start the cancellation process.
WARNING
Clicking Cancel Plan does not immediately cancel your subscription. You must complete all remaining steps in this guide to successfully cancel your account. The cancellation will not be effective until the final confirmation is submitted.
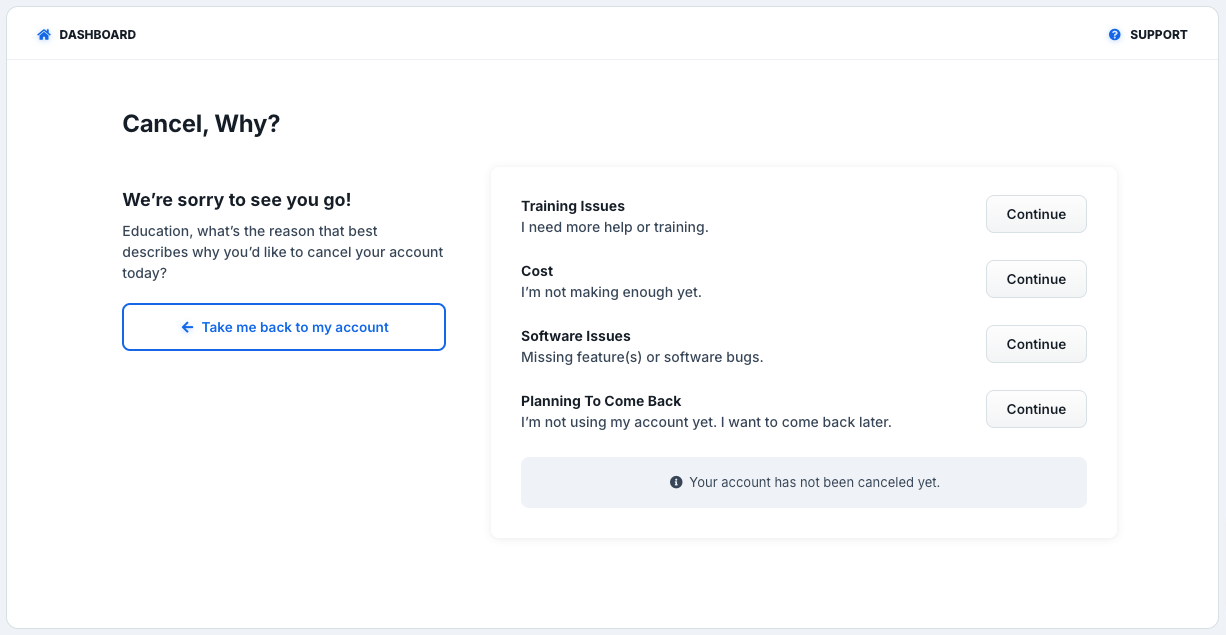
Select a reason for cancelation from the options provided (e.g., Training Issues, Cost) and click Continue.
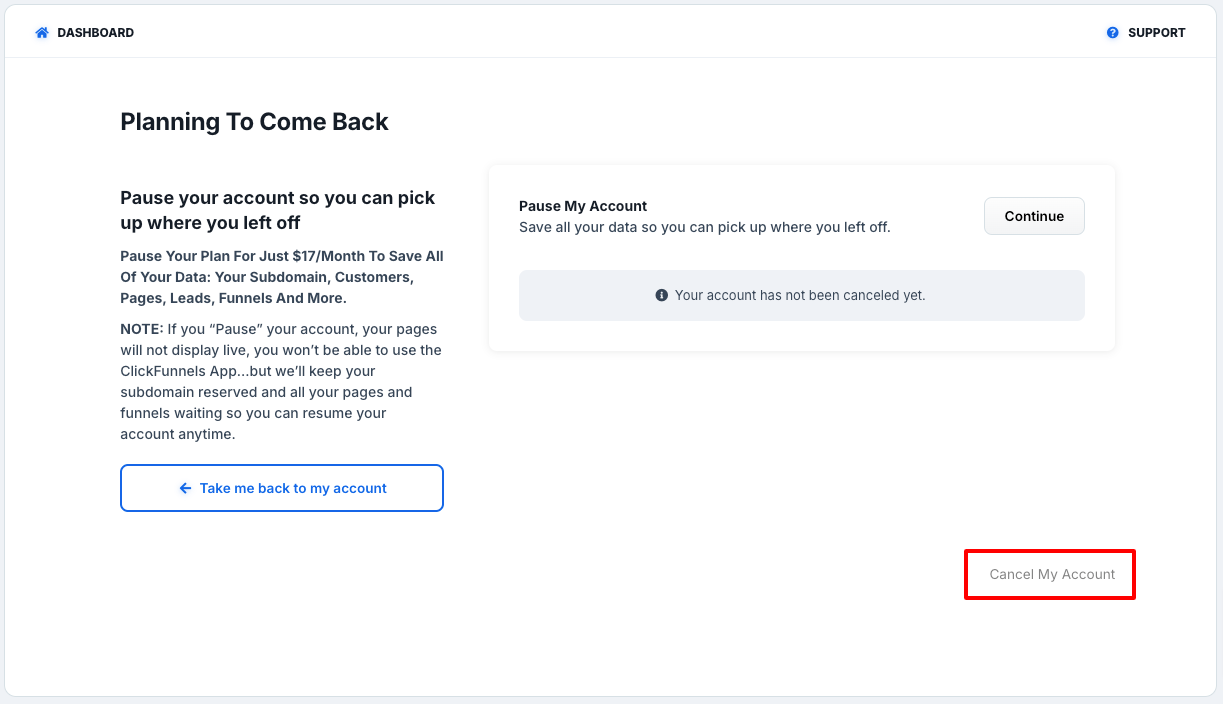
Click Cancel My Account at the bottom of the page.
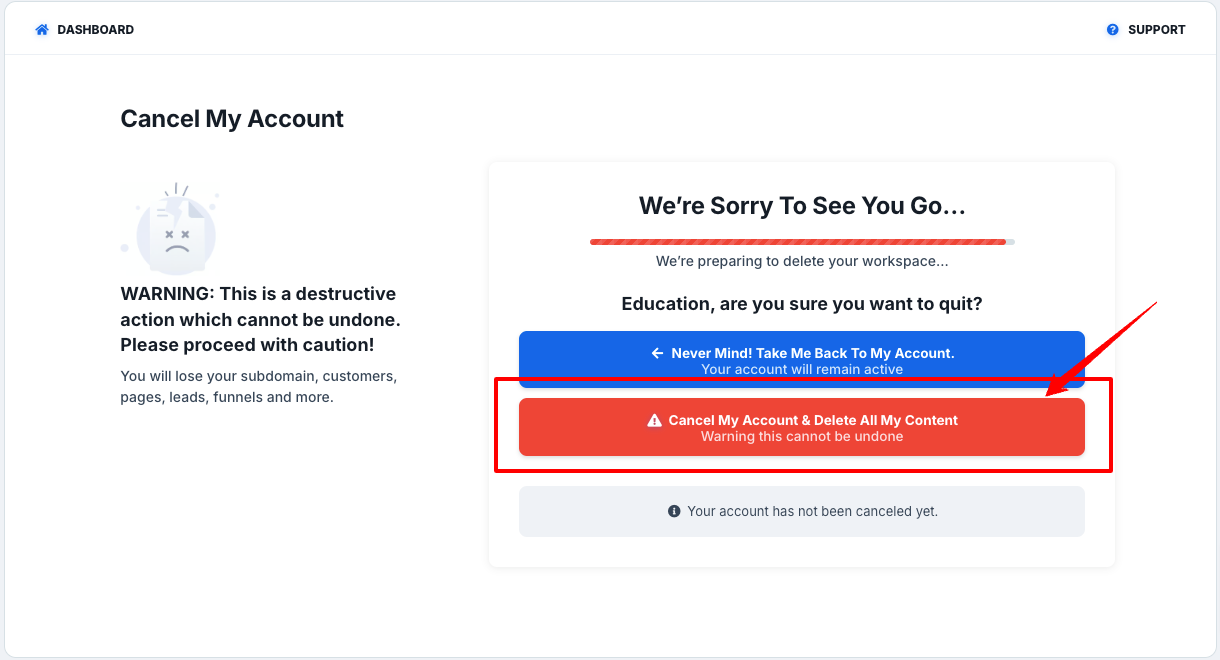
Confirm cancellation by clicking Cancel My Account & Delete All My Content on the final confirmation page.
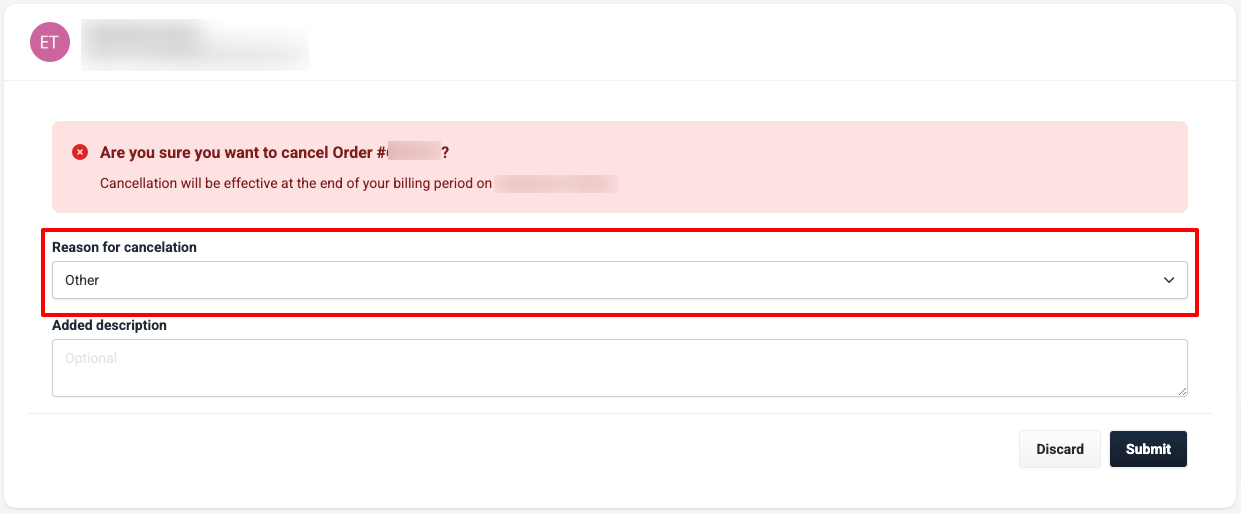
On the final confirmation screen, choose a cancellation reason, add details if needed, and click Submit to complete the process.
After cancellation, you’ll return to the Subscriptions tab in the account, where your plan will show as Canceled Effective [Date].

Still Need Help?
If you experience any issues during the cancellation process or have questions about your account, our support team is here to help.
Please reach out to us at support@clickfunnels.com, and a team member will assist you directly.