 Dashboard
 Site & Funnels
 Products
 Orders
 Contacts
 Analytics
 Marketing
 Sales
Sales Settings
 Apps
Apps Payments
 MessageHub
This article will overview the Funnels Section in your ClickFunnels 2.0 account. We will review how to access, edit, and manage your funnels. Also, we will talk about the funnel builder and the different actions you can take from there.
Table of Contents
Requirements
- An active ClickFunnels 2.0 account.
Access your Funnels
- To access your funnels, click the Funnels icon from the left menu.

Funnels Dashboard
The Funnels dashboard shows you your existing funnels, provides extra information about each funnel and lets you build new funnels.

- The All tab will show all your existing funnels.
- The Archive tab will show the archived funnels.
- The Imported tab will show your imported funnels.
- These tabs will update with the existing tags you have created for your funnels.
- Use the search bar to search your funnels by name.
- You can find your funnels easily using these filters:

- Create a New Funnel by clicking this button.
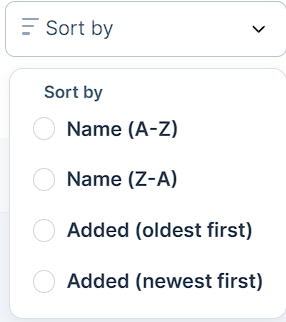
- Sort your funnels alphabetically or by when they were added.
- Select your preferred view. You can select between table or card view.
- Here, you will see the Funnel’s name and URL.
- Funnel tags will show here if they exist.
- Here, you can see the number of steps your funnel has.
- Take a quick look at your Funnel stats here.
- If you want to look deeper at your stats, click the Analytics button to visit the Analytics section.
- Click the arrow icon to open your funnel in a new window.
- Click the copy icon to duplicate your funnel.
- Click the gear icon to open your funnel settings.
Funnel Settings
This will bring you to a Funnel Settings page. This page has many of the same options as the Funnel Settings page within the workflow.
This button opens the Settings of your funnel.

- Change the Name set for this funnel by filling in this field.
- Change the Domain set for this funnel by selecting from the drop-down options.
- Change the Path set for the first funnel step by filling in this field.
- Select if you wish this funnel to be live or in a test mode.
- Select if you wish to show or hide the Powered by ClickFunnels’ badge.
- Add or remove the funnel’s tags.
- Select another Style for your funnel pages.
- Add a header code to the header of all pages in the funnel. This field allows you to add tracking codes and integrate with third-party services powered by JavaScript snippets.
- Add a footer code to the header of all pages in the funnel. This field allows you to add tracking codes and integrate with third-party services powered by JavaScript snippets.
- Enable or disable the billing payment method.
- Click here to generate a share link. This is for sharing your funnel.
Click the archive button to archive the funnel.
Archiving a funnel will mean it will no longer be visible to the public.
- Click the duplicate button to clone your funnel.
- Click the discard changes button to cancel any changes.
- Click the update funnel button to save any changes.
Funnel Builder
Access the Funnel builder by clicking on the name of the funnel.
Inside the funnel builder, you will find: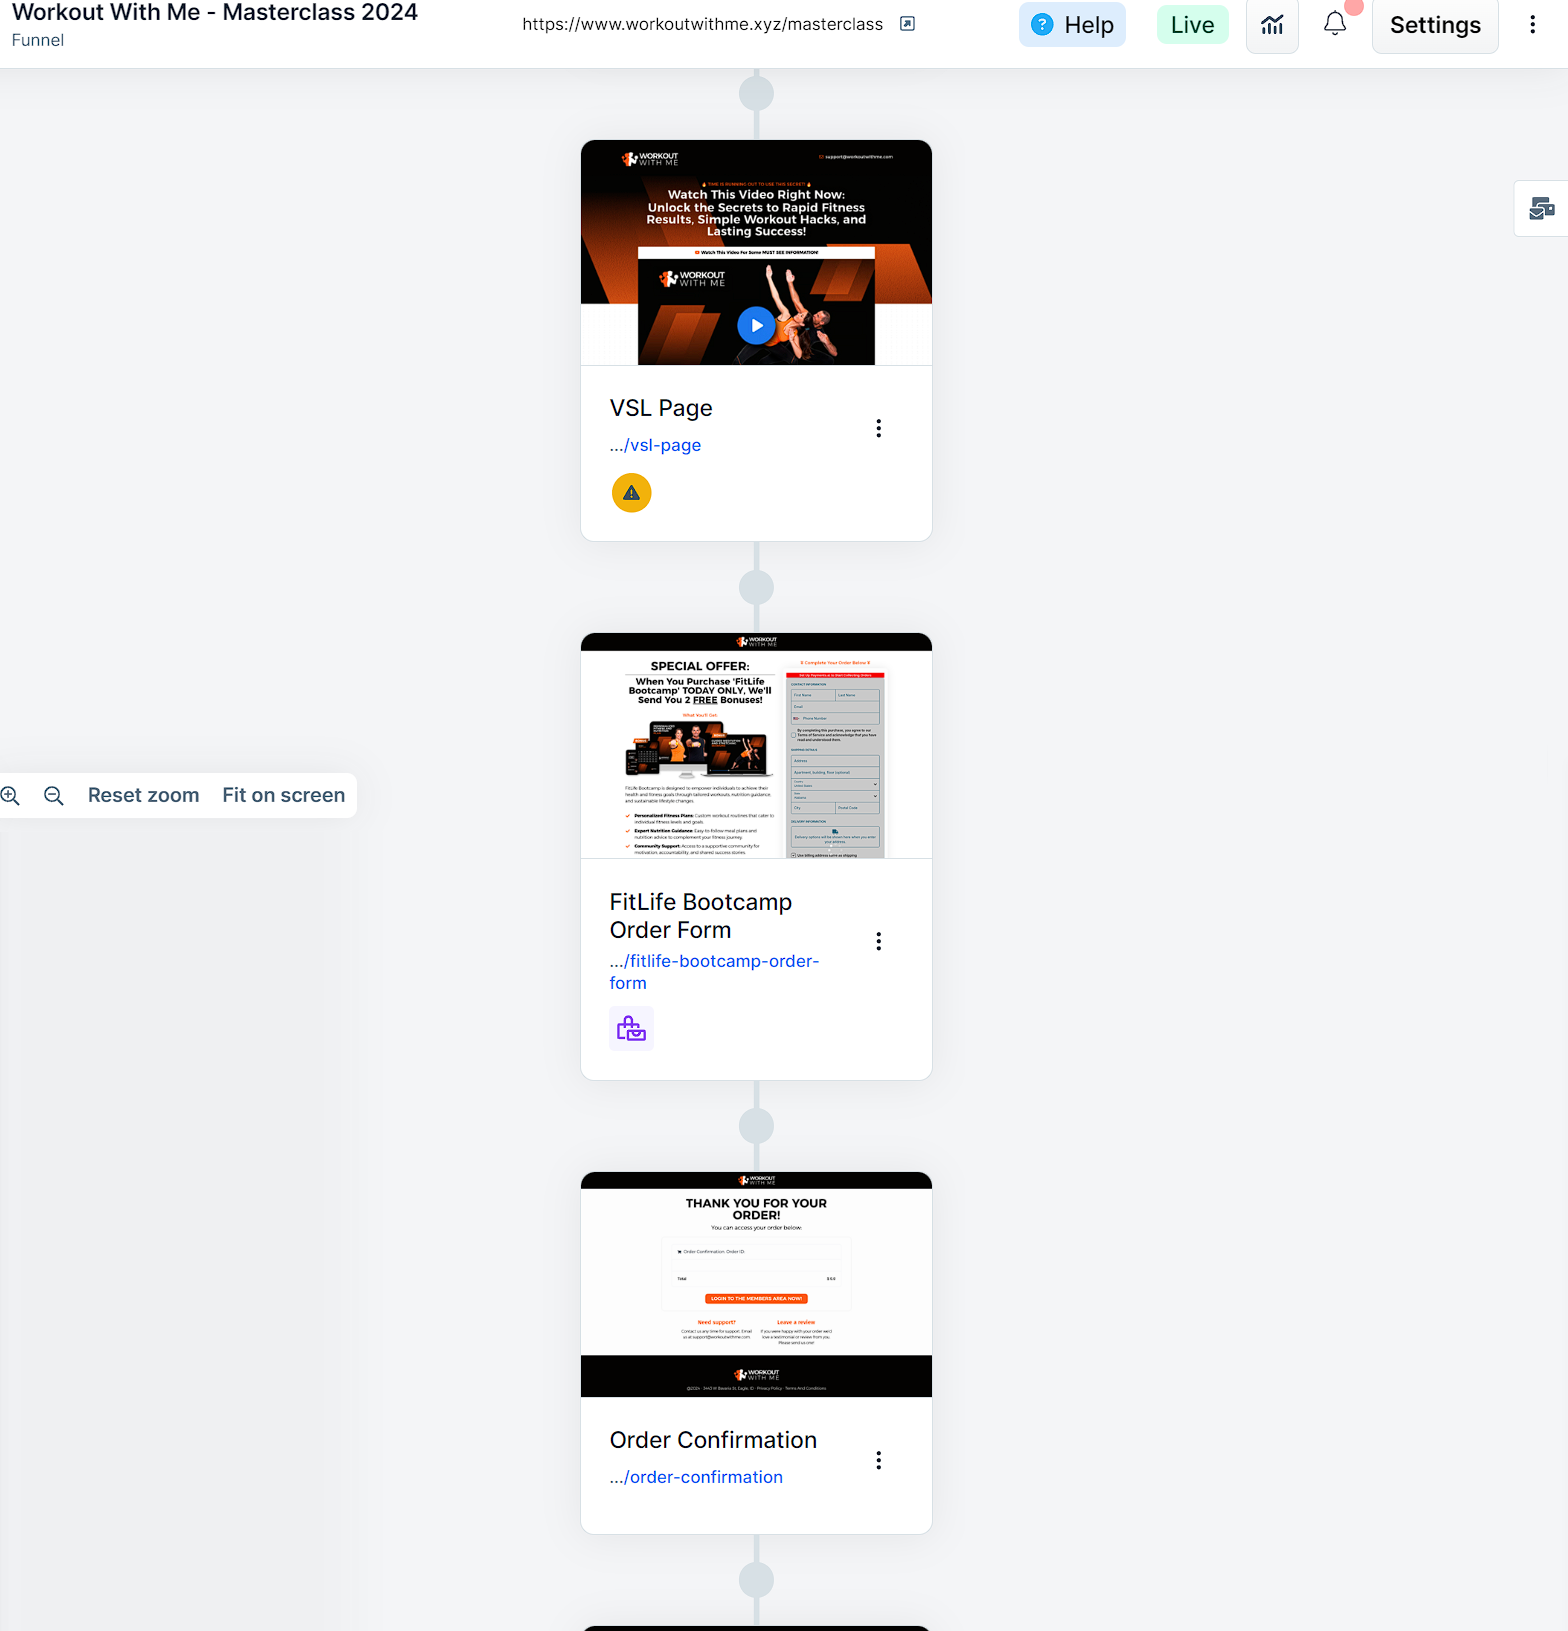
- This is your funnel URL.
- You will see this yellow warning only if your funnel is in Test Mode.
- Click on Help to visit our Resource Center.
- If your funnel is on Test Mode, you will see the Test Mode badge; and if it’s live, you will see a green Live badge.

- Click the Analytics button to display a summary of your stats. Analytics will be displayed in two areas.

- On a new tab on the left side of the builder.
- At the bottom of each step of your funnel.
Click here to learn more about Funnel Analytics.
Important Note: Analytics information can vary according to your page type. Optin pages will display different information from an Order Page, for example.
- Open the Settings tab of your funnel using the Settings button.
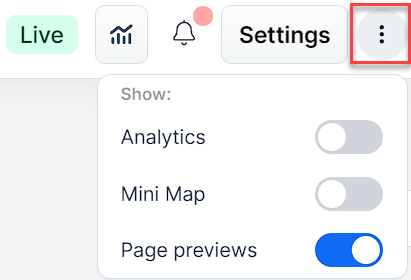
- Use the three-dot menu to toggle what you want to display on your Funnel builder.
- Click the envelope icon to open the Funnel Steps area.
 Click here to learn more about Funnel Steps.
 - Here is where your funnel steps will be displayed.
- Choose the view and the zoom so you can better view your funnel.
Was this article helpful?
That’s Great!
Thank you for your feedback
Sorry! We couldn't be helpful
Thank you for your feedback
Feedback sent
We appreciate your effort and will try to fix the article