Digital assets in ClickFunnels provide a convenient way to store and manage all the resources you need for your ClickFunnels projects. This centralized system eliminates the need for external hosting, making it easier to organize and deliver your files directly within the platform. In this article, you’ll learn how to manage your digital assets, including uploading, organizing, and using them effectively in ClickFunnels.
Requirements
An active ClickFunnels account
The digital files you intend to upload within ClickFunnels
What Are Digital Assets
Digital assets in ClickFunnels are files or resources, such as images, videos, downloads (PDFs, eBooks), audio files, and custom fonts, that you can use within your ClickFunnels projects. These assets are essential for creating engaging content, delivering valuable resources, and enhancing your project’s overall appeal.
For example, if you’re selling an online course, you might offer a downloadable eBook as a supplementary resource. This eBook can be uploaded as a PDF in ClickFunnels’ “My Assets” section, and you can easily link it within your course without needing to host the file elsewhere.
How to Upload a New Asset
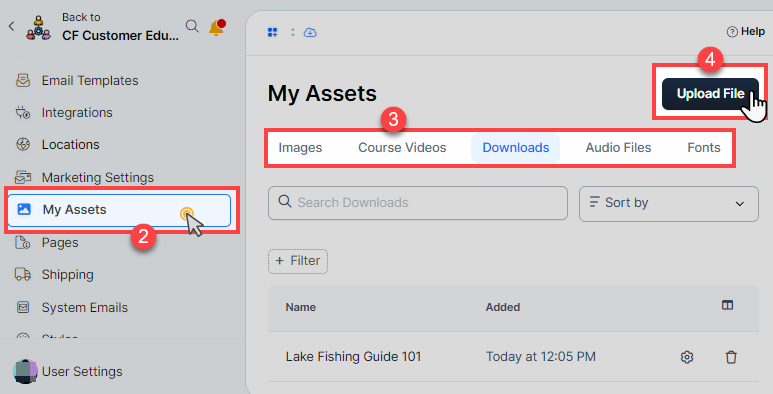
From the ClickFunnels Dashboard, navigate to the Workspace Settings in the left-side menu.
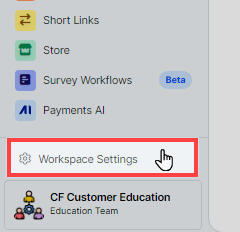
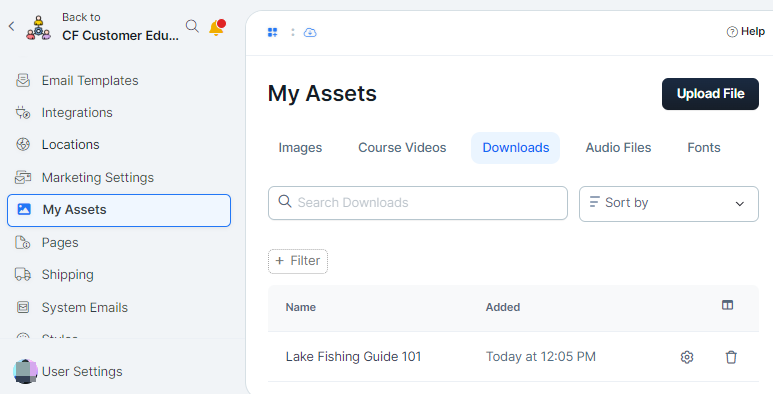
Select My Assets under the “Workspace Settings” menu.
You’ll see different tabs like Images, Course Videos, Downloads, Audio Files, and Fonts. Select the appropriate tab for the type of asset you want to upload:
Images: Use images to enhance the visual appeal of your funnel pages, emails, and other content. Accepted formats include
jpg,png,svg,gif,webp, andico. The maximum image size is 10 MB. The recommended file size is 3 MB.Course Videos: Upload videos to use in your Courses or membership areas. The supported video formats are
MP4,AVI, andMPEG. The maximum file size for videos is 3,000 MB (3 GB).Learn more in the How to Upload and Use Course Videos article.
Downloads: Provide downloadable content like eBooks, guides, or templates. This category can include
images,audio files,videos, anddocuments(.pdf, .docx, .txt, etc). The maximum file size limit is 3,000 MB (3 GB).Learn more in the How to Upload and Deliver Digital Downloads article.
Audio Files: Incorporate audio content, such as podcasts or course lectures. The supported audio formats are
MP3,MP4,WAV,AAC,OGG, andWEBM. The maximum file size limit is 1,000 MB (1 GB).Learn more in the How to Upload and Use Audios article.
Fonts: Customize the typography across your funnels by uploading custom fonts. Supported font types include
.ttf,.otf.woffand.woff2. The maximum size allowed for each font file is 1 MB.Learn more in the How to Upload and Use Custom Fonts article.
Click on the “Upload ..” button located at the top right of the page and choose the file from your device.
How to Deliver Digital Assets
Digital assets can be delivered to your audience in various ways:
Opt-In Funnels: Offer downloads like eBooks or checklists as lead magnets. Once a user opts in, deliver the file via email or a thank-you page.
Courses: Add Course videos and PDFs directly into membership areas for easy access by users.
Funnel Pages: Use images and custom fonts to enhance the appearance and branding of your pages.
Products: You can send “Downloads” type digital assets within Products. As soon as the product is purchased, the assets will be delivered to the buyer’s email address.
Workflows: You can send “Downloads” type digital assets directly to users as part of automated workflows.
Learn additional details on how to provide digital assets from various sections of the ClickFunnels application in the article How to Upload and Deliver Digital Downloads.
How to Remove a Digital Asset
From the ClickFunnels Dashboard, navigate to the Workspace Settings and select My Assets.
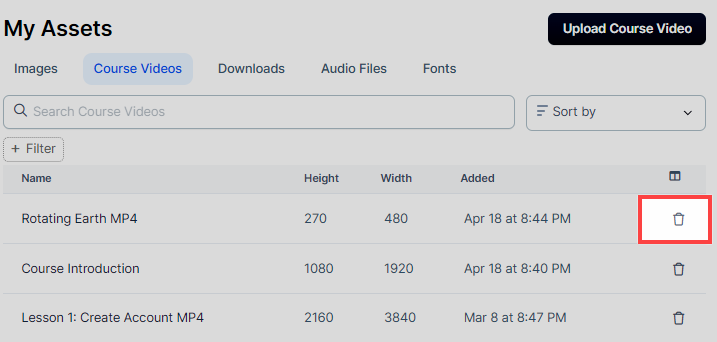
Choose the relevant tab (e.g., Images, Course Videos, Downloads) where your asset is located.
Click the trash icon next to the asset you want to delete.
In the prompt that appears, click Proceed to confirm the delete.
WARNING
Once a digital asset is deleted, it cannot be restored. Please double-check that you are deleting the correct file, as this action cannot be undone.
Digital Assets FAQs
Can I upload multiple files at once?
No. You can upload one file at a time.
What if my file exceeds the upload size limit?
Consider compressing or splitting the file into smaller parts before uploading or using external hosting platforms for larger assets.
Can I replace an existing asset?
Yes. You can edit the existing asset and change the file.
Can I organize my digital assets into folders?
ClickFunnels doesn’t provide folder organization for assets at this time. However, you can use clear naming conventions to help manage your collection.
Are there restrictions on what content I can upload?
Yes, ensure your content complies with ClickFunnels’ terms of service, avoiding illegal or copyrighted materials. Visit ClickFunnels Terms of Service here.