The “3rd Party Integration” step in the ClickFunnels workflow allows you to send contact data from ClickFunnels to external applications. This step is particularly useful when you need to pass contact information to CRMs, email marketing platforms, webinar software, and other external tools for further processing and automation. In this article, we’ll explore how to set up the “3rd Party Integration” step and manage it effectively.
Requirements
An active ClickFunnels account
Access to the external apps you want to connect
A workflow created in your workspace
Adding the “3rd Party Integration” Step to Your Workflow
Navigate to the Automations app and select Workflows.
Open an existing workflow or create a new one.
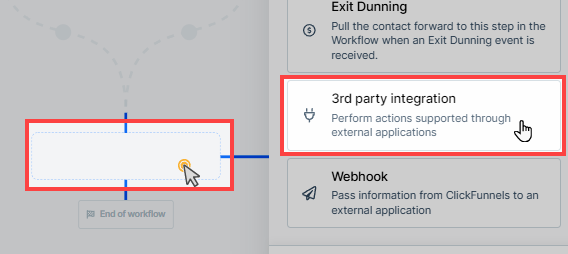
Click on the Plus Icon (+) in your workflow editor.
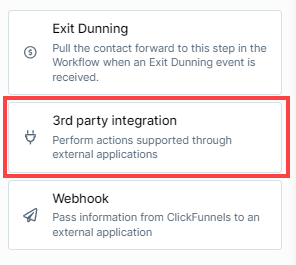
Select the 3rd Party Integration step under the Other category.
Configuring the “3rd Party Integration” Step
Once you’ve added the “3rd Party Integration” step, follow these steps to configure it:
Choose the External Application:
The screen will display a list of apps that are available for integration. If you have already connected an app account through the Workspace Settings » Integrations tab, you will see the app marked as “Connected” with a green indicator.
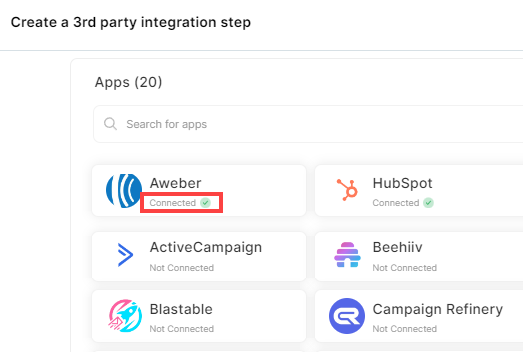
If no account is connected, you can click on the app to set up a new integration directly from the workflow editor. You don’t need to go to the Workspace Settings to connect an app for the first time.
Choose the Integration Action:
After clicking on the app, if you have multiple accounts connected to the app, the system will display a dropdown menu listing all the accounts. Select the account you want to use.
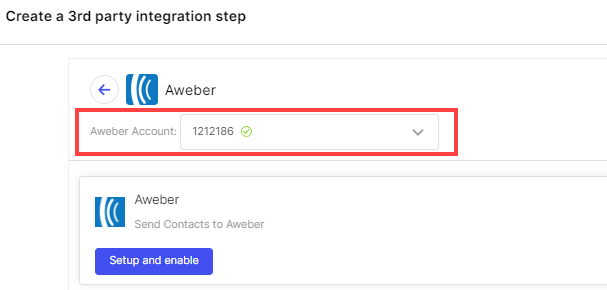
If you need to add a new account, click Add an account from the dropdown menu. This option lets you connect a new account without leaving the workflow setup. Again, this process can also be completed in the Workspace Settings » Integrations tab if preferred.
Map Contact Data to the App:
Once the correct app account is selected, click Setup and enable to start mapping the data.
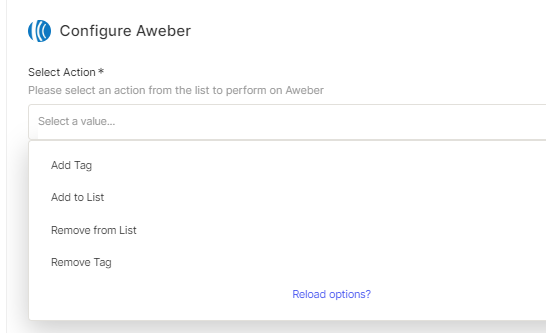
Select the action you wish to perform within the app, such as Add Tag, Add to List, or Add to Campaign. The options will vary depending on the external app being used.
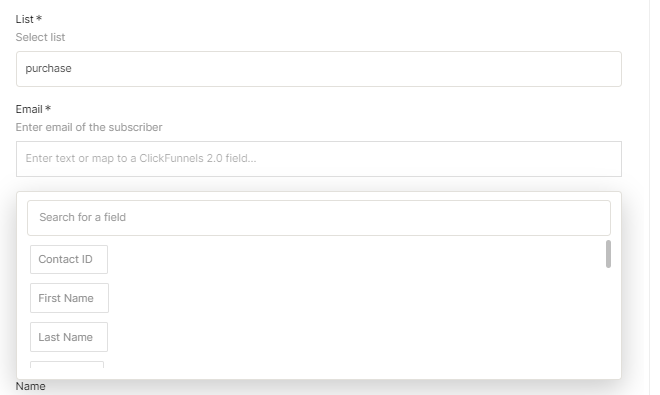
After selecting the desired action, you’ll need to map the fields from ClickFunnels to the external app. When you click on a field, a dropdown will appear, displaying available contact information from ClickFunnels (e.g., First Name, Email, Last Name). Choose the correct data to map for each required field.
Note:
Custom attributes (also known as custom fields) for contacts cannot be synced directly through the workflow’s 3rd party integration step. To sync custom attribute data, consider using alternative methods such as Zapier or Webhook integrations for a seamless transfer.
Every required field must be filled out before you can proceed. Once you’ve mapped all necessary fields, click Next to finalize the step.
Save and Exit:
Once the step is configured, click Save to save your settings and return to the workflow editor.
Your workflow will now be able to send data or perform actions with the selected app according to your workflow logic.