Creating consistent layouts across multiple pages can be difficult and time-consuming when you manually update each section. ClickFunnels solves this problem with the Universal Blocks feature, which lets you save and reuse any section, row, flex, or element throughout your funnels. This feature applies updates everywhere the block is used, ensuring consistency and saving time. In this article, you’ll discover the Universal Blocks feature.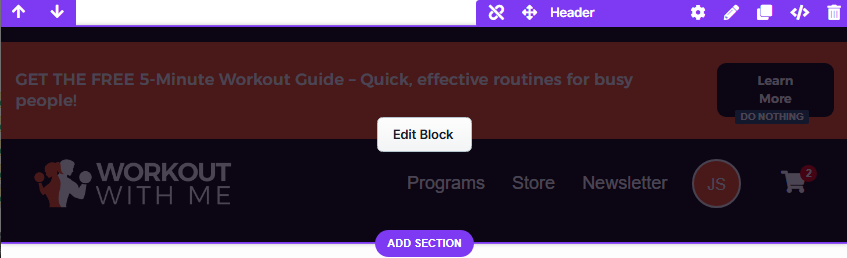
Requirements
An active ClickFunnels account
A page created in your workspace
What is a Universal Block
A Universal Block is a reusable building block in ClickFunnels that allows you to save any Section, Row, or Element, including their content and styles, and easily import them into different pages across your funnels. Turning a layout or element into a Universal Block allows you to maintain consistency and save time, as updates to the block will automatically sync wherever it’s used.
How it works:
Once you save a section, row, or element as a Universal Block, it’s stored in your personal library. You can then add it to any page with just a few clicks. When you make changes to a Universal Block, those changes update everywhere it’s used, ensuring that repeated content (like banners, disclaimers, or opt-in forms) always stays up to date.
Example:
For example, if you create a testimonial section that you want to display on multiple pages, you can save it as a Universal Block. Later, if you need to update a testimonial, you only have to update the block once, and all pages using that testimonial section will automatically reflect the new content.
When to use Universal Blocks:
Consider using Universal Blocks for content or layouts you want to reuse across several pages, such as headers, footers, announcements, or recurring call-to-action sections. They are especially beneficial when you need to keep information consistent throughout your funnels or when you want to speed up your page-building process by reusing proven layouts.
Step 1: Saving a Container as a Universal Block
Open a page in the editor.
Select a container (section, row, flex, or element) you want to save as a universal block.
Hover over the container and click the Save icon.
Enter the Name of the container.
Tips:
Use clear and descriptive names for your universal blocks so they’re easy to find when importing them into other pages. For example, instead of naming a block “Section 1,” use a name like “
Homepage - Testimonial Row” or “Footer - Legal Disclaimer.” This makes it much easier to identify and reuse the correct block later.Optionally, choose a Folder to organize your saved containers. If no folder is selected, it will be saved to the root folder.
Enable the option “Make… Universal”.
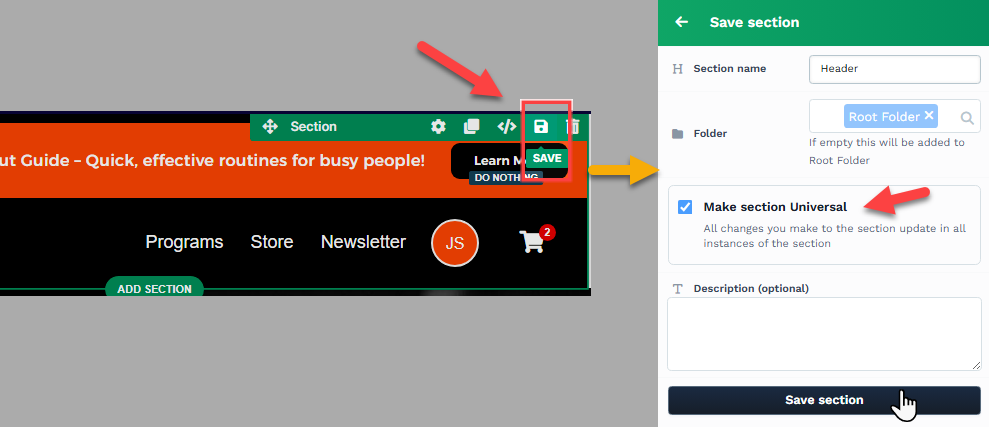
Optionally, enter a description of the container in the Description field.
Click “Save…” to save the container as a universal block.
The container color will change to purple, indicating that it is a universal block, facilitating easier identification and distinguishing it from other containers.
Step 2: Importing a Universal Block
Open a page in the editor.
Click the Add Section, Add Row, or Add Element to insert a new item.
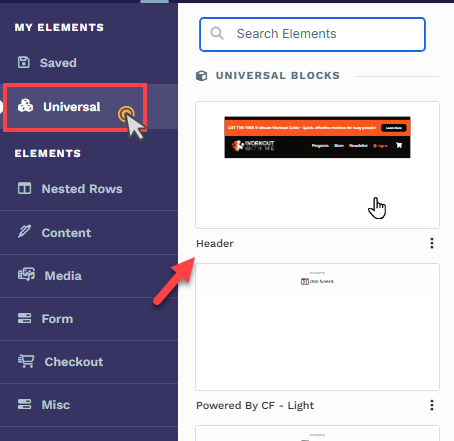
Select Universal from the left-hand menu.
Browse through your saved Universal Blocks to find the universal blocks you previously saved.
Select a block to insert into your page.
Important:
Universal blocks can be inserted into any area of your page layout, regardless of whether you are adding a section, row, or element. This flexibility allows you to create highly nested and complex designs by combining universal content at multiple levels. When nesting Universal Containers, we recommend thoroughly testing your page on both desktop and mobile devices to ensure that your layout remains visually consistent and functions as intended across all screen sizes.
Configuring a Universal Block
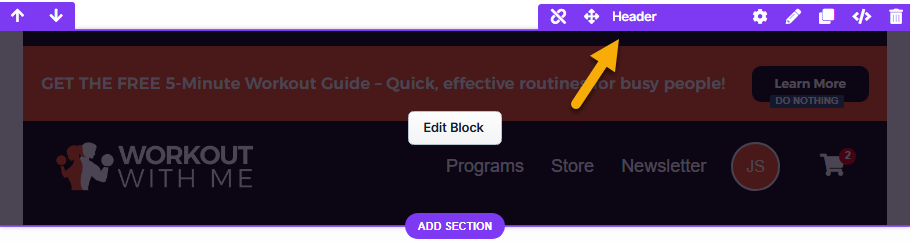
When you hover over a universal block, its border will be highlighted in purple. To access the settings, click on the gear ⚙️ icon or click directly on the block to open its settings panel.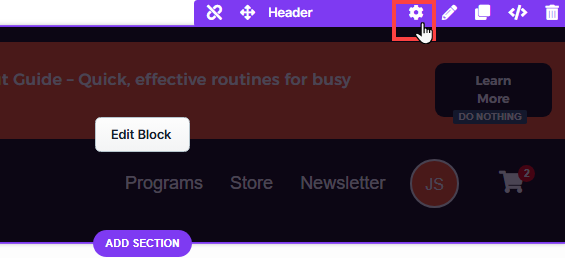
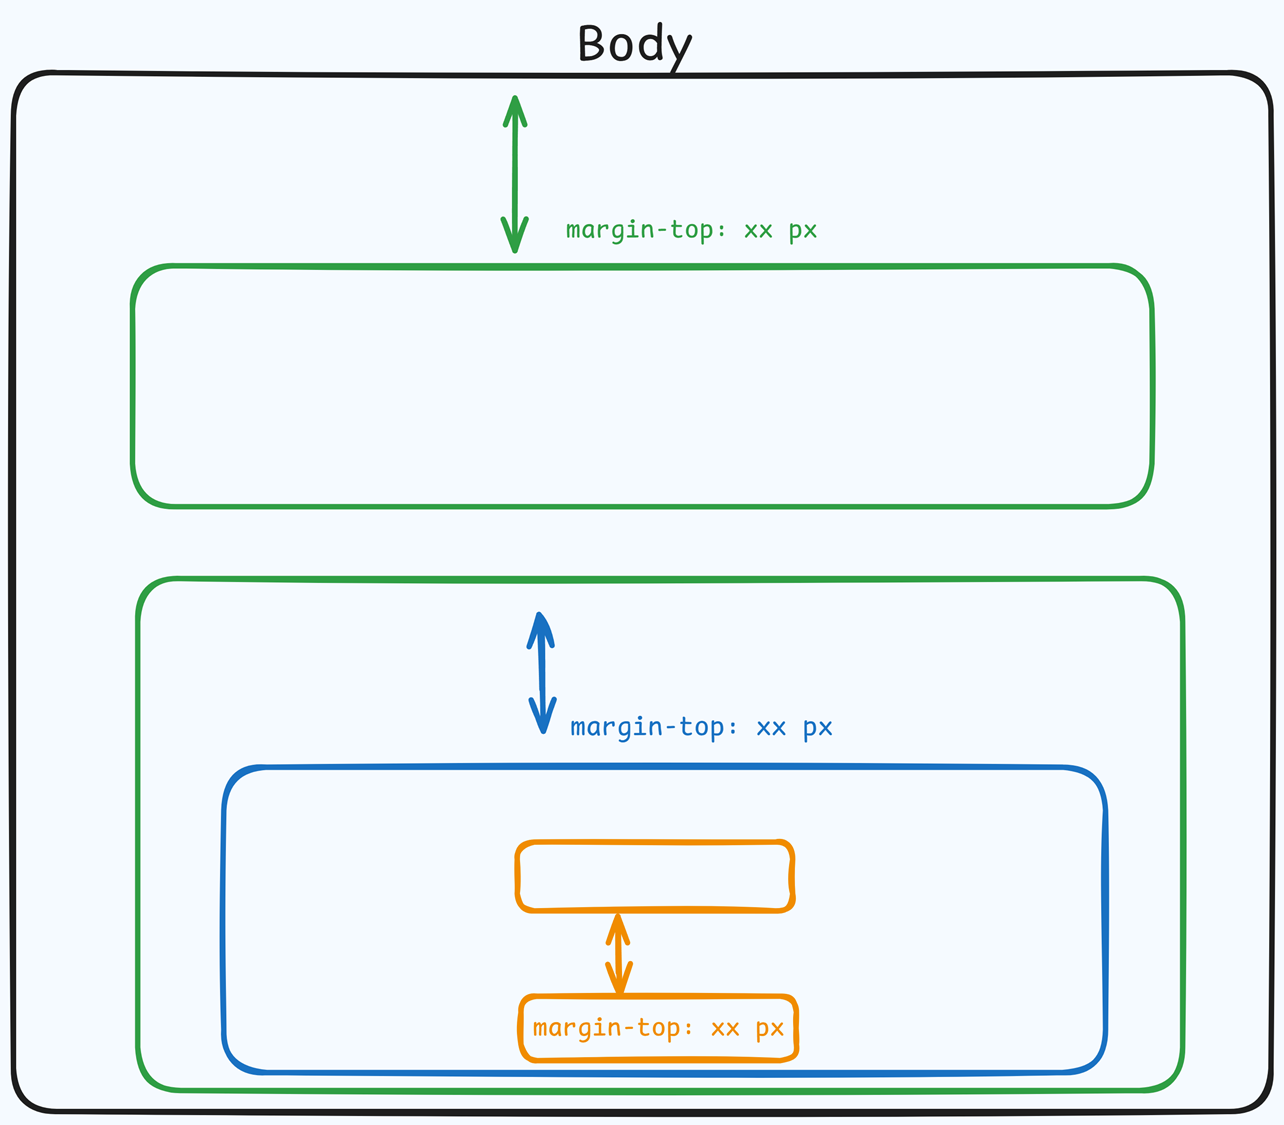
Top Margin
 The Top Margin setting lets you control the space between the current container (section, row, flex, and element) and the container directly above it. If no previous container exists, the margin will be applied relative to the parent container. If no preceding container is added, the Body will be the parent.
You can set top margin values independently for desktop and mobile by using the device icons (px) or percentage (%) to create consistent spacing across screen sizes.
Edit Universal Block
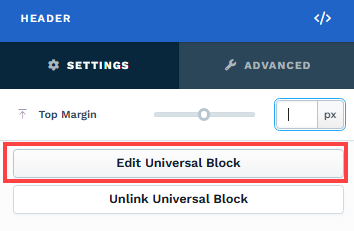
Click Edit Universal Block to modify the contents of the block. For instance, if you have previously saved a section as a universal block, you can revisit and edit that section by selecting the Edit Universal Block option. You can add or remove content within the block using the available editor elements. After making the necessary modifications, click Save Universal Block to apply the changes. By saving, the contents will be updated immediately in all instances where the universal block is utilized. If you are uncertain about the changes, click Discard Changes to exit the Universal Block Editor.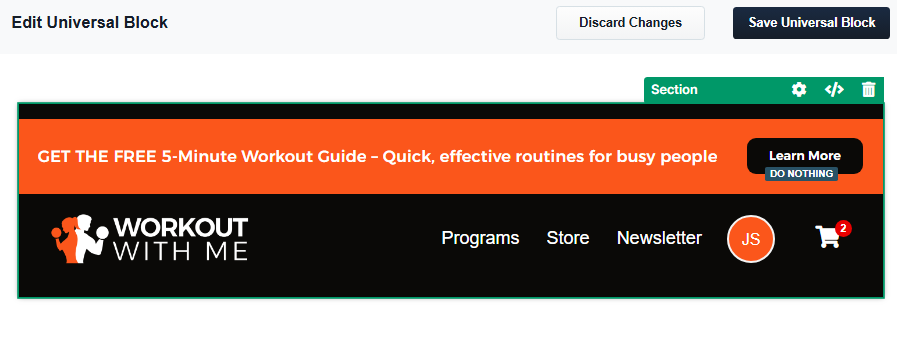
Unlink Universal Block
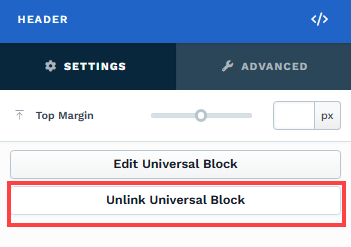
The Unlink Universal Block option allows you to convert a universal block back into a regular container within your editor. Once unlinked, the content will no longer be associated with the original universal block, meaning any changes you make will only apply to that instance and will not affect other pages or blocks where the universal block is used. This feature is handy when you want to customize the content for a specific page without impacting the reusable universal block elsewhere in your funnels.
Advanced Settings

To further customize your container (section, row, column, and element), ClickFunnels provides Advanced settings that allow you to control style, advanced CSS, animation, and rendering logic. We’ve separated these advanced features into dedicated articles to avoid overwhelming you with too much content in one place and to keep our documentation concise. Explore the following resources for more details:
Advanced Settings - Customize Styles: Learn how to populate contents dynamically, position containers, and apply z-index.
Advanced Settings - Customize Animation: Learn how to add animations, control entry and exit effects, and adjust animation delay.
Advanced Settings - Customize Logic: Learn how to apply conditional logic to elements and add custom attributes.
Managing Universal Blocks
You can manage your universal sections, rows, and elements from the page editor. This allows you to organize, rename, edit, or delete saved items as needed.
Open a page in the editor.
Click the Add Section, Add Row, or Add Element to insert a new item.
Select Universal from the left-hand menu.
Find the block you want to manage and click the Three Dots next to its thumbnail.
Choose an option from the dropdown:
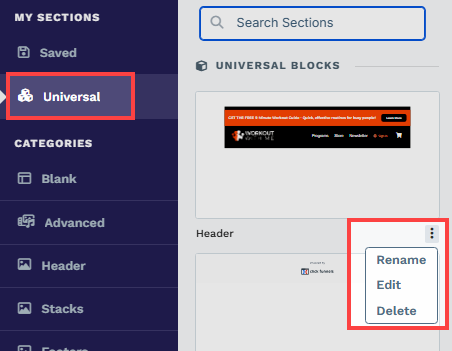
Rename: Edit the name and click Update to save changes.
Edit: Open the block to make changes.
Delete: Delete the block from your universal blocks list. Confirm the deletion when prompted.